The Memorial Day weekend has passed, bringing summer activities officially into focus. I wrestle with the idea of Memorial Day being a 'holiday', and yet, am very grateful for being able to enjoy it as such. We should always be thankful for those who have fought for and protected the absolute PRIVILEDGE of freedom we enjoy in this country. Those who stand guard for us have my prayers always. I won't go into any political stance, save to say that yes; we truly are FREE. Our Constitution and its laws falling under the same, are meant to protect that freedom. I grew up with 5 Uncles who followed my Dad, the oldest, into US Military Services. All 6 brothers signed up 3 years of duty for the US Army, with their youngest sibling- a sister- marrying a US Navy man. My ChiefHubby grew up nearly the same; his Dad and 3 of those siblings serving in Army and one in Air Force, who later died in flight exercises during the Vietnam era. For all of my Dad's Kids, Grandkids, Great Grandkids, and now; Great-Great Grandkids... seeing all our Cousins posting photos of their Dads in their uniforms posted all throughout the various social media platforms comes with mixed feelings. We are very proud of our Uncles (only 1 remains) and love them all very much! But, for whatever reason: our own Dad's photos of his time in the service have been missing or lost. The only other photo we have is in the files I've scanned from all of Dad's photos. The back says "Donald", and used it for a Tag CLICK HERE to see Tag about my Dad the year he died. Afterward, our Uncle took one look and said it was Uncle Deane- the youngest boy. There was at least one of each boy, yet no one seemed to have a military photo of Donald, although I scanned his certificates and misc.
But then one of my Nieces texted me with a few photos one night. One photo was of a baby, and another was of a soldier that definitely was not one of the Uncles.... "could it be Grandpa Rush??" she texted. I took one look, and even before I pinched it closer; I knew it was a VERY GOOD chance! I was so excited, I called her on video and she showed me the box she found. The test would be from Uncle Tommy... I sent it to our Cousin Cindy and she showed him with only asking "who is this?" and got the answer we hoped- "That's my brother Donald." You cannot imagine how hard it was for me to wait until a couple days after this year's Memorial Day for posting this photo so I could also explain that!!!
The strange- but sweet part for myself especially- is that every time I left my Dad after a visit; I would give him a kiss and say "Bye, Poppi," with the last time being just before they closed his casket. I don't know why I started calling him that, but it's been since my own kids were small when that nickname stuck. That's why Poppies were the perfect choice all around for this Tag.


The newest Challenge from The Funkie Junkie Boutique is about music and it's one of the themes I really do LOVE! Both our Sons- along with the younger Daughter were in Concert Band and Marching Band throughout 5th-12th Grades. The older was Tympani in Winter Drum Line as well as Snare, Quads, and Bass in the former two groups. The younger was a Trombonist in Concert Band, Marching Band, and Jazz Band. He also was the very youngest member of Marching Band in Pit, playing Cymbals. He had the very last note of the very last song on the field one year at State Contest, when we teased him on jumping up like a cartoon character. I was a loooooong-suuuuuuffering Band Mom- probably one of the only DEAF Band Moms anyone ever heard of. (Pun intended!) And that meant dealing with stinky adolecents on a very stinky, loooong bus ride every Saturday in the Fall. But I wouldn't trade any of those memories for $1M !! (Maybe TWO, but not one, lol.) Then, there's WLYLA Friday Hits I did for about 10 years every Friday. I still try to do it as I made a new FB page for it, and changed it to cyber-airing from Florida, but time has been a problem for me. In any case, music has been a big part of my life- even though I've been going deaf since age 11, and finally was totally deaf at age 18. I still am able to feel the beat, and from memory: I can get along with all Oldies. With all that lengthy info... where did this take me? Let's get started and see!
With Memorial Day and music on my mind, there was one song that kept coming up:
"Some Gave All" by Billy Ray Cyrus
I don't know who can keep from crying when they play this song during
a visit to the Cemetary at the Soldiers' Circle... I can't. Ever.
So I typed it up (WITH RECOGNITION- I make no claims to the song)
and sized it into two sets per page, using plain cream-colored cardstock.
My program allows me to make permanent files for later use.
So if I make a mistake, it's an easy redo.
Then I set it aside to dry overnight.
Glossy Accents is used in the next step but was shown here.
First thing I did was line it up (using a lamp to backlight it) against the TH Etcetera Mini Tag,
draw with pencil around it and then trim it up with the TH Sheers.
After 24 hours drying, it's safe to use some TH Distress Ink in Fired Brick.
I'm going for a thought of "blood" that is fresh. Sorry for that, but that's war.
I used a very old, but fave, rolling stamp that has musical notes/lines on it.
I wiggled it to make it a wave-like banner. Then heat dry.
Another very old tool- the music embossing folder- had to make do since
I am still hoping to get hold of an old Tim Holtz folder, but haven't yet.
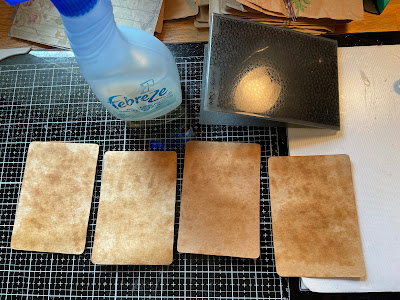
It's ok to spritz the water onto the folder; all the inks have been heat dried.
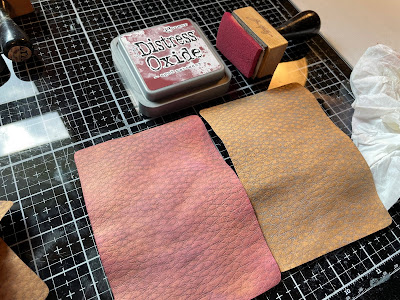
Now a shading of TH Distress Oxide in Vintage Photo on top of the emboss areas...
Cut out the hole by tracing up against light and sand it a bit,
then using a TH Distress Crayon in Walnut Stain, I edged it around all the sides and heat dried it all.
Remember- you have TWO sides of this, so you have to do each hole one at a time.
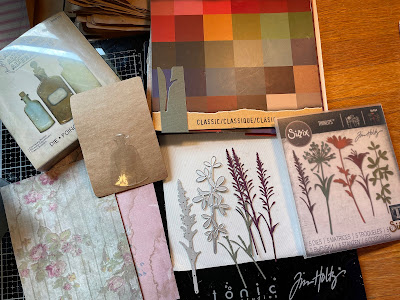
I used Mat Board and cut 2 Tim Holtz Cathedral Window Bigz Die,
glued them together with Glossy Accents and gave them a full coat of
TH Distress Paint in Picket Fence.
After the Picket Fence Paint was dry, I gave it a top coat of TH Texture Opaque Crackle Paste...
...dabbing it all on, for uneven layering. I used a TH Pick to make those tight corners clean looking.
I just had to get out that old red, tan, and blue Americana stash paper ribbon for this one!!
I took another very old- and very fave!- roller stamp and gave it a once (lightly) over.
and a few older goodies... I had some pretty good picks for military.
My first thought was to use one of the TH Flash Cards for the Tag's circle cover.
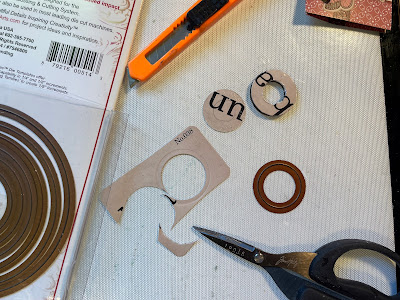
I got out some very old circle dies for this. I'll be using it to also cut the opposite side a circle.
After cutting both pieces ( Bra on one and ve on the other),
one was adhered to the Etcetera circle piece, and the other was traced with
a hole cut out to a flat circle for the opposite side.
This is where I took a long trip back in time...
I decided this was going to be for that "War to end all Wars" aka World War I in
which the United States entered into in 1917.
So I needed to know what kind of military outfits they used for
Army, Navy (yes, there was a Navy), and Air Service (not yet the Air Force).
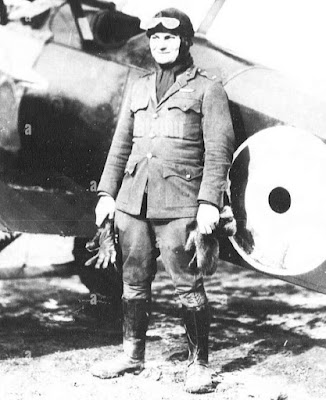
This boy is one of the earliest TH Paper Dolls.
I've used him for a car driver because of his gloves.
Those gloves would do well for a Flyer, if he only had some goggles
and a tight fitting leather helmet.
The goggles came out of faux leather material with the TH Mask Thinlits Die Set.
I left the middle holes inside and simply kept topping on the Glossy Accents until it was thick.
I
Giving their uniforms come tannish coloring instead of the greenish they came as;
TH Distress Oxide in Ground Espresso with some TH Distress Crayon in Walnut Stain.
I used a combination of rubbing with my fingers and Qtips, then edging with a Blending Tool.
For the children on the other side, I used assorted colors TH (retired) Distress Markers, as well.
The Navy guy was easy on me: just roughed him up a bit in a bar fight,
then took things a bit rougher on the very retired TH Cabinet Card-
with TH Mini Snips, TH Distresser, and TH Scratcher, then some Ground Espresso Oxide.
The scrap paper was roughed up in that same bar fight, and tossed into it's 'slammer' card
as a background for the roughed up TH Photobooth photo.
I knew all about military bar fights- from Top Gun.
But my Dad mostly just went to one before he got each tattoo.
He had quite a few of them and each of us kids can remember each one
and where they were on his chest, arms, and fingers.
This was the same Dad who told me:
"If you get a tattoo, I'll beat your ___, and give you something to cry about."
I asked why since HE had SEVERAL (very obviously).
His answer:
"I was young and STUPID. You're YOUNG and I'm keeping you from being stupid."
That worked quite well for me, actually. :)
It is late for this, yet I went back to relearn a few facts prior to this day...
I needed some background info for the Tag.
Reading all the info just helped me out mentally get the right gear.
I wanted this to look as authentic as I could. For the sake of gratefulness.
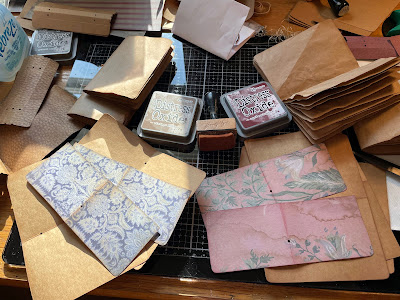
So I got out another very old die and used the smallest piece and some bright red stash paper.
After die cutting them, I pounced onto them with some TH Distress Oxide Vintage Photo,
and heat dried them (that was a battle).
Then spritzed them with water and reheated (another flying battle).
I carefully poked a hole into the middle of each one- I made 30 of them.
Don't go too far. The wire will need to fill the hole.
I used a firmer guage of wire, but I'm not sure if it was 18 or what... it's an older roll.
I cut off about 2 inches of a wire, threaded it through the hole, and rolled up one end.
I chose Glossy Accents (my go-to fave glue) instead of a matte glue:
that shininess just looked right on the wire and made the middle 'stamen' pop.
Remember- I am copying the FAUX POPPY, not the real Poppy.
Adding only a dot onto the top rolled wire part, I carefully brought
the edges of the flower top together- only upward, but not crushing-
just until each side met with that dot of glue.
It dried very fast, and left the flower rounded upward.
A tiny sheet of paper, bone-folded, with a strip of runner tape down one side,
cut across into little strips and put the Poppy wire into the fold.
Fold over to the pre-taped side and you've got a tiny paper Poppy.
(The paper book background is a WWII cover- my Dad was honored on the WWII rolls,)
My Tag needed a ribbon at the top, so I searched through stash till I found this red, white, and blue.
A little Distress Ink Refill in Tea Dye with a bit of water, then heat dry.
Matched perfectly with the Americana stash paper ribbon.
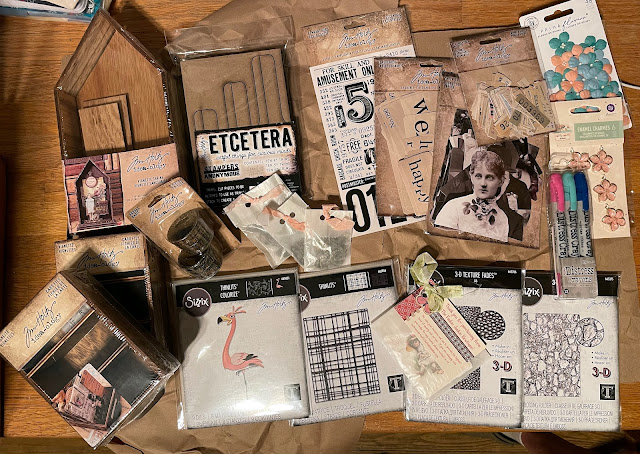
Click on the link for more info or purchase help.
Your browser shopper will tell you the truth: many are the BEST PRICES!
The resulting double-sided Minit Etcetera Tag...
TAG FRONT
"Ask not for whom the bell tolls," by John Donne
My Flying WWI Ace turned out pretty cool- with his scrap cloth as a scarf.
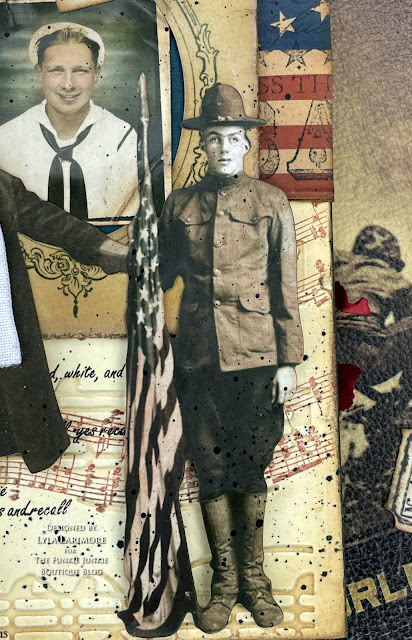
The US Flag is slightly colored and then Vintage Photo over the coloring.
TAG BACK
A TH (retired) Number Plaque with a bit of TH Ranger Alcohol Ink in Caramel spots
held in place by a couple of TH IdeaOlogy Long Fasteners looked right at the top.
I colored in an apron on the older girl- she's been gardening the Poppies.
I love how the TH Black Soot Paint (with a teeny bit of water mixed in)
splatters show up well here in this pic, giving it some age.
Thank you so much for joining me for this post!
for more inspiration from our great Design Team.
Don't forget to post a photo of your own project
and be automatically entered for the Badges, GD Spot, or $25GC Draw
Sponsored by
May GOD bless our US Military
and their families for their service...
especially those who gave all.
Until next time;
HAPPY BLOGGING!!


