Year 2013 & Year 2014 2

Year 2013 & Year 2014 2

Tuesday, December 18, 2018

Frilly and Funkie Challenge #24; In The Kitchen....Make MERRY like a MOOSE!

  *UPDATE: I missed this Challenge posting by about 5 minutes. But it stands as is for EVERYONE!

     Here I go again; "I'm late! I'm late!!" While I began 5 or 6 projects as early as November, I still end up getting it out and posted at -pretty TOO near- the deadline, *sigh* But, make it in; I WILL! And I think that's the important part.
So while I was a tiny bit disappointed, at first, for a "Kitchen" theme in the middle of the Christmas Season?? I think it was only due to not being able to come up with a plan within just a few minutes of seeing the theme for Challenge #24. I was...well...'STUCK' is really the best word. Nothing came up. I was sooooo into getting some new dies, and just thinking it was going to be...just hadda be!... a snow, Christmas, or deck-the-halls kind of theme, that coming up with something out of a place I spent every night for 26 years (once the kids flew the coup, it was MUCH easier to get outta there!)… I really had to brainstorm on this one! Luckily; I am an admitted CHOCOHOLIC!! True, fully-engulfed, and pleasantly sunk, for-real, Chocoholic: as in "Hi. My name is Lyla, and I'm a Chocoholic. Here, share some with me!!" So that saved my butt this time. :)

                                      We'll start right here with some SxS Instructions...

Gathering materials...which is cool because I still have ONE PACKAGE LEFT
of the GRUNGEPAPER!! (PLEASE,please,please, Tim: get that stuff up and going again!)
The Burlap Paper Stack is from Hobby Lobby. I was going to need a HUGE amount
of it in preferably 12x12 size, and HL had all paper stacks 50% off- I NEVER pay full price 
with Hobby Lobby as they are my Go-To store for just about any bargain for just about any craft!


While I do have the TH Tags THINLITS Set;
with this thick burlap (which has a paper-ish backing), I felt better using
the TH Alterations Tag and Bookplate Die. This die is one of my very FAVE,
one of my very first purchased back when Tim began doing Tags of the Year.
It has probably logged in hundreds of cuts- at least!!

As I thought on....I realized I never got the chance to properly use the TH coffee die.
And a "surprise" idea popped up, so I needed an envelope and found some 
TH Resist Kraftpaper Envelopes (I also have a stack of the regular Krinkle Kraft Paper).

Trash always finds its way into my Studio...via myself or my ChiefHubby.
It all gets my approval (or DISapproval) for removal or recycle.
There is TREASURE in that thar trash!!!


The good old sewing machine came out and had some fun...

...and helped me get four Tags stitched up to make 2 double-sided Tags.

Using the 8x8 stack of Tim Holtz's Classic Kraft Stock, I cut out all the coffee cup pieces
along with at least one layer of the recycled cardboard underneath each piece. 
The "lid" was to have 2 extra layers to make it look more "forward looking".

Those TINY TREES in the TH Merry Moose Thinlits Set...
AWESOME LOOKING!!!
Now, you'd think this was a bit challenging for an RA (Rheumatoid Arthritis) Patient,
and it was a bit so. But, on the other hand; it was made EASY by the fact that YOU choose what YOU want to do with each tree! You can leave it stark plain...or add a few green branches, or A LOT of green branches. Ditto for snow on the branches. You can cut the trunk shorter or off all the way. You can leave as is, or sand it a bit like I did. And your trees don't even hafta GROW...
they can lay down on the ground like fallen trees in a natural woods. 
Hmm...

If a Tim Holtz die cut tree falls in your created woods...
Will anyone HEAR it??
BwaHahahahahahha!!!
(I just HADDA do that!)


Here's our 2 Merry MOOSE.....Mooses?....whatever.
With an extra Grungepaper set of antlers for height, 
AND a Classic sand-colored Kraft Stock set as well for topping off.

First; both MOOSE....Mooses….whatever!
get a coat color of TH Distress Ink in Tea Dye...
on that Grungepaper; they LOOK "FUZZY"!!

Then, they each get another coating of TH Distress Ink...
in my FAVE ABOVE ALL INK COLORS: Vintage Photo.
You can see the difference it makes in dimension.

He we have both FRONTS of Tags 1 & 2
Tag 2 was to go with another  Tag as a set for Family Gift exchange 
that took place on Saturday, December 15th. (Another reason I am late: PARTIES!)

This side view shows how I put the Krinkle Kraft Envelope into the middle (using hot glue gun).

That SILLY MOOSE...
THOSE silly MOOSE...MOOSES,,,,whatev.

I printed out my own "chitchat" since I needed it to say something specific, in a specific size.

                                                     The BACK SIDES of Tags 1 and 2.


                                                                   Some Closeups...

The green ribbon is a gift to me in a package of orders from The Funkie Junkie Boutique.
THANK YOU, LINDA'S MOM!!!
She packages those little freebies and always seems to match mine up to ME exactly!
So I used it on the "tag to keep" to differentiate it from Tag 2.

A close up of REAL Cinnamon Stick!
The receiver can simply break off the top half, or use scissors to snip off some, 
to flavor their...

..cuppa HOT CHOCOLATE WITH MARSHMALLOWS!!


That trash turns into TREASURE: truly!!

The TH Paper Doll on Tag 2... waiting patiently.

The TH Paper Doll on Tag 1 waits...NOT so patiently! lol


Front of Tag1 with Back of Tag 2

Front of Tag 2 with Back of Tag 1
     
The 2 Gifted Tag Set
(You'll see that first one in another post!)

THANK YOU:
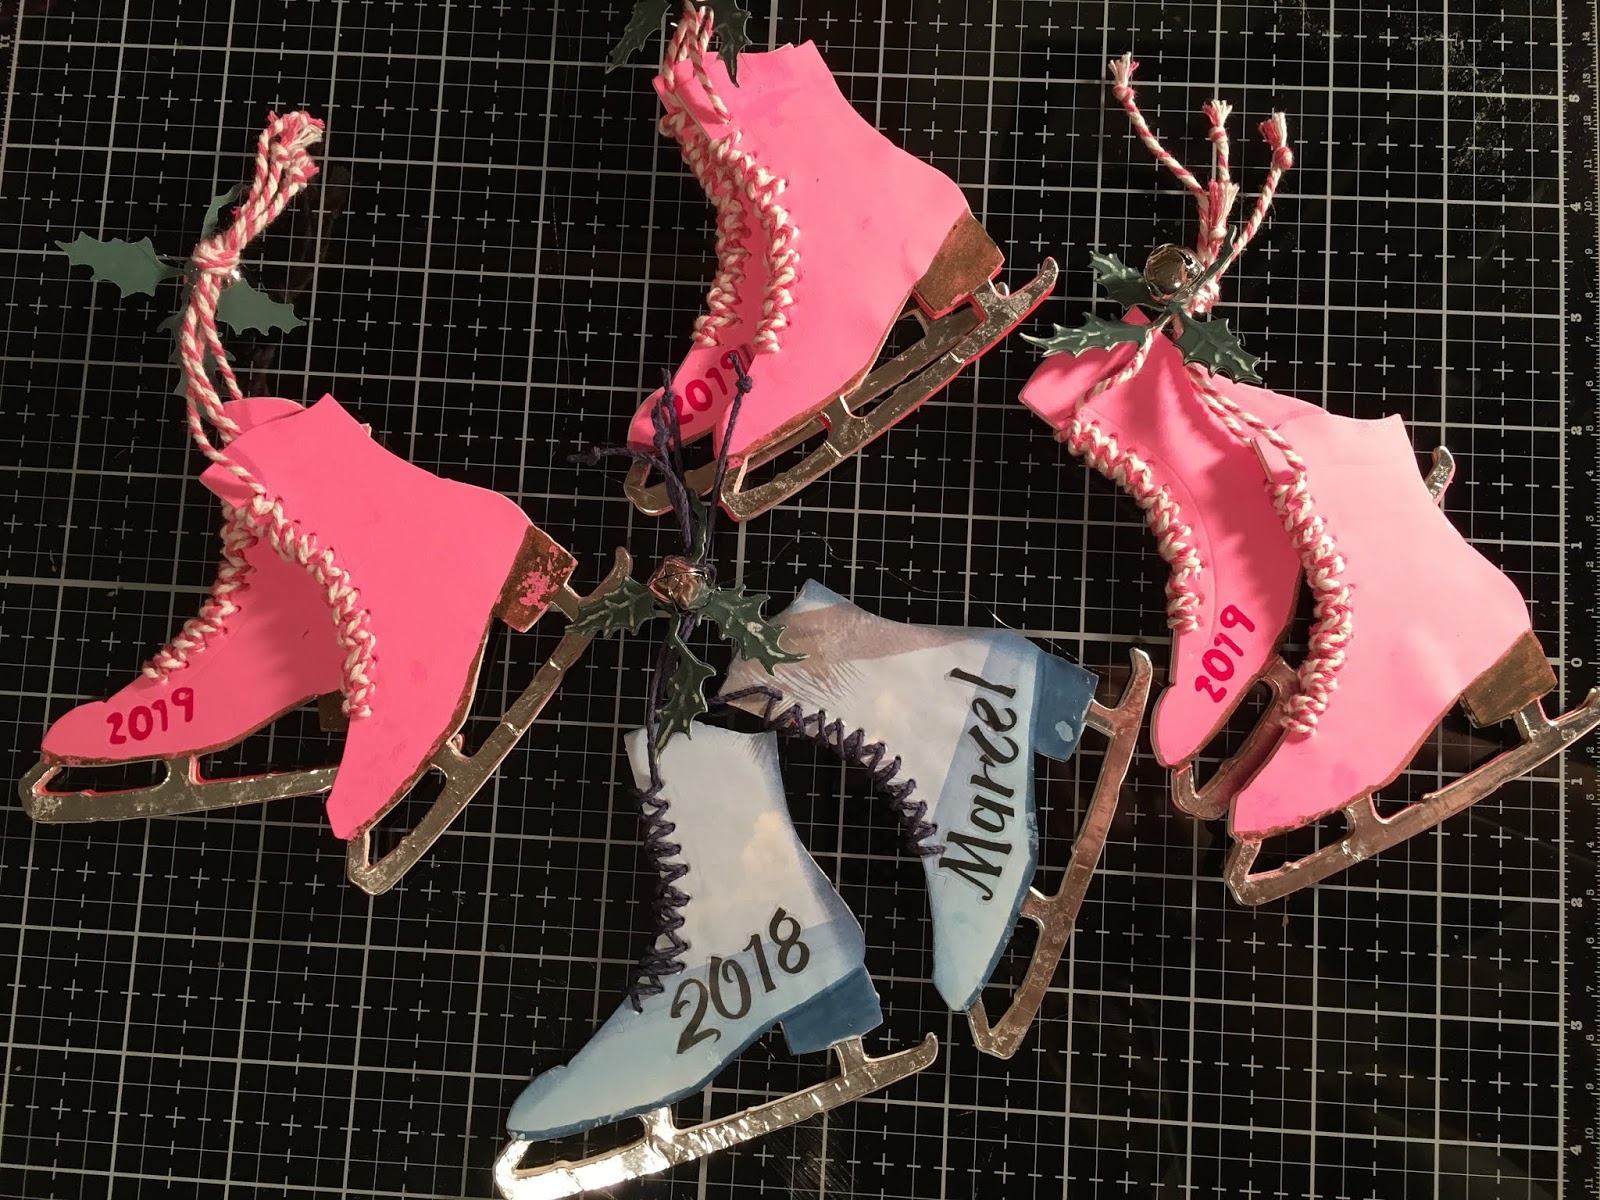
For all the TOO KIND comments on my Ice Skates !!!
I really had FUN seeing people open those up and THAT'S what Crafting is all about!
And, it's what make Craft People up there near all the VERY BEST type of people
in the entire WORLD!! We love, we let live, we make, and we share...TOGETHER.

A BIG THANKS goes to The Funkie Junkie Boutique
for sponsoring these Challenges all year long,
AND for getting our orders out so FAST! :)


The year 2018 comes to a close soon,
but 2019 will be hosting MANY Challenges all over the Net on Blogs!
I hope you will be able to join us for at least ONE Challenge at

     Till next posting...

    Be Safe, and
HAPPY BLOGGING!!


Tuesday, December 4, 2018

Frilly and Funkie Challenge #23- 'Tis the Season for Gift Giving: Personalized Ornaments!


    Well, here it is; December. For all those who keep digging into me with their....ice picks... about how many "days left until Christmas" or how the temps are dropping since they have this (shall I dare call it this) abomination (hey, it fits) for SNOW; awful, ugly, cold, stays-here-too-long-for-my-tastes SNOW. I'm firmly a Summer Girl, and I often lament on the fact that GOD just hadda have me born in Indiana. The extremes of this state often compare with those of Korea. If you remember your episodes of  the television show, "M*A*S*H*", then you'll remember quite a bit of the backgrounds of stories were on the weather there. Hmmm...Thinking on war-torn countries like that....I'll take Indiana, thanks. Guess I can PLOW through it, and just be thankful!
      This particular Challenge is one I have been looking forward to, though. I have several Besties who like creating gifts every year for others, and there are 6 of us who have done this for many years now together in our own little group. So while I do make more than just those 5, sometimes I make something for just them that all the others don't get. And I was really looking forward to posting it because it's such a cool idea!! I was soooooo excited about it, up until I figured out that the timing was off. Our little gathering is not until December 11th, and the deadline for this Challenge is tonight (December 4th). Unless I wanted to spoil the surprise of these little things....I had to come up with another idea for FF#23. Well, it's not really a problem, since I took all last year "off" from blogging, but I still kept step by step photos of whatever I was making, in the hope that I would be able to blog it sooner or later. I was able to use 2 things for entering into this year's Challenges at the FF Blog. They came in handy when it was crunch time for being Guest Designer! And this 3rd time comes in as a part-helper since I had to make more of these ornaments for this year, and it worked out really well. Especially since I had another RA flareup last week. I can say, though, that I am officially caught up for all the things I have going on at Christmastime: jam/jelly gifts, almost 400 peanut butter buckeyes, 6x recipe of my chocolate chip cookies, shaped sugar cookies, and several other things aside from the paper crafts and other gifts I cannot mention here. I was able to get the house cleaned up and all lit up- the hardest part with RA. I really detest being 'down' since I am normally a very active person. As they say; "Use it, or lose it!" and I really give it my best. So here's not just 24 sets of these ornament gifts from last year, but 3 more sets for a couple people to add to the ones from last year. (Plus one pink set for myself as the Grandma of the first GIRL in 54 years on our side!!)
             While these are extremely simple to figure out how to make, I am putting up step-by-step for those who consider themselves "craft-challenged", or for the ones who always exclaim "HOW did you DO that?!", and I just smile and say "YOU can do it, TOO! It's EASY!".
                     
                                           So let's glide on here...


You can use any supplies you like for this- the sky's the limit!
But, the main thing you must have to make this set: Tim Holtz Alterations Die; Ice Skates.
The other die is his TH Thinlits Set Holiday Greens #658759

The Ice Skates Die is heavy duty- steel ruled. These dies that can cut thicker, harder materials such as thick cardstocks or special woods and metals, but be sure to check with the instructions before you try out the material. I usually like to work with "mat board' which is used for framing photos inside the glass.

This is mat board- can be found on Amazon or Hobby Lobby, Joann Fabrics, or just about any professional framing store. Hobby Lobby often sells the cut inside portion (where the photo is) and bags a huge pile of different colors odds and ends into a clearance package for a tiny price!! I bought this bundle of 50 all white 8x10 mat boards from Amazon- came directly to my door for about $10 and will last me a good while! Mat board is thick and strong to stand up to a lot of handling & use.

If you're going to do like I did, and make enough sets for say....30 people... you'd better get a head start near Thanksgiving, as there is quite a bit of cutting if you want to do like I did and make each individual skate have SEVEN LAYERS! I wanted mine to last for years to come!
Then, you'll have more cutting with the greenery. But, hey, these are NICE GIFTS!

I make my own foil cardstock for this project: heavy duty Reynolds Wrap foil adhered to regular white cardstock with Modpodge.  You can use whatever glue or adhesive you like.

Getting these sets to look good both front and back for a tree decoration means you will need to reverse your materials to cut one for each side of each skate.
Foil side UP for the BACK sides....

...and foil side down for the FRONT sides.

Trim off the foil so it fits only onto the "blade" of the skate for a realistic look.

Here, you can see how the foil faces both ways so that both sides of both Left Skate and Right Skate are completely covered to look real from any direction as it hangs on the tree.

I used Glossy Accents and I am always a bit heavy-handed with it, but in this area- it makes it look like ice/wet on the skate. I LOVED that!! I did notice, however, that the Glossy Accents will prevent any Distress Inks from coloring it over. For ME; it only added a more vintage look, in moho!
But you can do the Distress Inks FIRST, if you prefer, and THEN do the gluing.
The red you see is the un-wanted side of the cardstock used. The PINK was the side I wanted. So this view of the stack is all put together to keep each set from getting mixed up. In the photos above, the white sets show a baggie with the words "LONG" and "SHORT" to keep each skate separate until I put the sets together. One Skate is slightly shorter than the other. But you can make sets in identical pieces or however you choose. 

This year; there was one special set...because he was born & raised in Hawaii. 
I happened to have some cool papers in my stash that I thought would make this a one-of-a-kind.

Lacing up the skates.

Take your pick of lacings, but if you want thick sets like these; use some pliers to make it easier on your hands! I also like to use either a Sailing Needle (thicker and longer) or a Curved Heavy Duty Needle. The holes in the skates are already there, and easily to pop into with the needles.

I do all my shading and distressing AFTER I put the laces in.
It just makes sense to me that the laces also need to look "old" and "used". 
The TH Oxides are YUMMY !!!
And the TH Distress Markers and Crayons come in very handy here!

You can shade in any colors you want. Or just leave them, if you want.

Again, lots of cutting, sanding, and Distress coloring;
but it's all well worth the look !!

I cheated here: I used the Glossy Accents for a double-duty:
I wanted the leaves to last, so I thought of coating them with TH Ranger GlueNSeal, but thought the Glossy Accents would look cuter on the Holly leaves... so I coated all of it and when I got out my Skates Ornaments from LAST YEAR (2017)… it stood the test of storage VERY NICELY!!


The pink ones are left blank... until the Older Set of kids pick out a name for their
Baby Girl due in March 2019. First girl out of 10 chances in 54 years of my ChiefHubby's mostly all-boy side of Larimore Family! As it was, All my older siblings have boy/girl or girl/girl,
and I am the only one with 2 boys. Yeah, we're ready for a girl...
and more of BOTH, if GOD so wills to Bless us with !!

Both sets of kids got a Husband/Wife set.
All the Besties got a Vintage White Set (I even got out my own real ice skates to
copy where the markings should look worn.)

The Wittle Peanut Grandson's set... he helped hang them this year!!!
Yep- these are THAT durable !!


I hope you've enjoyed these posts from 2018, and even more so: 
I hope you'll feel up to getting in on the fun at
I need to give a huge shoutout of THNAKS! to
for sponsoring all this fun I've had throughout 2018.

I chose my "wants" this year from my ChiefHubby and lookie what came in the mail...
This was just TODAY from The Funkie Junkie Boutique!
I split my $$ into two orders where I found every single item I was hoping to add/replenish
to my stash of goodies in my Studio. I swear I saw my Studio floor SMILE at me!!
*wink-wink*
Every store I went to. that Merry Moose has been RUNNING OFF WITH PEOPLE!!!
I was SO HAPPY to get one from TFJB!!
I can see lots of things to create and 'pay it forward' to some unsuspecting reviever with these items!!

The other half of my $$ was from JoAnn Fabric's Black Friday
(items pictured on the right side) online sales.

I'm looking forward to what 2019 has in store for my studio and my stash!
I never get bored when I think of something to create.
I think 2019 will bring us all new challenges, and I hope: new friends,
But, the "vintage" friends will keep on creating with!

I hope to be back on here for a year end post, but just in case:

MERRY CHRISTMAS!

Be Safe &
HAPPY BLOGGING!!