Big news comes with this posting: a change at The Funkie Junkie Boutique! Instead of hosting Challenges, it's going to be all about inspiration! The new name is Inspirational Ave, and you can read the details HERE. I'm humbled to take the first turn and hope those of you who have been looking in on my projects, will continue to do so, and follow the new simple rule for a chance to win a $25 shopping spree at The Funkie Junkie Boutique! The projects are going to be amped up a notch with lots of new products and it's promising to be a really FUN ride, so come along with us!
I'm still in New York, helping the younger set of kids with things while they adjust to the newest of our Grandbabies, but also during the long hours Daddy must put in during this time of year. While he's busy at work, we've been keeping plenty busy! When we want to get out of the house with both kids, there's so many beautiful parks to play in and places to see. It's especially nice for Little Man Jamie because it's his favorite time of year; Halloween! I have no idea why my Grandbabies and Kids all like this holiday so much. I mean, I am the "pumpkin" having been born in October of 19.... Hahaha; nice try! As I was saying- we take walks nearly every day around any one park and look for what Pecan calls "Boo Houses" (any house with pumpkins or Halloween decorations out). Oswego is definitely a "Halloweeny" town! They have all kinds of festivals all through this month, with lots of activities for kids and teens. And that's really GOOD; keep kids out of trouble by helping them have fun! In any case, I've definitely been given a few funny jolts at some of the amazing ways people come up with in house decorating. You'll see some pics after the project, so let's just get to it since it's rather related....
I needed to make a shell/cover for the book I wanted to make from an old hanging file folder,
so I got out my (discontinued as far as I know) Eileen Hull Pocket Notebook Die.
The inside pages were to come from one of my Tim Holtz Memoranda stacks.
These next pics will show you how I not only cut the cover from the file folder,
but also, how I layered my cover together.
I began with a simple fold that would fit along the FOLD side of the Pocket Notebook's cover cut.
I did first remove all the metal flat pieces and put them into the recycling bin.
Then decided to keep the original side folds. I did need to trim the middle layers set.
(in this case, these are TH Blackout big scraps leftover from some other project)
just a bit so they can layer together onto the holes.
Here is where I divided one of my fave gifted papers (from a Bestie):
an older Tim Holtz Vellum from the old 12x12 stack of years ago!
I wanted that guy to be my "new Doctor" for this book & you'll see why in just a few pics.
Here are the die cut layers-
they're all the same size but don't look so since I was at a higher angle with my cam.
Since the TH Vellum was a different size than the file folder, I had to measure and make the folds.
Now you can see each layer ready to put together:
starting from the bottom
Here, you can see I'm using a good Score Tape since it sticks rather well.
Wet glues will make any vellum curl up as it dries.
I used the lines on the Vellum to help hide the tape better from the right side of the sheet.
This came together by happenstance...
I had that TH Found Relatives Card tucked away for ages!
THANK YOU, DEBB!!
Next was a little play with both the (new to me) TH Skull & Crossbones
STILL AVAILABLE at TFJB!
and some TH Foundry Wax!
Then I started simply playing around with an idea for a moving element- a FIRST for me!
Then expanded on it with other TH things in my drawer from Halloweens past.
I'll be back in Indiana -for a few weeks anyway- before Halloween. I'm more hopeful now that
all our Grandbabies will be able to finally enjoy this holiday for the first time in their young lives- no thanks to Covid19, for sure. The ChiefHubby's company (retired member) was finally able to go back to having their Annual Picnic, and since the older Son works there also, we took the older 2 Grandbabies for them to be able to finally enjoy a r4eal carnival type of picnic. They hire out all kinds of rides, blowup runs, etc. The food is all catered- and always very good, for almost 5,000 people. I was a tiny bit put out that our younger Grandbabies were too far away to enjoy it... and ended up going with them to a Festival up here where Pecan got to enjoy all the same fun! The kids are 2 (just 2 more months will be 3, 3&1/2, and 5&1/2.... yet, just now getting to go places and do things they couldn't do with Covid stealing that time from them. I sure hope we're passed all of it now. So here's some pics for you to see the FUN I've been having as a Memaw; we truly do recieve more than we aim at giving, and we are so very BLESSED !
This is TIM HOLTZ Manion Die to a T!!!
And if you think THIS is creepy...
This house WON, in moho!!
And the Warewolf MOVED!!! Ahhhhhhhhhh!!!
Enjoying this PRECIOUS time!!!
Princess Judith Rose is the happy, sleepy, SMILEY baby... when she wants to wake up, lol!
As per my usual- the last to get done is the blogging post...within hours of deadline, even though it looked like I was going to make it a full day earlier. Best laid plans always go wishy-washy on me. But, the important part is not WHEN you show up, but the showing up itself. I spent some time looking at journals and booklets, and especially the projects posted online (Facebook- Tim Holtz Addicts) and got some awesome ideas puppy-running in my head! So this was my chance to try out a couple...
Let's begin with the video, so I am not typing so much under the photos, but allow the photos to just give further closeup still shots at the work done. In the video, I explain the difference I have encountered between "regular" cheaper cardstocks and the Tim Holtz cardstocks. Since that made the biggest part of this challenge to be...well, rather challenging...we'll start there.
I'm not 'knocking' this type of cardstock (nor any other brands) and will likely keep buying it as I choose for whatever needed solid-color projects. It IS still very useful! (And bargain priced for several types of things.) BUT- it does tear too easily when you are using adhesives and need to remove/replace/repair your project along the way. That was my main point.
Starting this book- measuring and cutting for my own likes and specs.
This is the FUN way to CREATE a unique project all your own design!
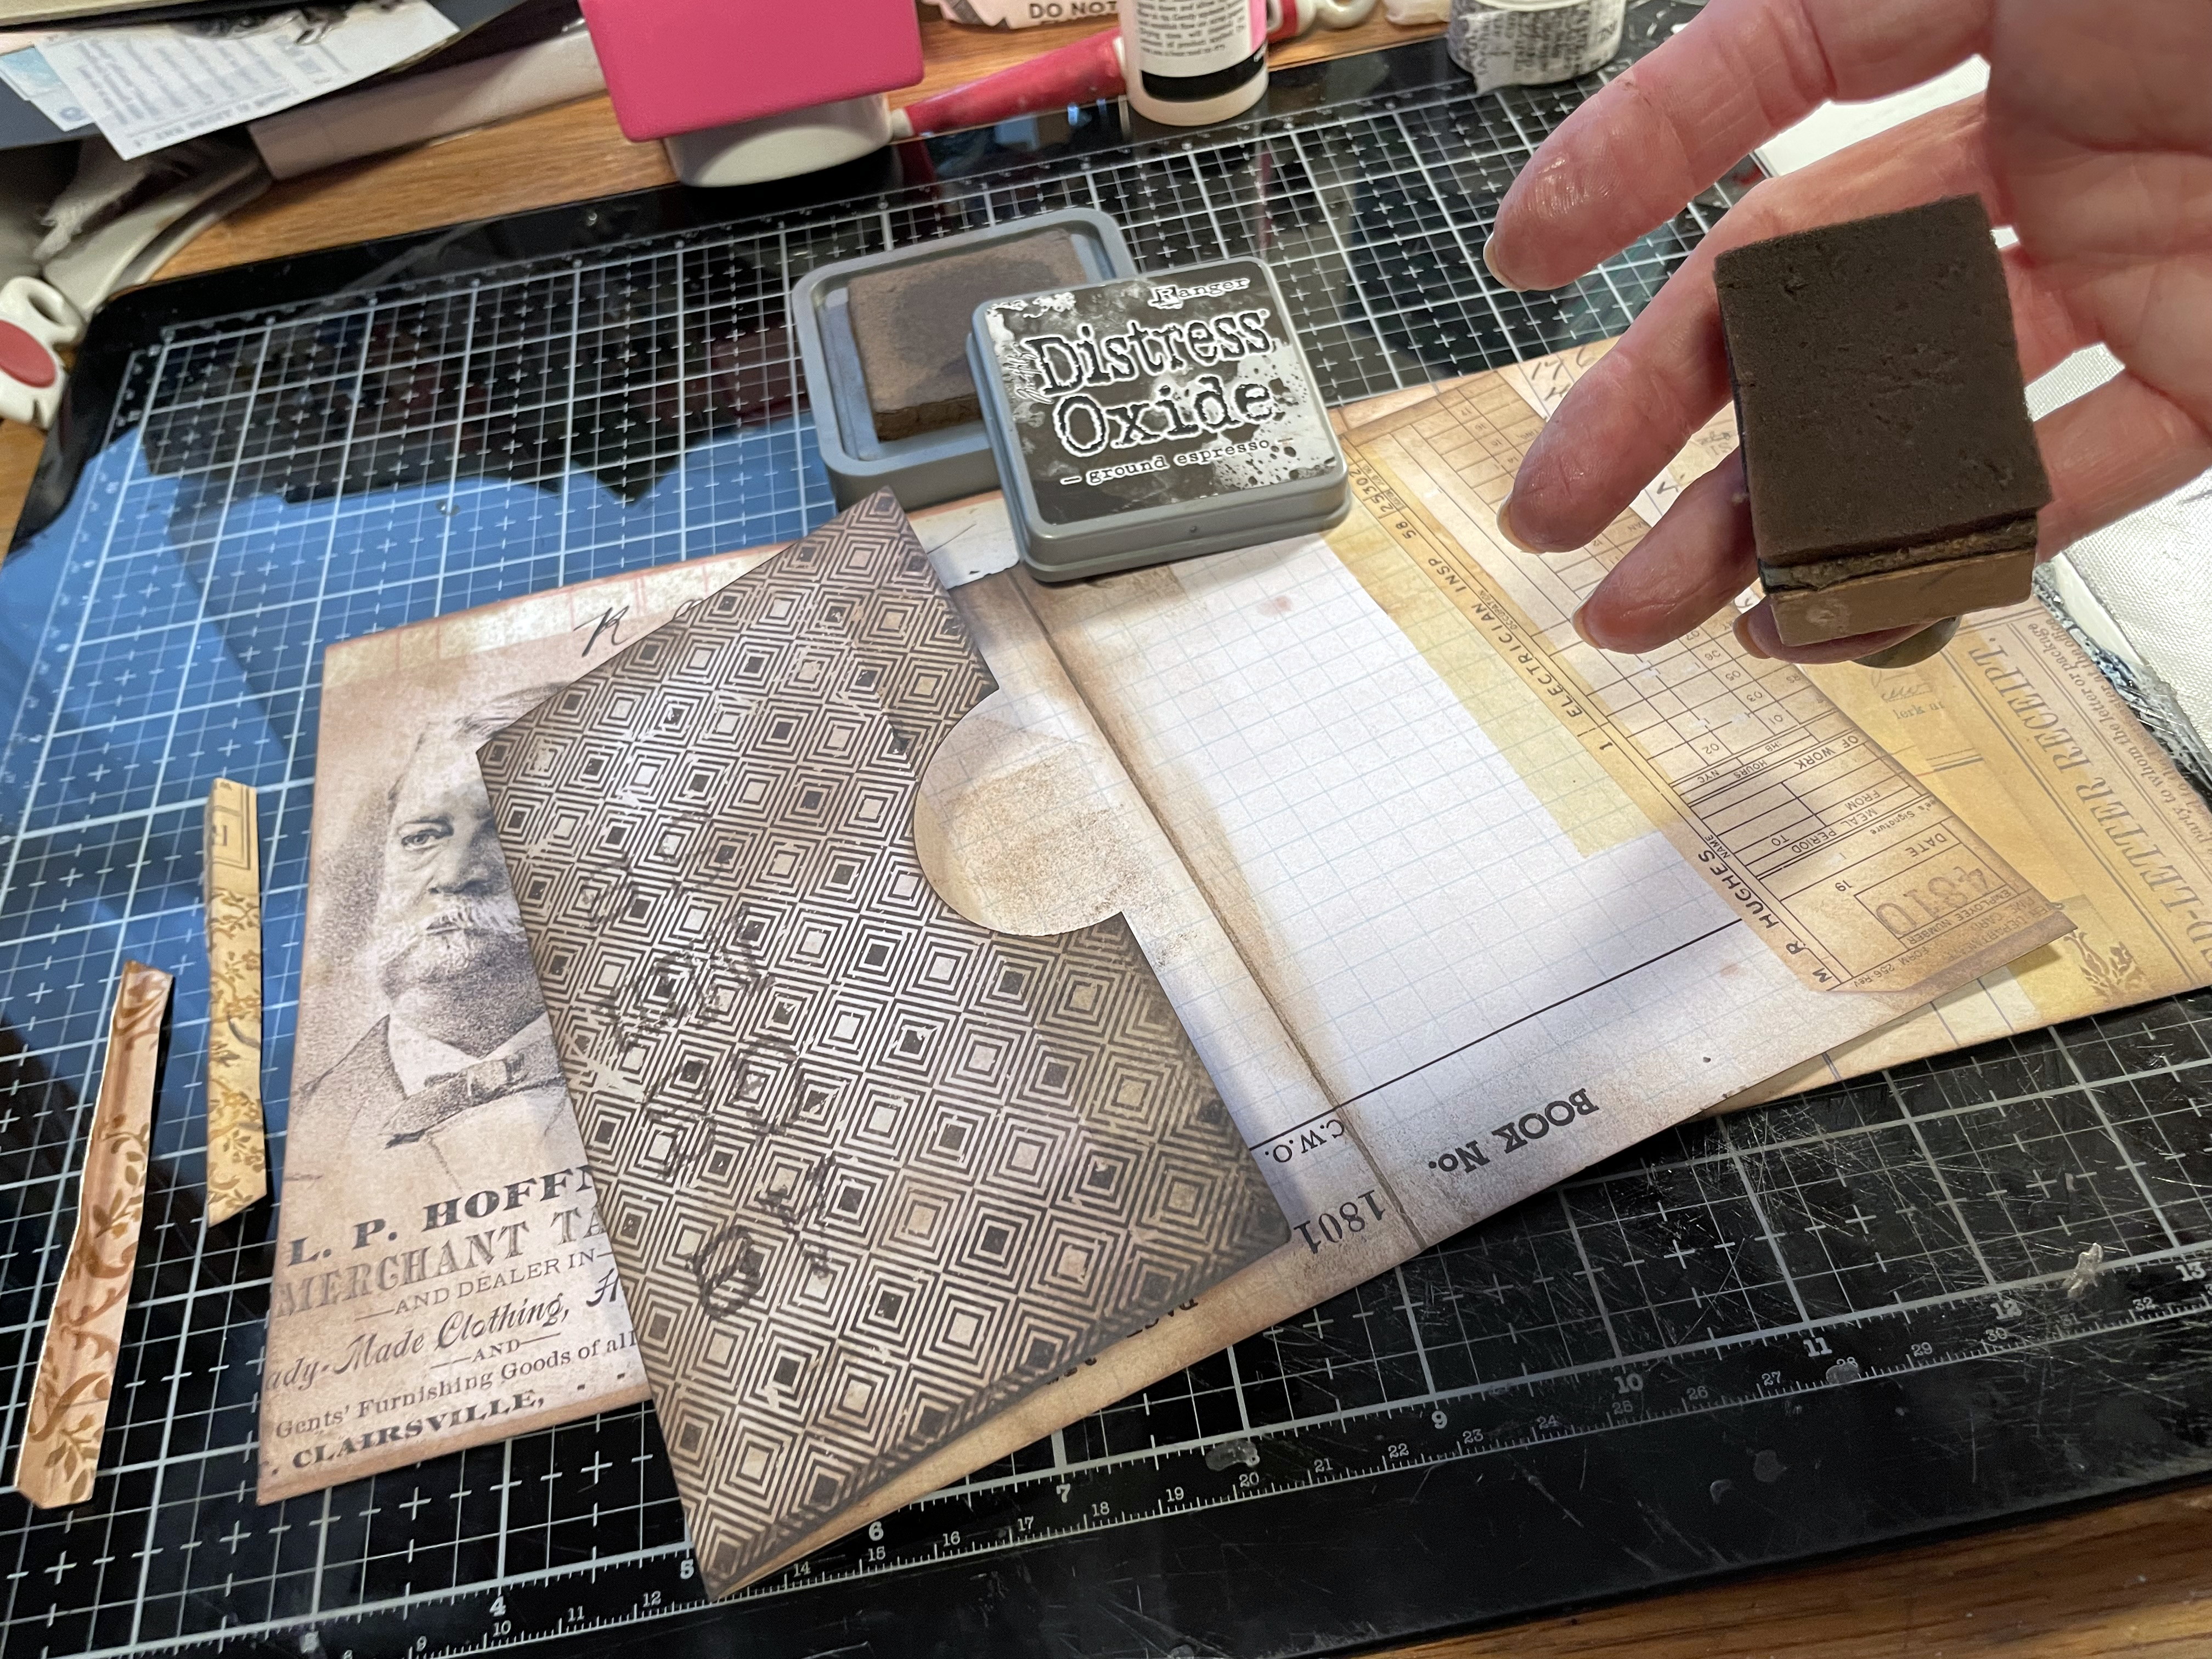
Here, I have the basic background for the book, and am choosing not to add any ink or edging to
to it at all- just the covering backgrounds of TH cardstocks/paperies. This matched very nicely with my theme and is the main reason I used this stock.
I'll break in here for a minute or two so I can show you how I made the fish!
The first step was to make a page of 'deep ocean' where the fish would be;
this required some Ranger Alcohol Inks, Ink Blending Tool, and Alcohol Ink Blending Solution.
Now, while I got to use my new Tim Holtz Glass Media Mat...
I totally forgot to add that new Alcohol Lift Ink Pad and the Lift ReInker!!!
BUT- there is STILL fun to be had with the Alcohol Inks and Blending Solution, so...
here's my take on The Deep Blue- complete with Blending Solution droplets
to look like fish air bubbles.
Shrinky Dink "paper" can be found at just about any store that carries copy paper or paper supplies.
This particular kind (shown here) can be printed with your computer (I use Canon Pixma or my travel Canon Selphy) OR used with a good permanent ink (I chose my Ranger Archival Black)…
the trick is to SAND THE PAPER DOWN FIRST!
You can use any stamps after sanding, and I happened to have a full set of ocean-themed clear stamps that came in a box of yard sale goodies for a bargain of $5 a couple summers ago (but never got the chance to use them for the right project). They are clear, when I really prefer TH's red rubber stamps, but they were too cute and I love anything ocean!
After making 6 of the fish, I decided I needed just ONE fish to "escape the bunch caught" and wanted him to look different. My mind went to 'numbers' and 'statistics', so I got out my TH red rubber sets that had anything numbers, etc on them (he has quite a few that qualify) and chose the Reflections with the numbers. The Mind-Puppies got me going here thinking fish will swim ANY WAY they can in order to escape: upside down, sideways, backwards (if they can), and so on. So why not have the numbers taking the escaped fish off into the hiding place?! He's not about to let himself become a statistic being caught and eaten!
Here is the fish being stamped with the Reflections Stamp....
those of you who have done this before will notice that I am actually going BACKWARDS with the technique: the fish stamp is the one holding still, and the Reflections Stamp is doing the moving.
I put the sanded Shrinky paper on top then gently rolled it without allowing it to move.
A plain stamping block worked well for this and it was only ONE fish.
If I was going to do several... I'd make it work in the Stamping Platform!!
The end result was pretty COOL, and even MORE SO once it was shrunk!
Using the block came in handy for heating and shrinking, since the shrink paper WILL curl.
The 6 regular fishies…
...and "the one that got away"!
Now, let's finish out the rest of the photos...
This was an extremely FUN (very challenging, too) project, and I am not ashamed
to admit that I was completely OBSESSED with it- from start to finish- I couldn't seem to just leave
it 'be' till it was totally finished! I would even wake up after a few hours of sleep and think "Omygosh; I've got a thought of how I can fold that!" and run off to do it before I could forget.
Now THAT is "OCD"...in a good way, of course. ;)
I also need to take a sec here to shoutout:
"THANK YOU!!!"
to you folks leaving such SWEET comments on my previous projects!
As much as I am on the run all the time (as I can be and then down flat from all the running after it hits me), I try to leave notes for the projects that really strike a chord in my Artful Muse, because it can be a real up-lifter to an artist when others see their work. Sharing is the basic theme of what it's all about- no matter what kind of art you are into, and no matter what talent you have (and our Creator GOD has indeed given EVERYONE a talent...they just have to discover what that talent is)!