Year 2013 & Year 2014 2

Year 2013 & Year 2014 2
Showing posts with label Paper Dolls. Show all posts

Tuesday, June 14, 2022

The Funkie Junkie Boutique Challenge #12; StuckInTheMiddle...File Box with Mini Files!


     I
'm loving every minute of June and the hot weather it brings! I always keep out a bowl of water in case anything happens by in the night who gets thirsty. I do the same all winter. It was officially 101*F today, yet I hardly felt it since I spent most of the day trying to get ahead paper-wise, then an eye Dr appt. I saved my pool time for the cool of the evening at 10pm. The long days are my favorite, but they start getting shorter in just a few more days already. We're currently 'recovering' from 2 Family Reunions over this past weekend and have one more this next weekend. With those done, we look forward to some time for just our own family in July and then Besties together again, at the end of July.

      June brings two of the last family birthdays until the Fall; younger Daughter will turn 31on the 26th, and is still having morning, noon, and night sickness in her 7th month with Baby Girl. I keep hoping it gets better for her, but I went through that also, and sadly- it doesn't end till Baby gets evicted. Our older Daughter has been having so many pain issues and hoping the Drs will finally get to the bottom of it, I lived through THAT also and it's like you are the mouse for whom they put cheese on the end of a string and pull it around for you to allllllmost grab it before they yank it away; promising that this time they've got it figured out. Right. But no matter how they both are feeling, they still manage to do what needs to be done as much as they both can- that's what real Moms do. It makes me so proud of them, on one hand, and on the other, I wish I could wave a wand and make it easy for them. Older Daughter put up decorations and went all out for Peanut's birthday party: the BIG HALF DECADE!! If there is any milestone number that shows how fast time goes, it's that year 5, because the big bad school bus tries to come around and take them away. But not this boy just yet. A just turned 5-year-old is ready for a HALF day, but ALL day?? Yeah- if it was half day care and half learning. Both our boys just turned 5 when they went in but we were very blessed that both were gifted and well ahead of the average; even being the youngest in their classes. Why schools had to go and mess up a good thing and make Kindergartens into 'the new' 1st Grades, is beyond me. But then.... a lot of things are upside down these days. At least Peanut will have more time to use his first new fishing pole to catch more fish, until then. Here he is with his very first catch from our lake!


      Suzz is leading the way for this new TFJB Challenge; "Stuck in the Middle" in which she's challenging us to "showcase something in the middle. It can be a pop up card with a surprise in the middle, it can be a mini journal with pages inside, it can be anything that highlights the middle of something"! I've had two of the new Tim Holtz Vignette Card Files but not a chance to use one of them yet. I took up her challenge with one because...well... it DOES have a MIDDLE! So I started with that. 

                    Scroll down and let's get to it!


I started out with 5 out of these 6 items.

The Tim Holtz Paperie came as a surprise: a gift to me from one of my Besties
who is de-stashing. You cannot believe how EXCITED I am over these stacks!!
The one on the far left (TH Correspondence) is one of my all-time fave stacks!
The other two; I've only seen these in photos, having never gotten my hands on either!!
THANK YOU, DEBB!!!!! 

That middle stack (Yep; that's a "MIDDLE" for ya!) is one of THE coolest I've ever seen...
and FELT with my fingers! It's got vellum paperie included among the regular TH cardstocks.
Yet- this 'old' stuff is different than his paper stacks of this day and age;
the old paper is 'layered' as if there's a top and bottom with a cardstock in the middle.
Sanding or tearing had to be done gently, as one of the layers would seperate.
But, it's one of the reasons I LOVE that old paper!!!

 Be sure to click on any of the links below for help to find these products I used:


Ranger Inkssentials Ink Blending Tool + 2 Blending FoamsTim Holtz Tonic Studios Kushgrip Snip w/Non-Stick Blade & Cap 7"-SmallRanger Inkssentials Glossy AccentsRanger Tim Holtz Distress Oxide Pad - Ground EspressoRanger Tim Holtz Distress Oxide Pad - Vintage PhotoRanger Tim Holtz Distress Paint - Antique LinenRanger Tim Holtz Distress Paint - Bundled SageRanger Tim Holtz Alcohol Blending Solution 2ozRanger Tim Holtz Alcohol Ink Mixative - GoldTim Holtz Idea-ology Vignette Card FileTim Holtz Idea-ology Paper Dolls Solo


I'm starting with the box- taking out the screws from the pull handle.
I advise taping those screws down so you can easily find them when it's time to put them back in.

I gave the top edges a couple of layers of Antique Linen Distress Paint,
since it soaks in quickly- as you can see in the lower left corner.
Then gave a full coat inside and out of Bundled Sage Distress Paint.

After the paint coats were all dried (I air dried as well as heat dried), I measured 
for the paper covering. I'm lucky in that it's easy for me to "guess" sizes without too much
measuring. Most people have to precisely measure to the point, but I can eyeball it and it fits.
I'm also pretty good at "middling" which is what we call finding the middle of anything.
That gift comes in handy when the ChiefHubby is building or hanging anything. 

I did sand all the outside edges by laying the paper flat and gently going over
with the TH Grip Sander. I made sure there were peels from the first layer
to allow an aged look to each piece. I LOVE that look
and decided only the box would have a touch of Distress Oxide in Vintage Photo.

I wanted it to rest on legs. I dug these TH Mini Foundations from last year-
waiting in my drawer till I found time to do a file box like

At first, I thought it was a no-go. The Gold Metallic Alcohol Ink was a very old bottle,
and came out somewhat gummy at first. I thought I might have ruined the 
feet, and wiped it down to start over. And then it happened: one of those
crazy mistakes you didn't count on, but fall in love with!
The pastiness came out looking just like the pull handle on the box!
I simply allowed it to dry and then polished them up with a tissue.

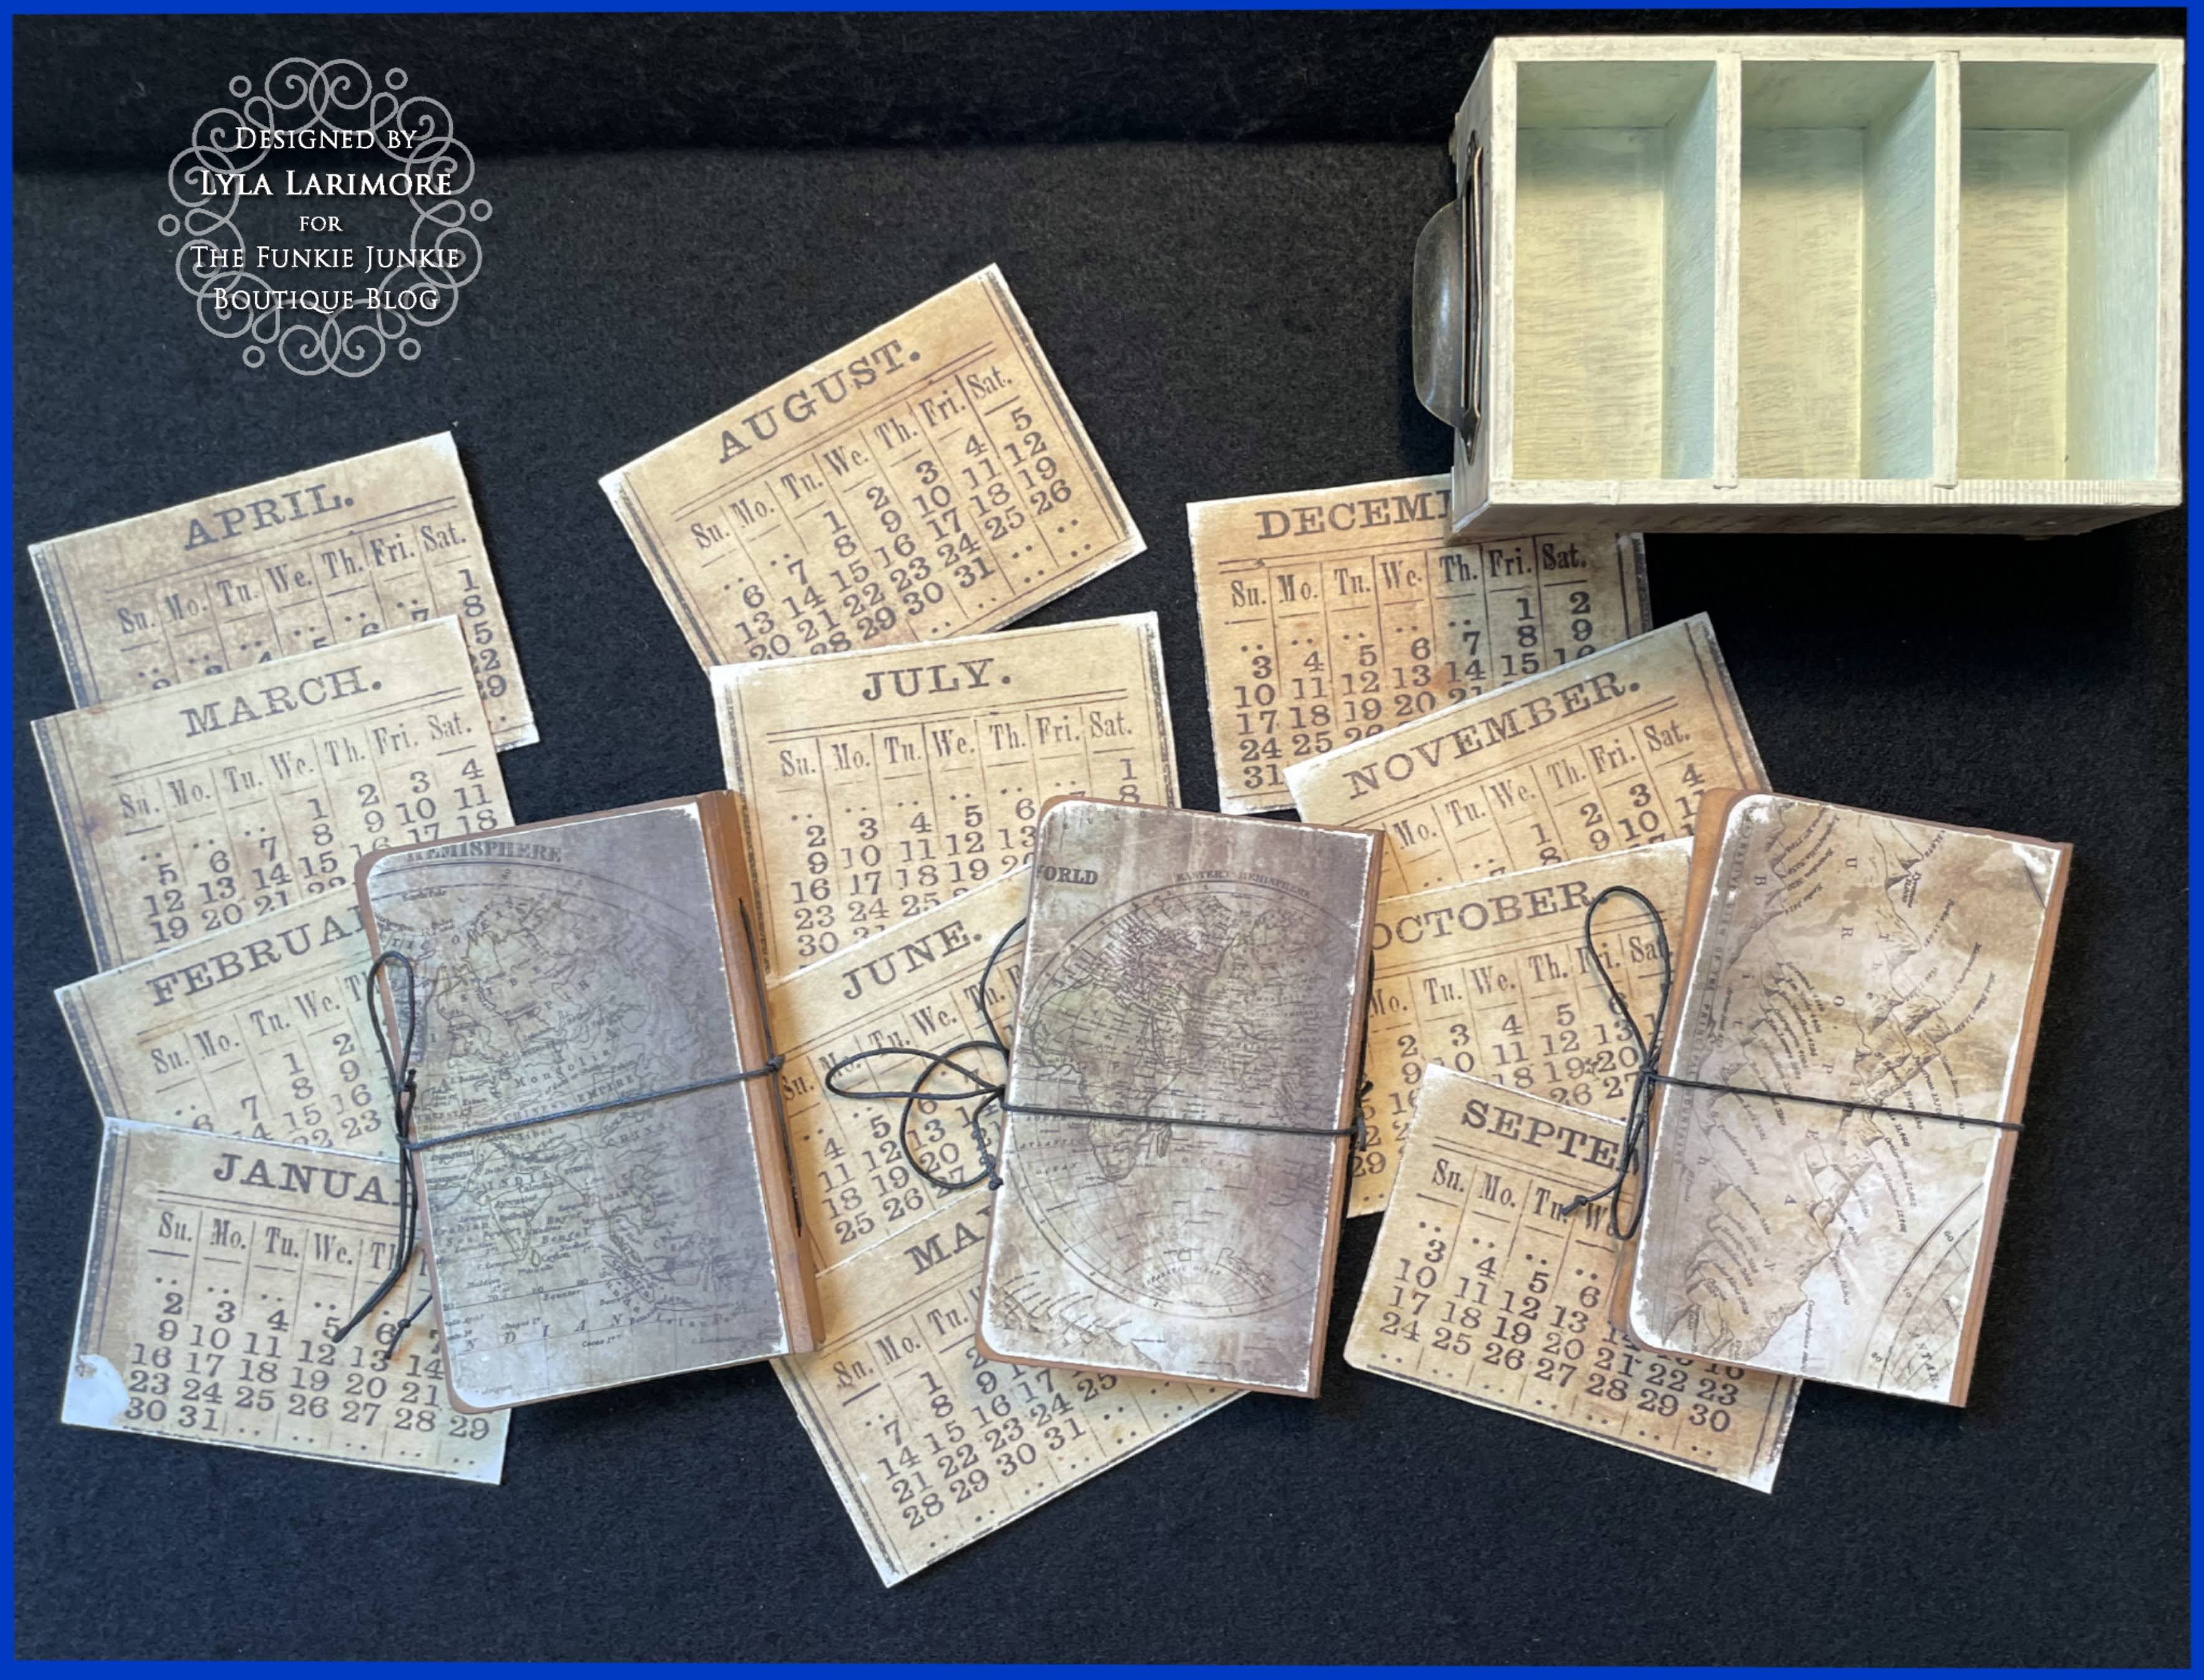
Now, we're getting into the mini folders I made.
I actually made them the same day I die cut & made the 
Photos say a thousand words, so if you need to read how- just click on the link above.


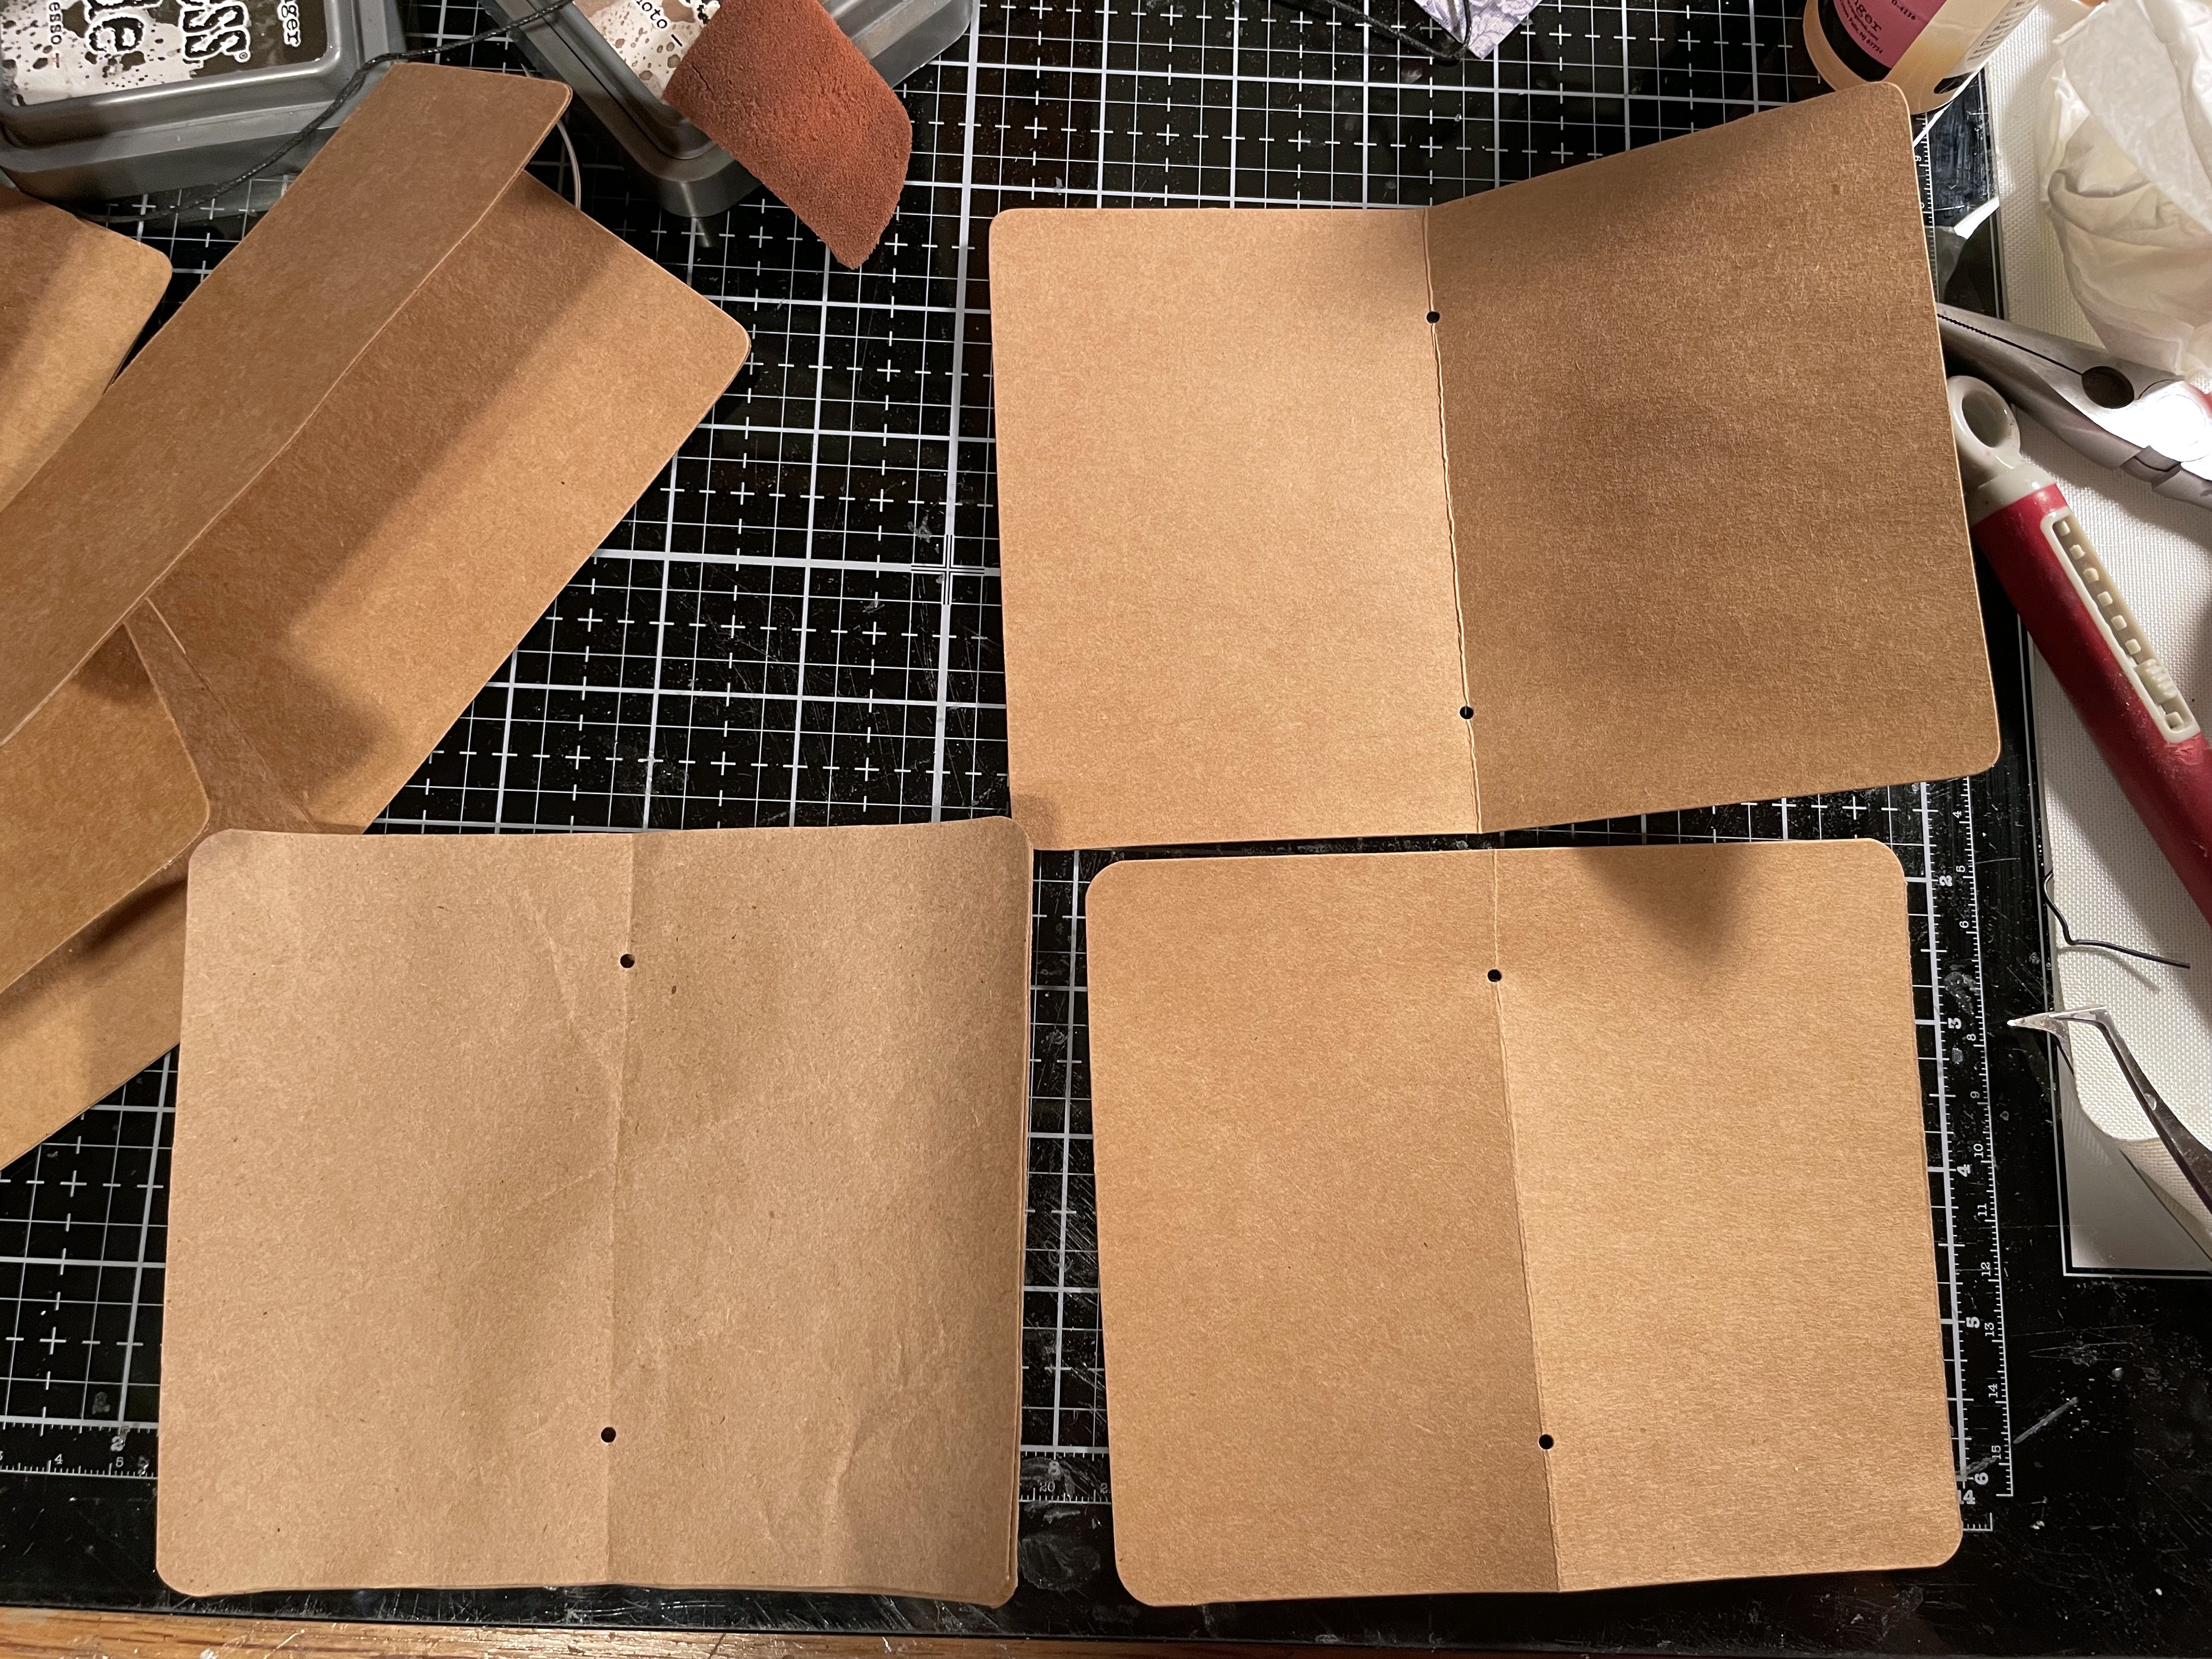
The only difference in these booklets made into files:
I left the string on the spines.
I simply tied them together at the opening and you have a tied file.


But the gift of the Tim papers made all the difference in the look!

I sanded the paperie and edged the files in Ground Espresso Distress Oxide.
I did not use anything else to distress the papers.

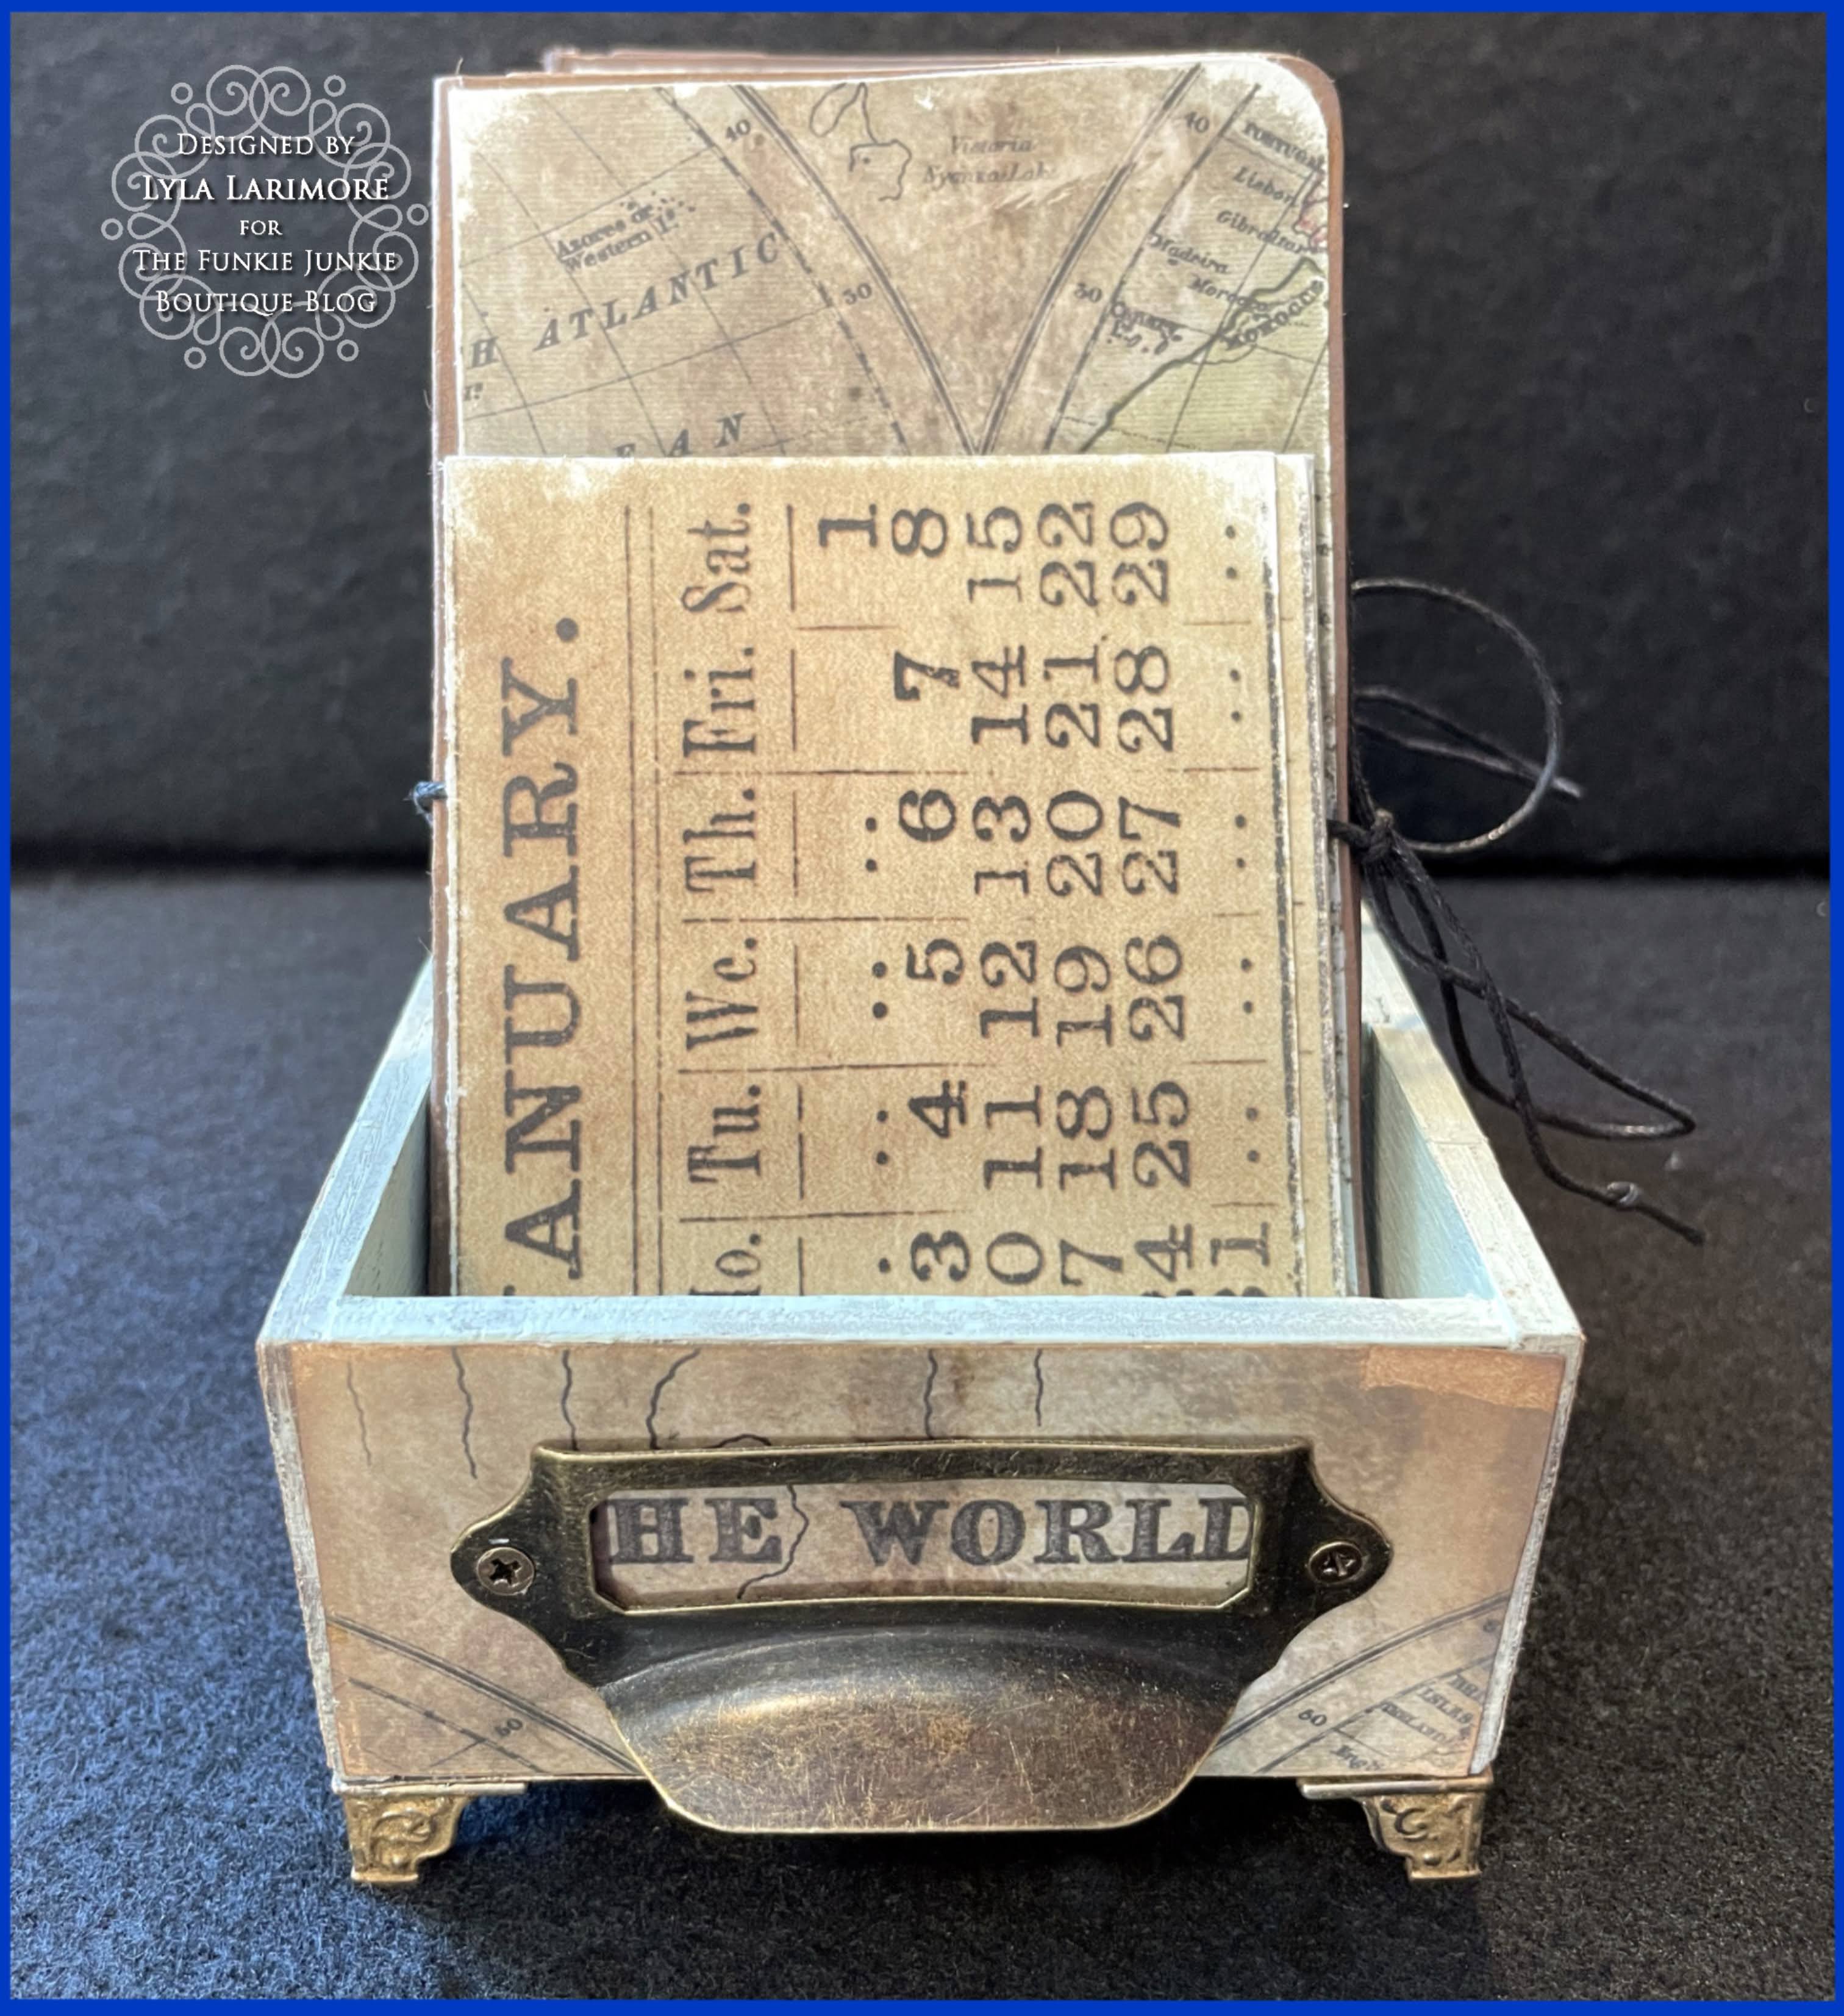
There was one full sheet of calendar (probably 1989 as my dial date showed) 
which was the year our older Son was born- Tuesday, May 2nd. 
So that was cool! I sanded all of the pieces after I fussy cut all the months out.

Got out the TH Paper Dolls (listed above in Materials but not shown in photo).
This is where I chose 
the MIDDLE compartment of the box
with its MIDDLE mini file
to junk journal
the MIDDLE pages!

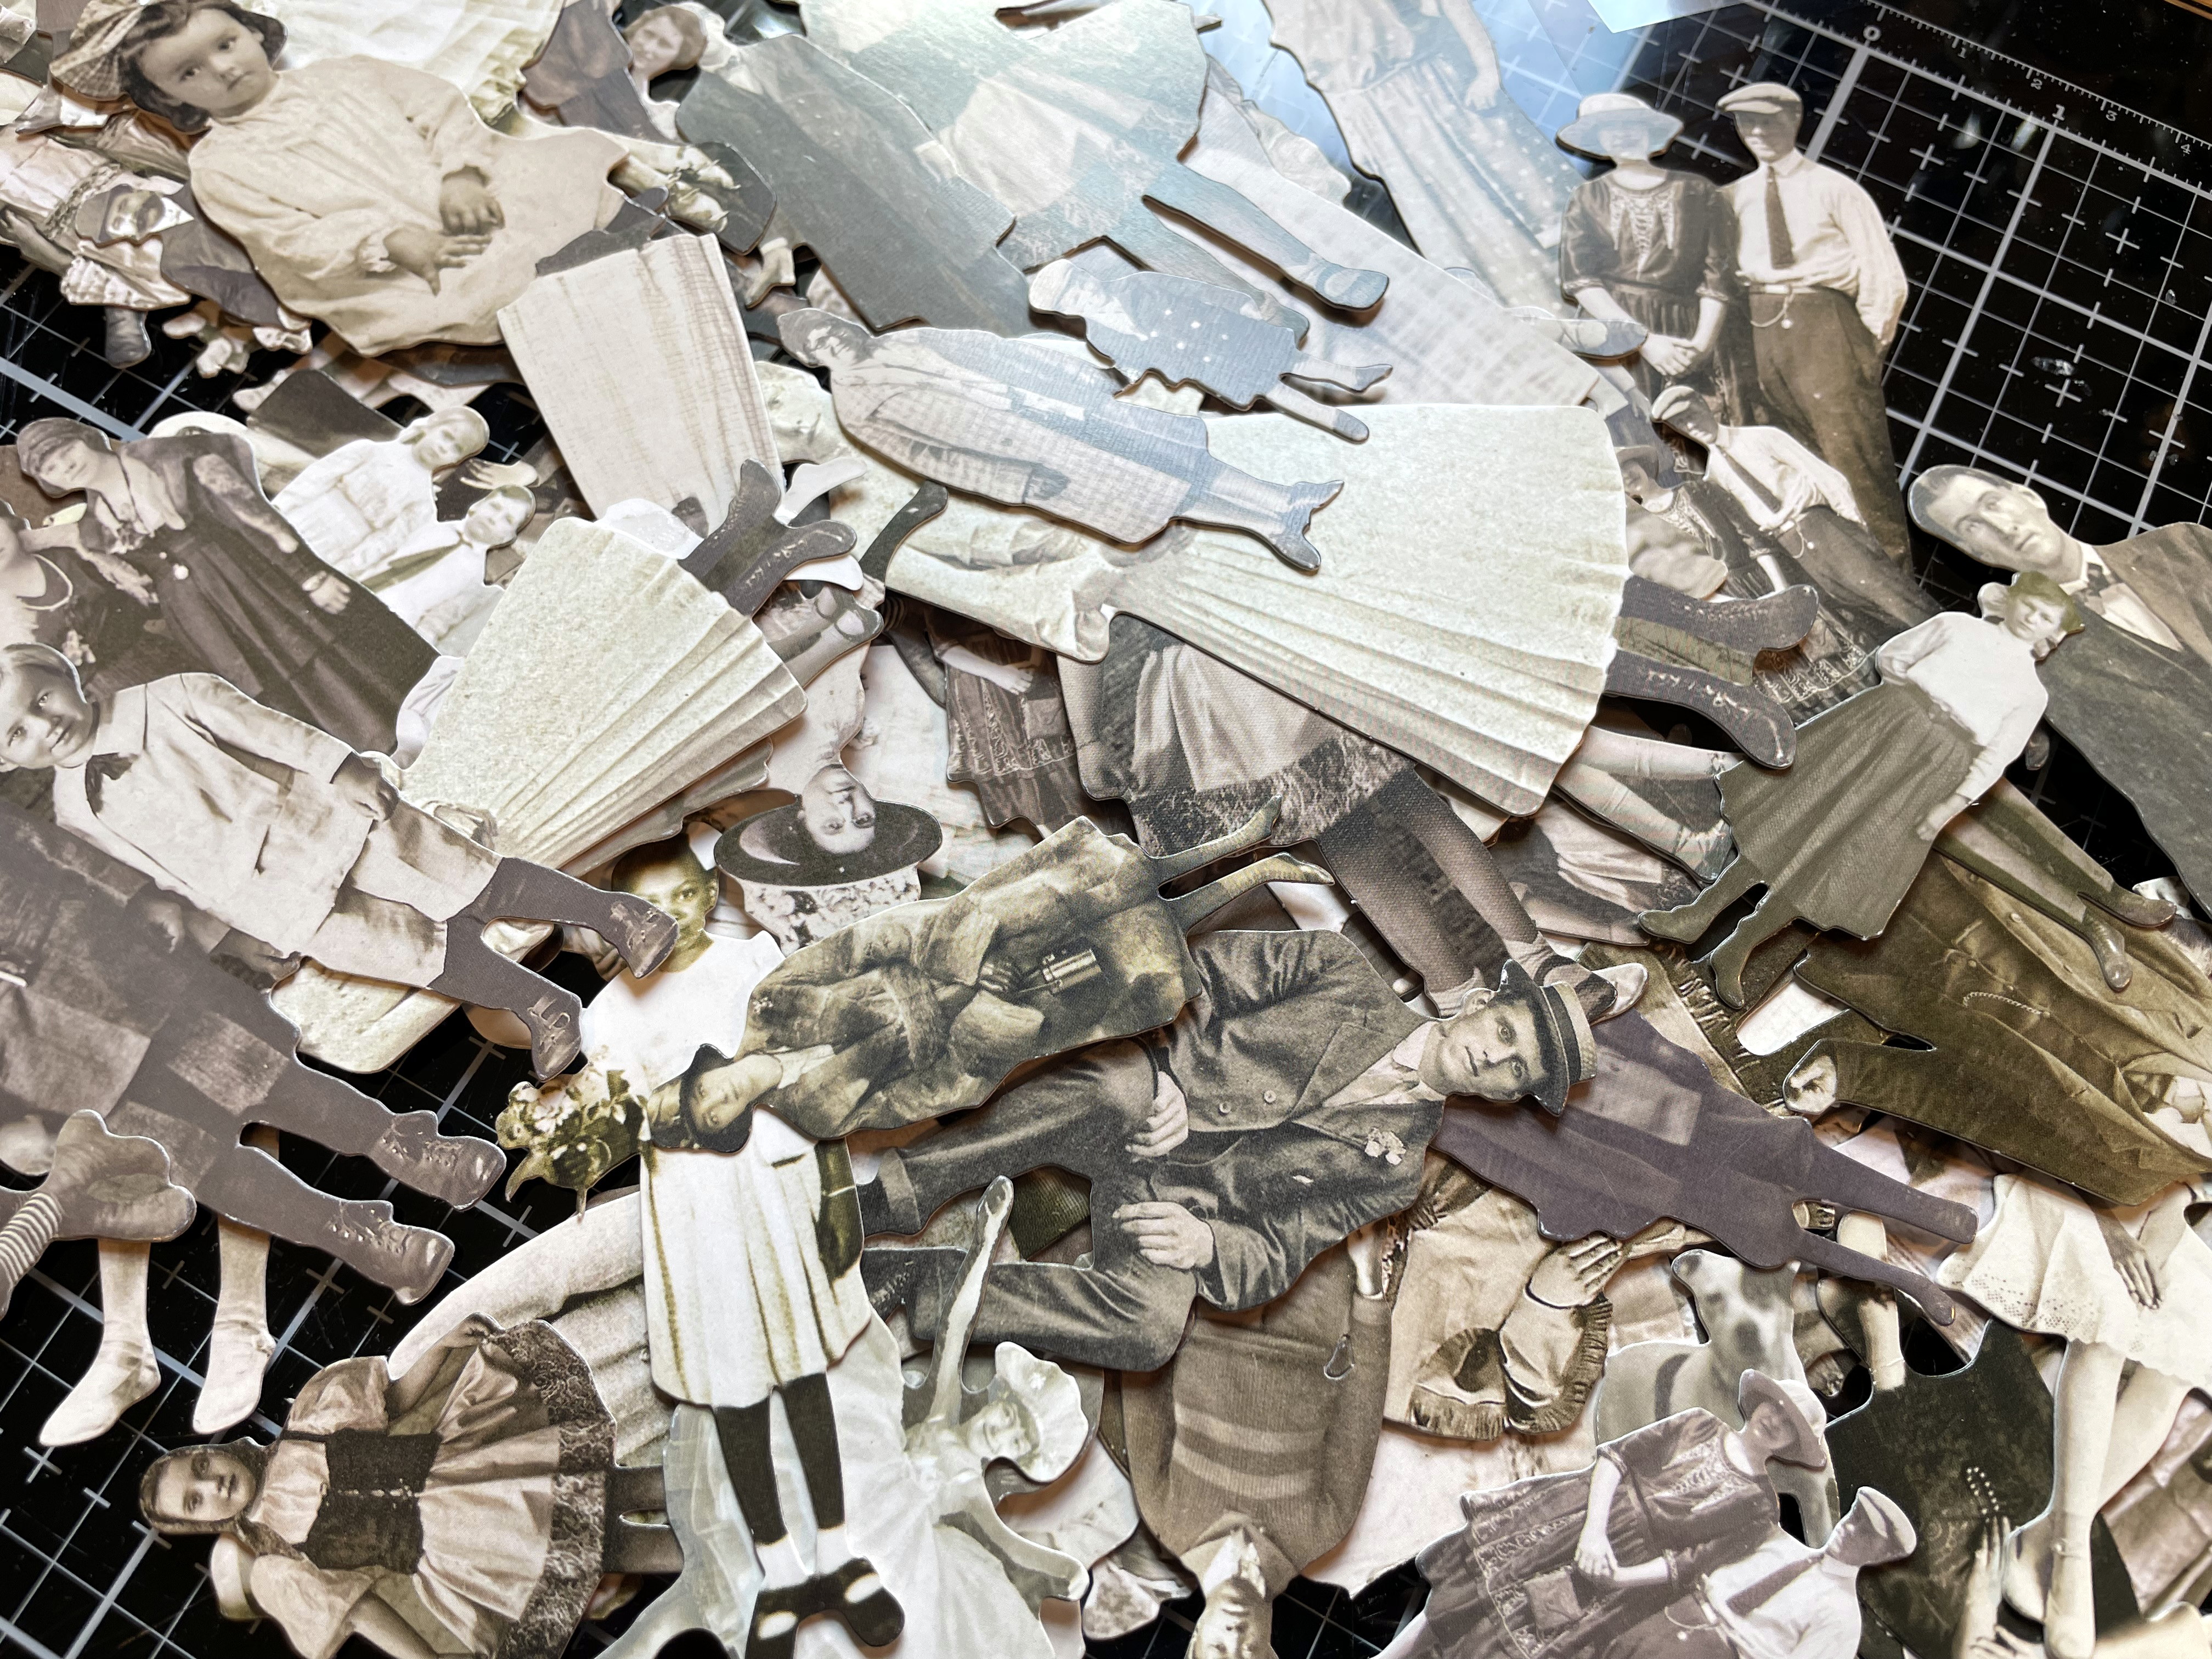
I spend waaay too much time when I get these out. They're so FUN!


And this is what the results are:


the MIDDLE compartment of the box
with its MIDDLE mini file
to junk journal
the MIDDLE pages!


Backsides of the files match the box- using the smaller images of the same papers.


I also die cut some TH Tags from his Tag Thinlits Set and 
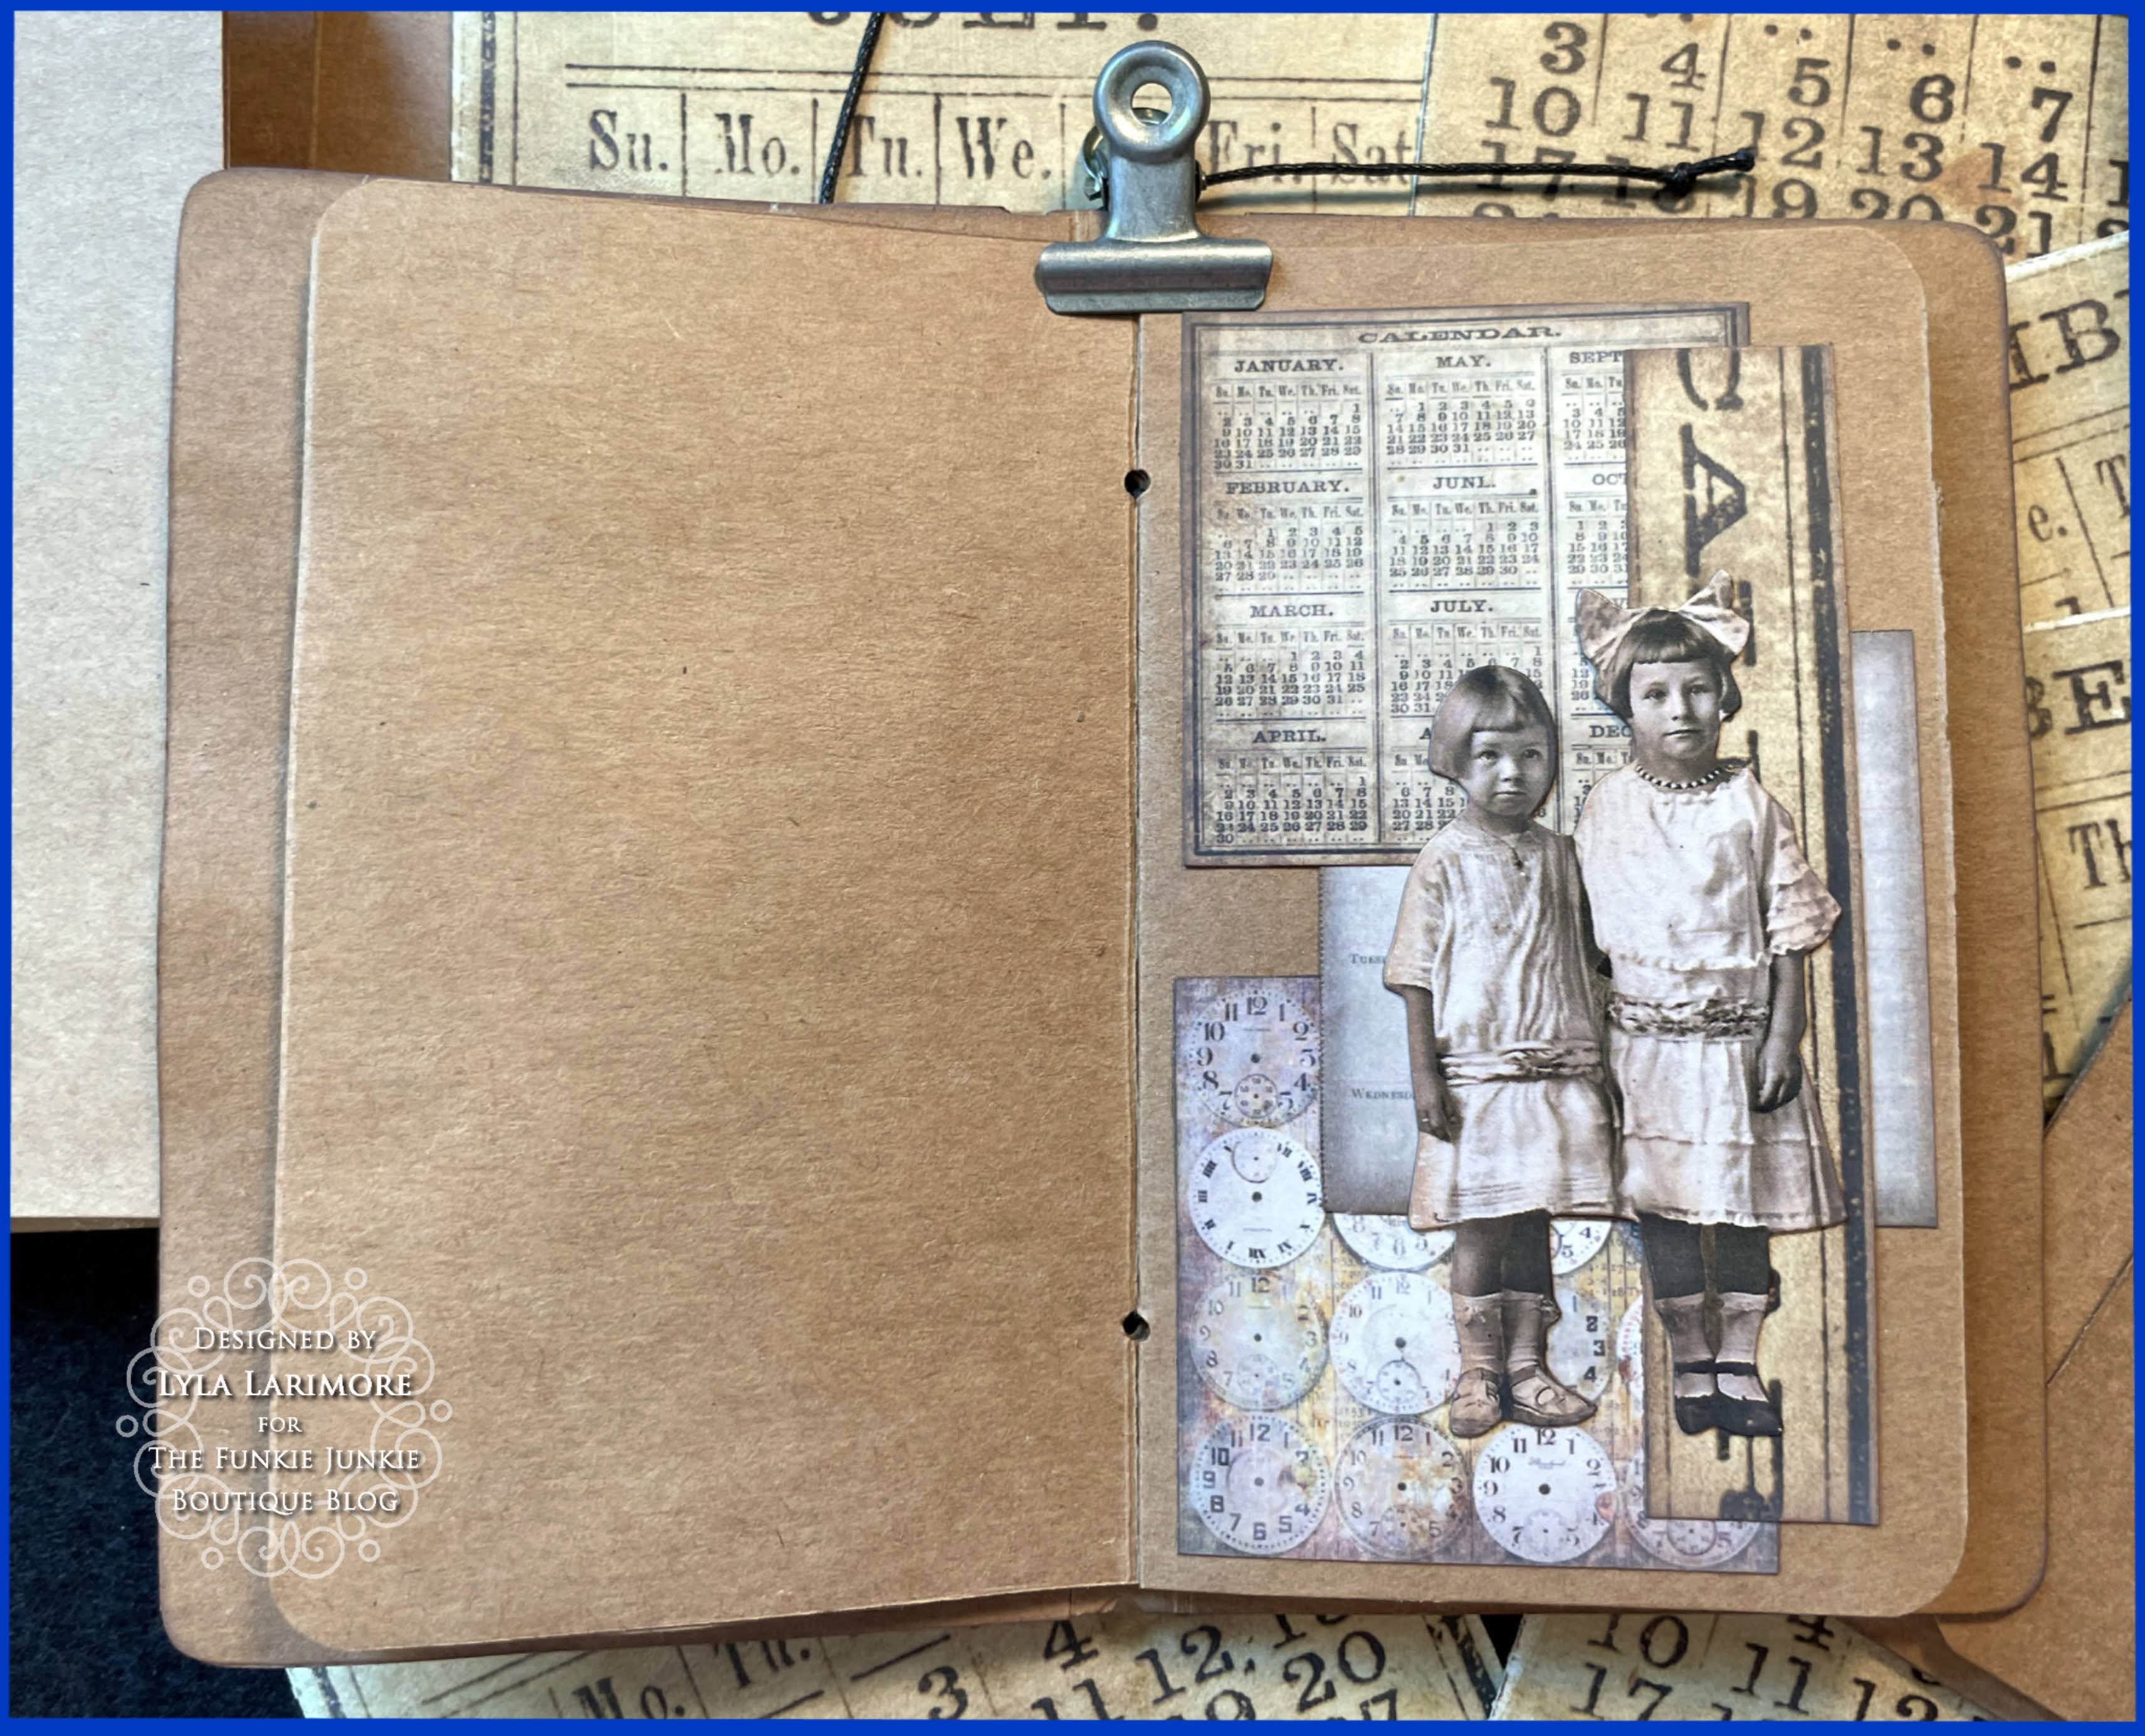
trimmed them down a bit shorter. Now I can make the odd Tag when I want
and file it behind the right month in the correct compartment.

I chose to display the finished Vignette Card File to the left upper corner of my main work desk.

Shoutout of THANKS! for all the wonderful feedback, support,
and lovely comments on my recent projects!!!

Now it's YOUR turn!
Create and take your make over to The Funkie Junkie Boutique Challenge Blog
and you may be surprised how easy- and pleasing- paper crafting can be!
Our Sponsor,
has rewards for Winners/Top Picks, as well.
You've got two weeks, and your own imagination is the limit!

Until next time...

Stay Safe &
HAPPY BLOGGING!!!

Tuesday, February 8, 2022

The Design Team does "Funkie and Frilly Valentines" at The Funkie Junkie Boutique Challenge #3... The Queen of Hearts with Love Potion #9


   February really blew in, didn't it? While most northern Americans were getting buried under snow, we down south simply just chilled out...with a couple more upward notches on heater. Brrr! Getting used to the extreme extremes of the Gulf Coast, but it's crazy; temp differences of 40* in one day. I spent a nice Thursday driving down to the beach and spending a few hours walking and sunning and the next day had me bundling up in a blanket, refusing to go out at all. A couple of our Besties came through our Tri State Christian Camp & Retreat Center on their way to Louisiana for another friend's 90th Birthday, then came back through with another set of Besties from Indiana who met up with them at the birthday party. So we 4 couples got together- old Besties and older Besties (not speaking age-wise). What a fun evening we had and it was good to see another couple come down from Indiana's Church of Christ at Logansport to work camp. The Aurora camp near Orlando is also a "Remove the Barriers" for disabled campers. We've been so busy, and yet have had a ton of help to get the building nearly finished now!


   With the older set of kids flying down in just a couple of days, I've been getting ready for the older 2 Grandbabies to stay here with us while Mommy and Daddy get their own room across the way. That way, they can get some rest and let Memaw and Papaw have some fun spoiling. I've been seeing Baby Pecan on the Facetime- he loves chatting away in his 2-year-old-talk and walks around pointing out all the things in his rental house. Hopefully, they will take possession of their new house this week. Pecan and Mommy are going to her Sisters to visit his four Cousins; that will keep him busy- and his Cousins, too! We noted from the Indiana kids that they got at least 12 inches of snow, and later that same night; the younger kids' Upstate New York was shown on the news (see photo below). Too much white stuff, in MOHO, and having the new Challenge, Funkie and Frilly Valentines gives us a chance to add some cheery hearts- in any color! Make it "funkie and frilly" and let the hearts share the love! I decided to do my last piece of Tim Holtz structures- the Shrine- with some more minis. I got my inspiration from Paula Cheney's "Miss Havisham" make , which I fell in love with at first glance! I took mine in a different direction and am calling her "Queen of Hearts". So get settled in and take a run through the photos...another loooong post of photos... but helpful.

   I completely forgot to take my usual "materials used" photos, so I'll make a list at the end of this post, but you can see several of the items in the following "how to" pics. 

                                     The Mini Books...


I mix and match what I want in some instances, but you can type in "printable miniature books"
and get a lot of good choices to print out- without having to resize them.
I usually do resize all of mine to match my project exactly as I want it to look.
I set my printer to "standard" and use plain paper. but you can choose whatever you like.

After you've trimmed all the pages (with or without edges) using your paper trimmer,
or just fussy cut like I do, you're ready to fold along the page lines.
You can use a score board/bone folder, or just fold with your fingers-
plain paper is easy to fold along the page lines if they are there.

Once you have the accordion folds, and you have the cover folded on the edges and glued
(I use a regular cardstock cut to size and folded on the bind for a hardcover book,
and for a paperback- just the plain paper)
you're ready to glue the pages together and then in between.
You can easily just glue back to back putting all the pages together, and then...

...glue in between each of the folds on the backside of all the pages.
This keeps the book from un folding out of the binding cover.

Be sure both cover and inside pages are right side up, before gluing together.
I usually adhere the middle section first, then open one cover and glue, then repeat the other side.


I clip mine together and then lay something heavy (other regular sized books are good)
on top just for one overnight- even with fast drying Glossy Accents.
The next day (or next crafting time) gently use a bone folder or pick to go between
all the pages and gently pull apart any stuck together.


The Tim Holtz Shrine Structure is very easy to do!
I've wanted to do one for such a long time and after seeing Paula's take on it,
I ordered one and saved it for exactly a project like this.
I wanted to build 2 shelves that would be the same depth as the Shrine itself,
so I got out my Etcetera Bracket Shelf set. As in the last projects I've recently done,
the Etcetera can be cut to your own choice of sizes- which I did here.
(The Shrine is sideways- which was easier for me to see if it was straight across,)

For my chosen paper- Tim Holt'z 12x12 Paperie, French Industrial... very romantic!
To get the right depth, I inverted the shelves and faced them opposite each other,
and filled the spaces with leftover bits. Messy glue won't matter.

Then cut out, flip over and do the same glue job on the other side-
you now have a shelf covered on both sides.

I like to "fit" my paper to my boxes by eye only.
Since I was making my own shelving, I simply traced the shape of the Shrine
on top of the paper and then cut to fit.
If you're not sure, then by all means; measure 2x and cut 1x.

I inked up all the papers with TH Distress Oxide Ground Espresso before I adhered it all together.
I also decided to use TH Distress Paint in Antique Linen on all the edges even 
though I planned to cover those edges. I didn't want the wood to still be seen under the 
chosen TH Design Tape (Postal set).

I did choose an older TH Tissue Tape from one of his original rolls
for the bottom 2 steps of the Shrine. I used Glossy Accents to make sure it stayed.

The Postal Design set had this very cool pink that could pass for pinkish-red over Christmas.
But, I saved it for Valentine's Day and I think it hit spot on for this

I chose lots of IdeaOlogy, and finally got my hands on the long-awaited
TH IdeaOlogy Alchemy glass bottles!!
I filled each with ideas of Valentine's Day...
candy, bells/sheet music, bottle of ink/pen nibs/love letters, pearls and diamonds, candlelight, Sand in a bottle and wishes (TH Wish Bones) in another.
The best was the Alchemy glasses: the larger got blue (regular clear Elmers- to stay movable
liquid) and the same glue in pink for the smaller. I used TH Alcohol Inks in Pool and Pink Sherbet
to make the "Man" and "Woman" DNA.
From those two colors would come the Love Potion #9 which was made from clear Elmers 
colored with TH Amethyst Alcohol Ink .

Who says TH Halloween Baseboards have to be used only for Halloween?!


The Queen of Hearts...

These are the things I used to decorate the Queen.
I wanted to do something different other than coloring with Distress Crayons this time.

I cut lace ribbon into pieces that fit with the shape of the flowers.


Then used Glossy Accents to stick them down first as the bouquet's background.

I used the TH Alterations Thinlits Falling Hearts to cut a pile of hearts from each of the reddish paper
and the greenish, then used the same TH Design Tape adhered to a scrap of the green
(to give it some stiffness) to make more of the same hearts.

Then dipped the hearts and began layering them in a bouquet shape.

Since she's a Queen...I thought she ought to have a really NICE bouquet,
and since I went to school for floral arranging and bouquets..... well, you know.

Next was to make sure the outer parts had their places.
Here is where you can see the pink and the blue inside the Alchemy glasses.
They sort of get hidden in the end of it all.

I ended up with only 1 drippy candle fitting into the Shrine, so I made it fit onto the longer
TH IdeaOlogy Candlestick. I used a bit of black string for the wick instead of thread.


The Results:


And some closeups...


It would seem that the Queen is somewhat bored with all the Valentine commercialism.
All she wants is THE MAN himself!


I see that I actually do get covered in that Glossy Accents: it's all over my fingernails!


with the books out of the shelf, you can peek behind the Love Potion #9
and see 2 couples enjoying the Valentine's Day just getting out and having fun together.

If you're looking to building a Tim Holtz Structure like this,
has many available choices, along with lots of in-stock Tim Holtz IdeaOlogy used in this make.
TFJB also sponsors prizes for their Challenges.


You can't win if you don't enter, so check out the simple rules and join in on the fun
with this current Challenge:


Thank you! to everyone for the kind comments.
I'll be getting back to some creative paper items as I miss getting my hands on inks!
And getting inks on my hands, lol!
I hope you've enjoyed all the "littles" I've posted lately.
they are so FUN and EASY to do!
Check out all the cool IdeaOlogy:

Until next time...

Stay Safe & Warm!
HAPPY BLOGGING!!