It's Pumpkin Month, and not only that; it's my birthday... specifically TODAY! Yes, I am getting "old" but I'm not feeling that way. Most of the time, I feel more like I am still running to keep up with my family. It used to be keeping up with the ChiefHubby and our Sons, but we've grown from 4 to 10 in our family, and I always feel that same need to spread myself around to all of them. I had to go get my driver's license today and as a deaf -and mostly blind without contacts/glasses- I was happy to get that out of the way. When asked my age, it was easy to say "57 today" because I've actually kept that as my number all summer long; just to get used to it. It worked! This past month in Upstate New York went really fast. It was quite a treat when younger Daughter took me up to Canada to her Sister's house for Canadian Thanksgiving with them all. WOW: talk about beautiful countryside- surrounded by vineyards with an awesome view of Toronto in the distance! We were driving on QEE (Queen Elizabeth Expressway), which was cool, but the kilometers-per-hour thing really had me doing double-takes, lol! Having Thanksgiving before Halloween was a bit weird for me, but it was very FUN! Then back 'home' in NY, I get a call from the ChiefHubby.... it was not good. He was feeling very badly, and his leg was swollen again. I booked a flight back to Indy in the early morning hours. I had to take a 1-hour layover in NYCity,

which was alright by me since I've yet to go there. I got to see the sunrise over NYC and Brooklyn Bridge all lit up- quite a site. But then, whilst rechecking in for my connection flight to Indy, someone put their very large back onto the conveyor, and it broke the xray machine. It backed us up so long that I ran the entire way (of course, it had to be on the opposite side from where I got off), but got there just in time to see my panties take off to Indy...without ME. Oh well. What's another 2 hours to rebook another Indy flight? It was clouding all the way after we got up, due to the straight-line winds with possible tornadoes. Flying only bothers me in 2 instances: over large bodies of water... and bad weather. I lived through it and got back in time to take care of the ChiefHubby. We spent 10 hours in a 12x12 ER room, several tests, and changes with a different shot- and he was ready to go home. So far, he's feeling better. So am I: I get to keep him, yay! In all, I got in 3 States, 2 countries, and 1 major city in just 30 days. I was sooo tempted to book my flight to the one taking off next to me; Aruba! That'll have to wait for now. I am TIRED! But oh my, that new sweet Grandbaby Princess Rose is just the bee's knees; smiley and laughing now! With her brownish hair already doing like Bubby's and turning Strawberry Blonde. Big Bubby Pecan wore me out every day, and we both had fun all along the way!


Over at The Funkie Junkie Boutique, there are tons of new items coming in just for Christmas, but don't forget to grab the bunches of Tim Holtz Halloween items while you can get them! You'll fall in love with all the new Ephemera, and the Chapter 4 items are sooooo COOL!! Right now, I'm a bit behind all the other ladies on the Design Team, due to my time in NY. I'm still on Halloween and going with the suggested Mood Board put up by Laura. The rest of the Team may mix this up a bit but do plan on taking a look back in on each of posting as you're sure to see some of the new products used! The Funkie Junkie Boutique's Inspiration Ave is going to lead to exciting makes... let's get to it!

This is the Mood Board Laura came up with and I fell in love with that blue door,
yet chose to get drawn in by that lower right corner of... weird and spooky?

I started with this paper that I had in my stash paper drawer.
I'd picked it up randomly thinking it was just too wild NOT to.
One of those "I have no idea what I'm getting it for, but I'll think of something, sometime" things.
I dug through until I found enough to use for this project. I think it matched the lower right
corner of the Mood Board in illusionary looks.

While I had enough Tim Halloween stuff leftover from last year,
I simply could not resist the NEW TIM HALLOWEEN IDEAOLOGY!
(The Eileen Hull Book Die is also new Chapter 3! You'll see this used soon, too!)
Who can resist Happy Mail from The Funkie Junkie Boutique?!?!

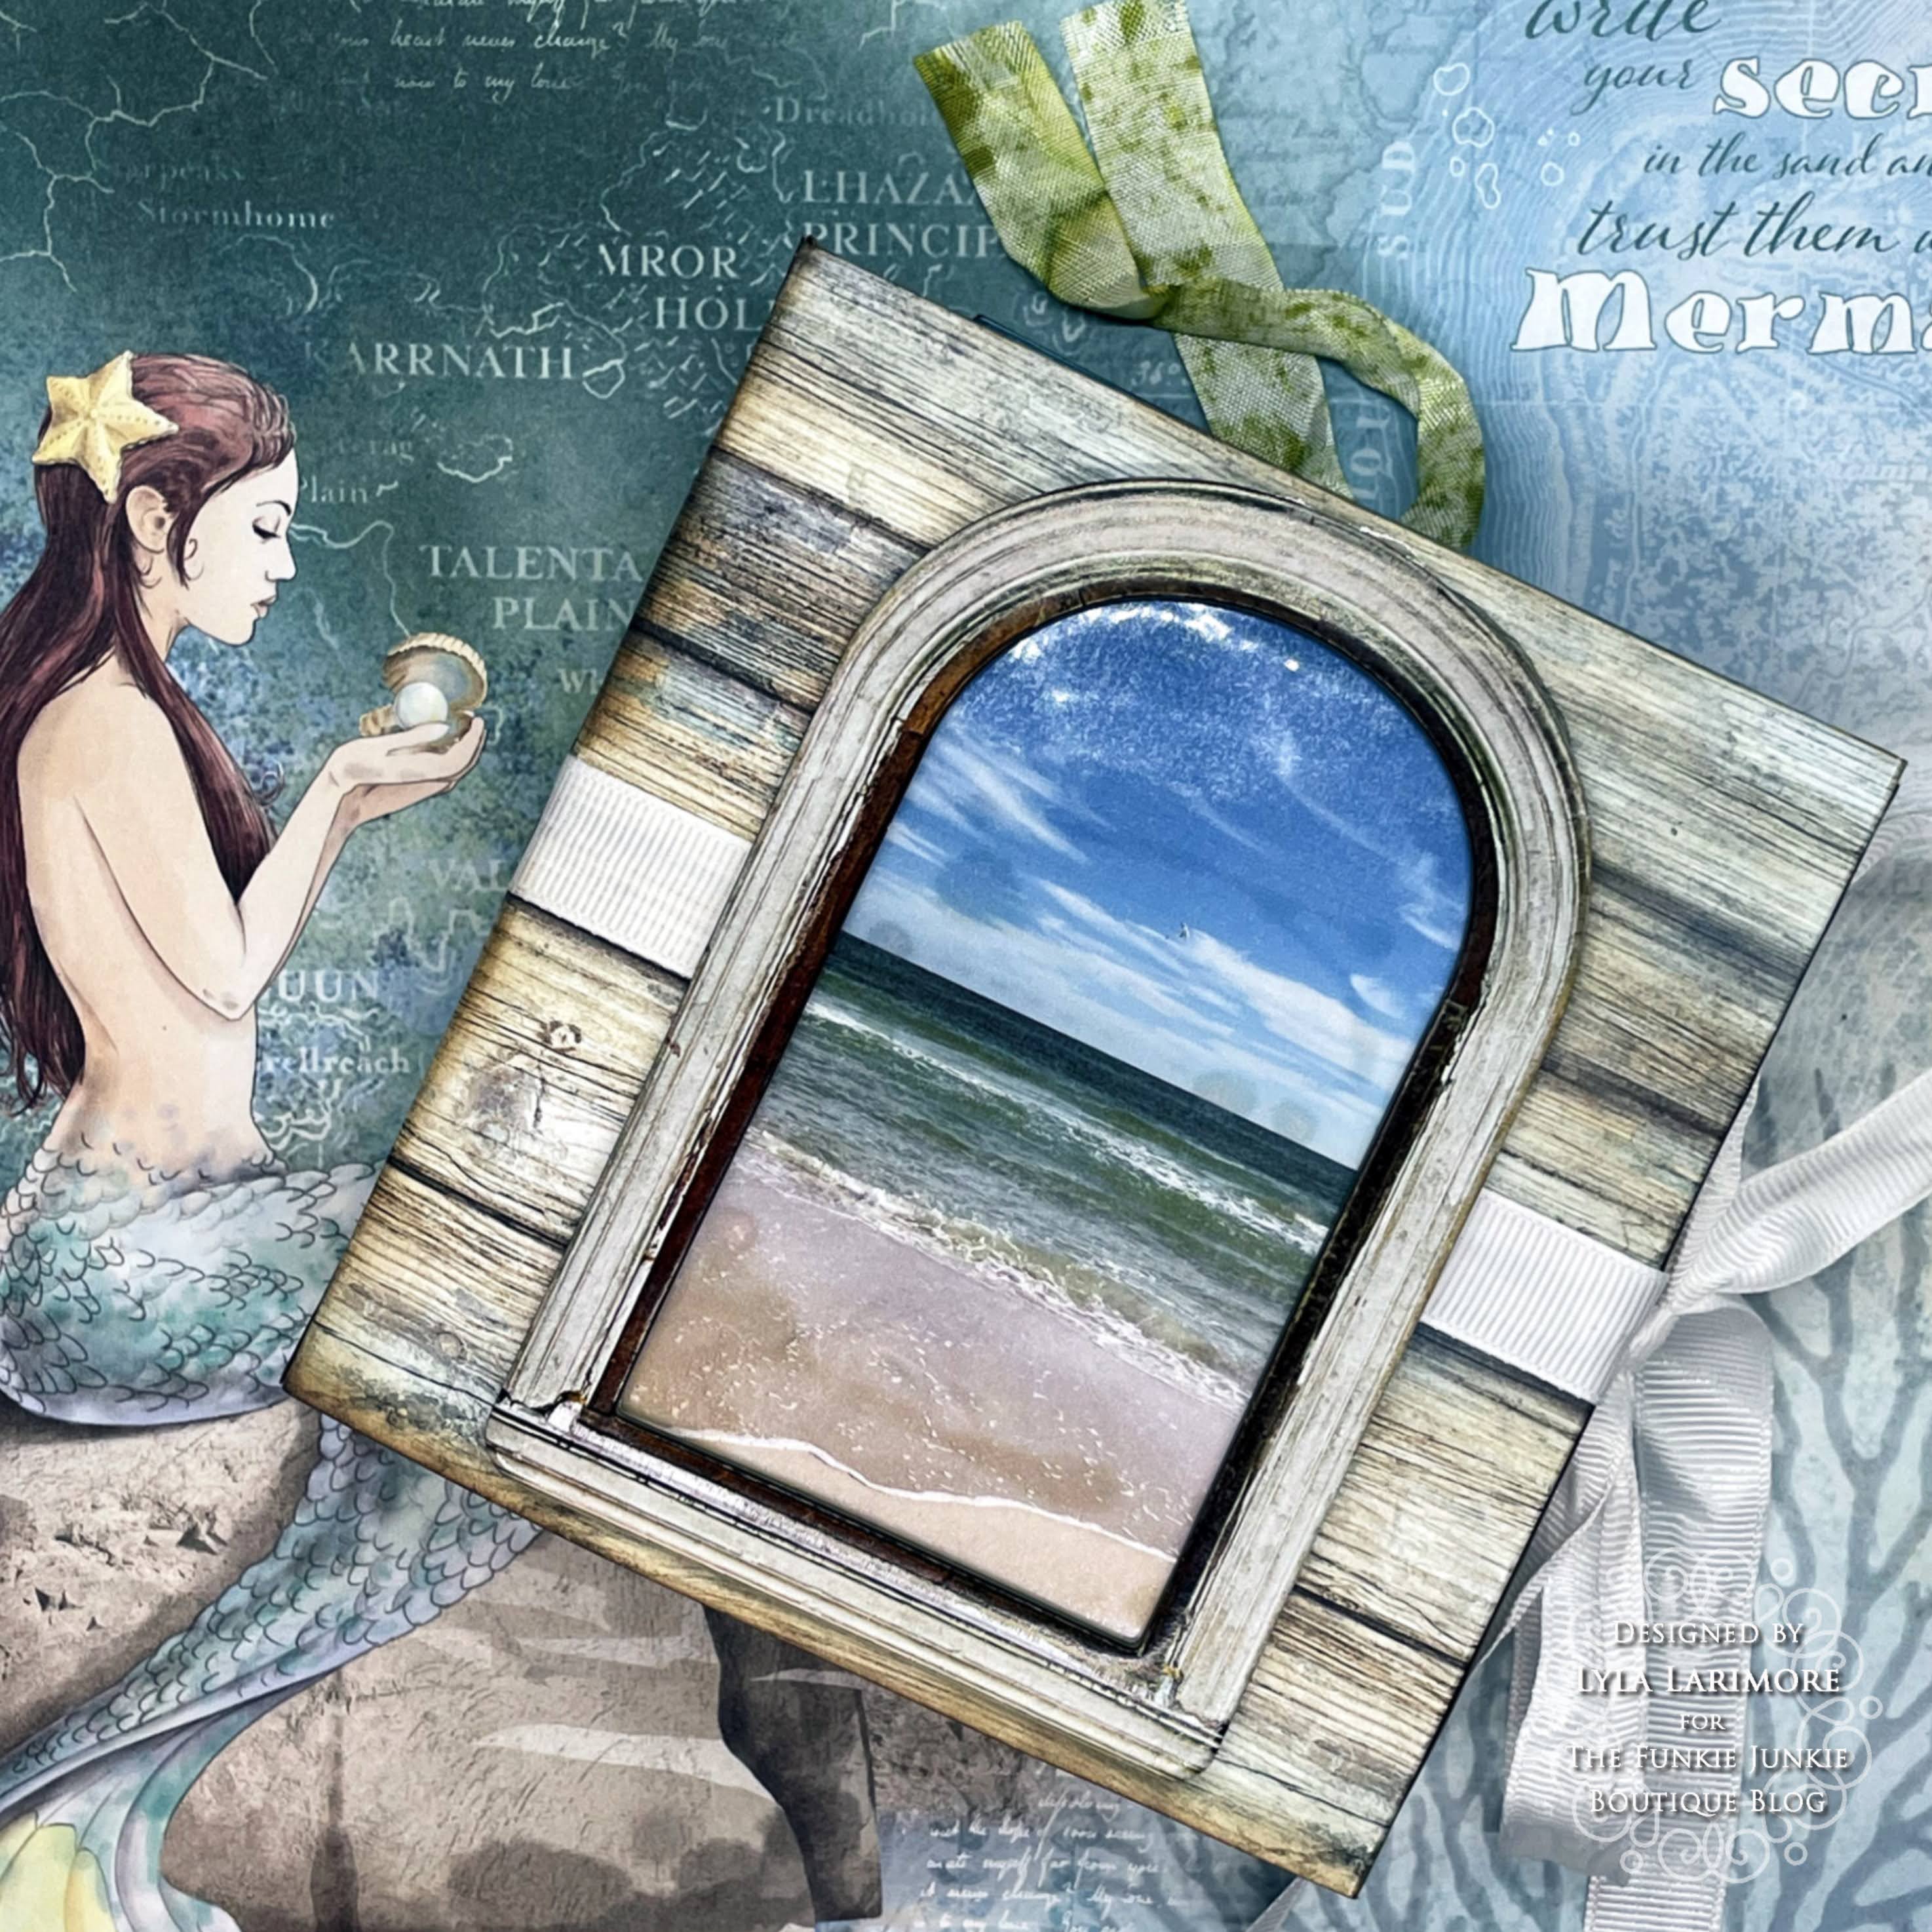
To begin my book, I used my Eileen Hull extras for the EH Folio Journal Die.
I like to get my pages out of the way because they are much simpler to do than the cover.

I did use the corners for added pockets.
(These add-on Eileen Hull Dies are not available.)

I chose another stash stack of scraps to look through and found this paper.
I feel like I am cleaning out a bit to make room for MORE TIM STUFF!! lol!
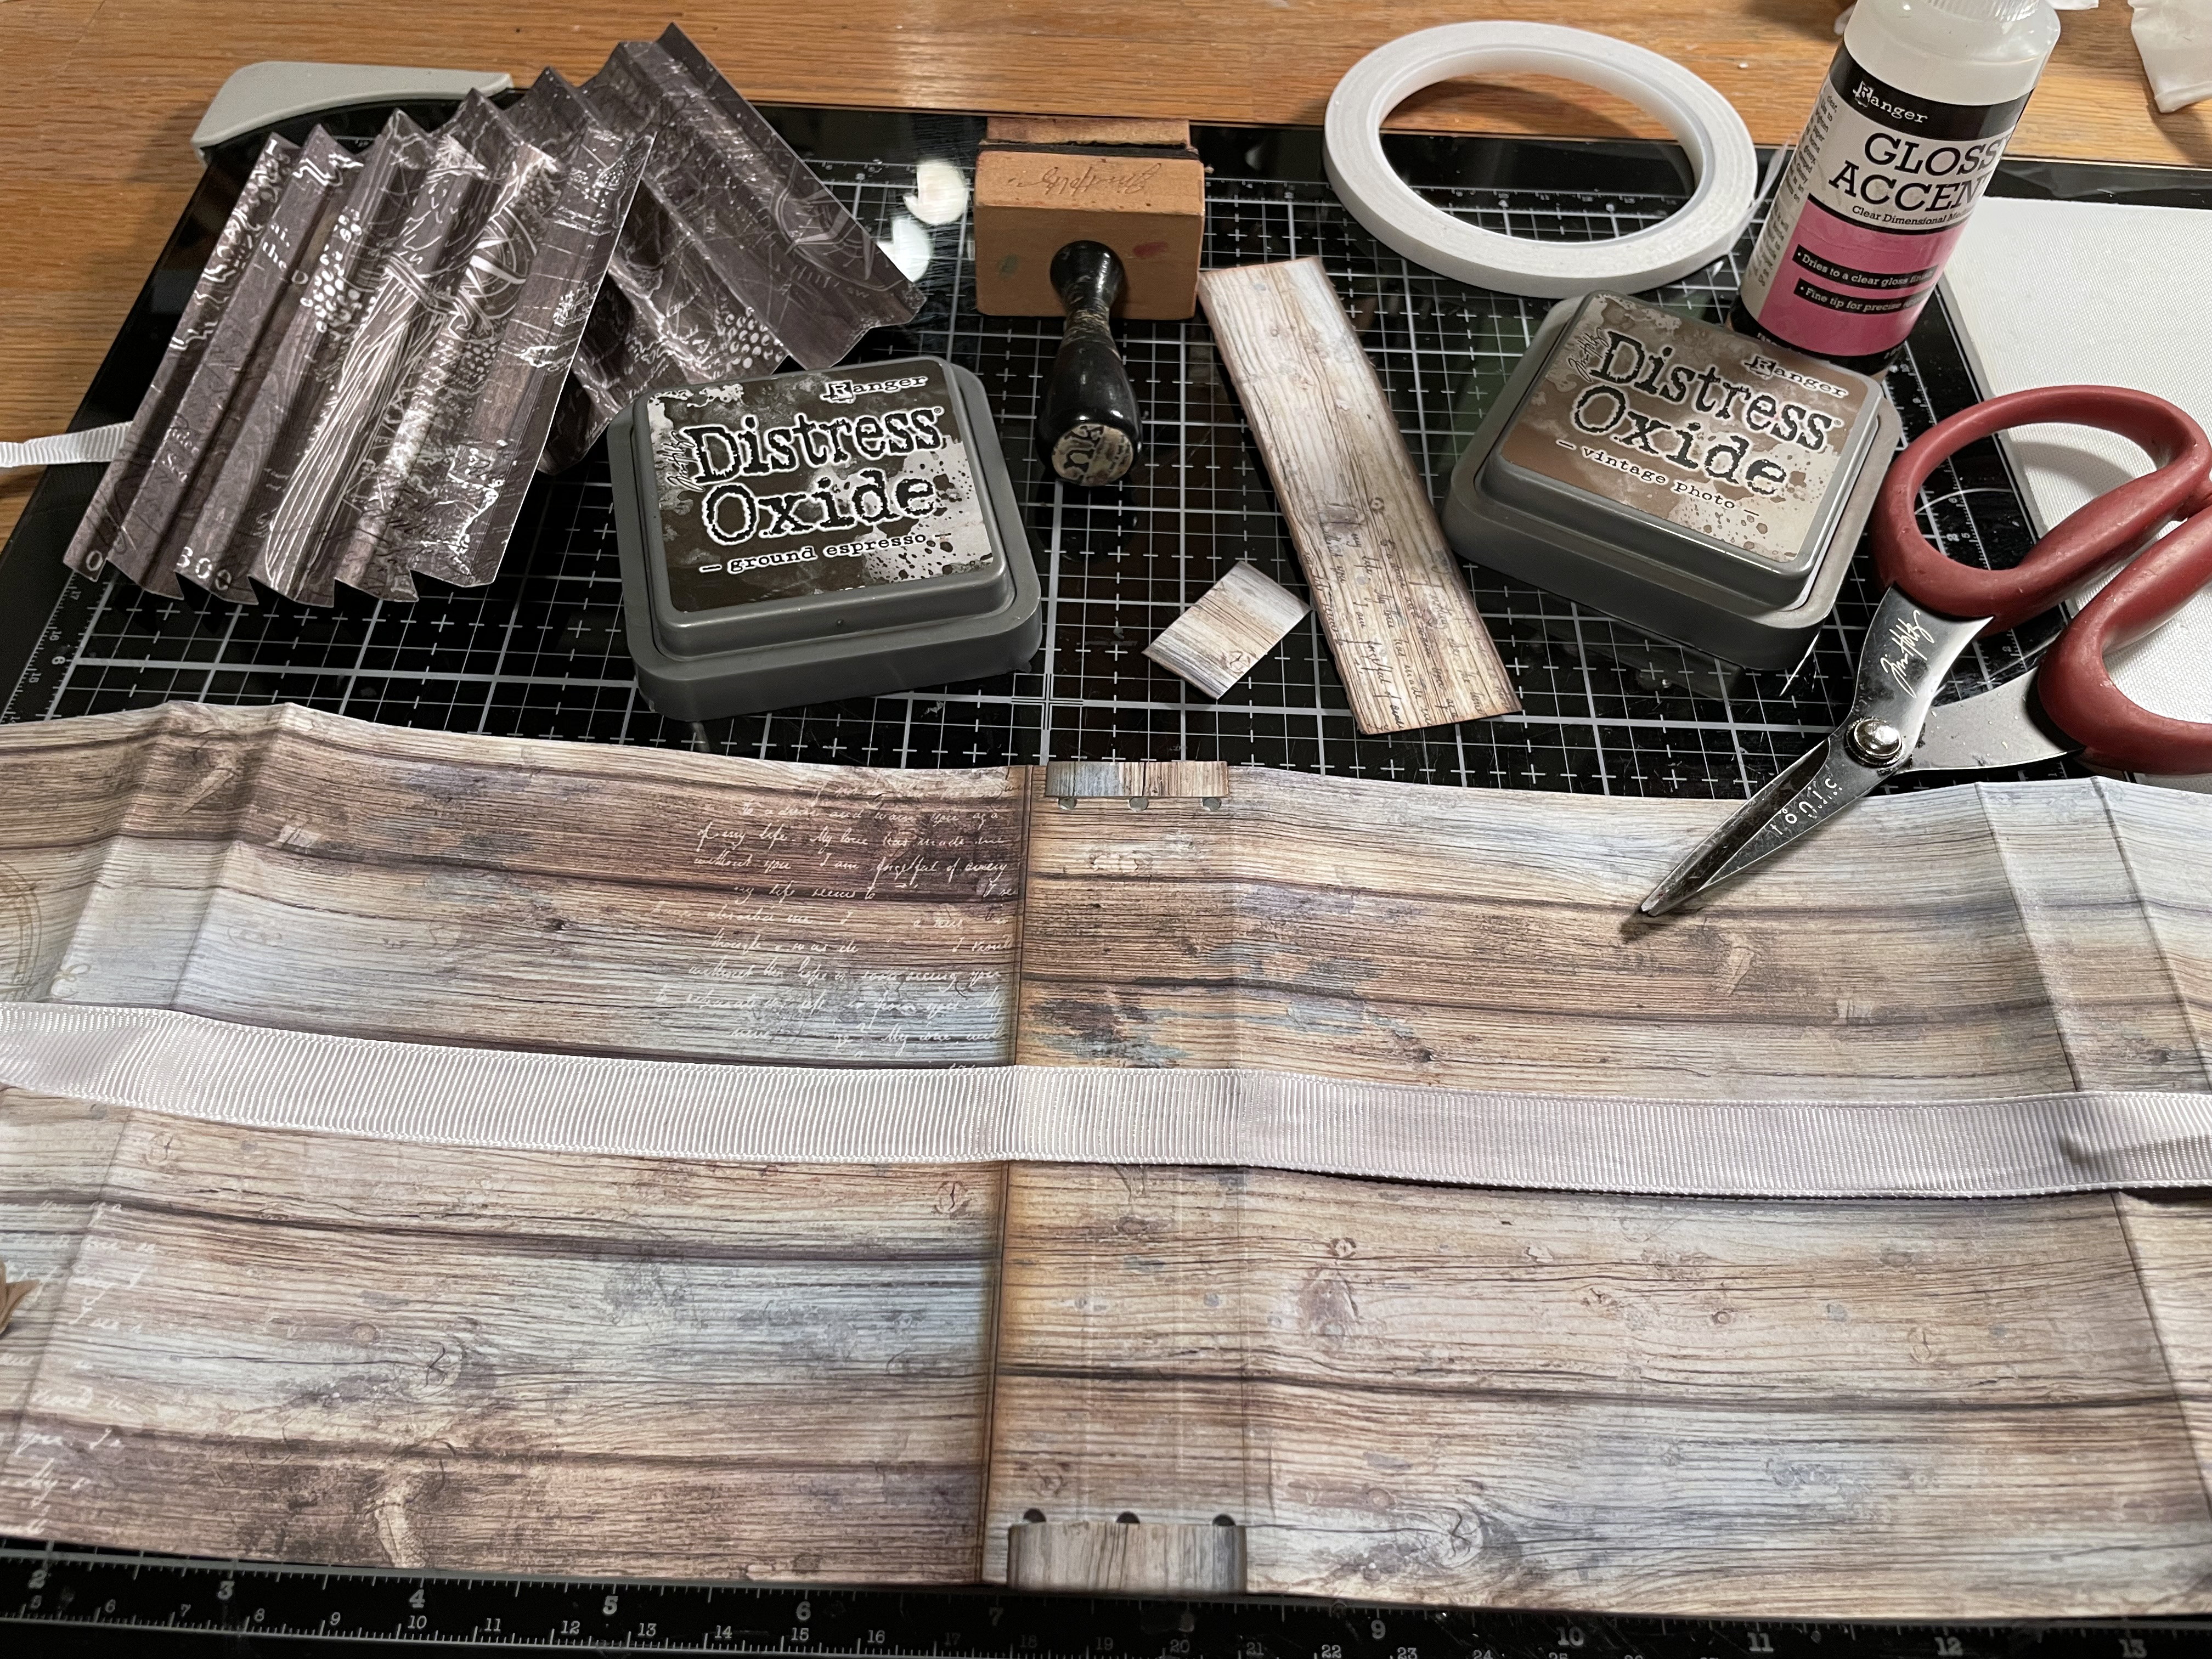
This shows layering the sides of the Folio's cover.
*NOTE: The Folio has very long sides that make another fold. I simply cut that off
to make a shorter book from the same die.

This paper had a back and front that was the same, but opposite color.

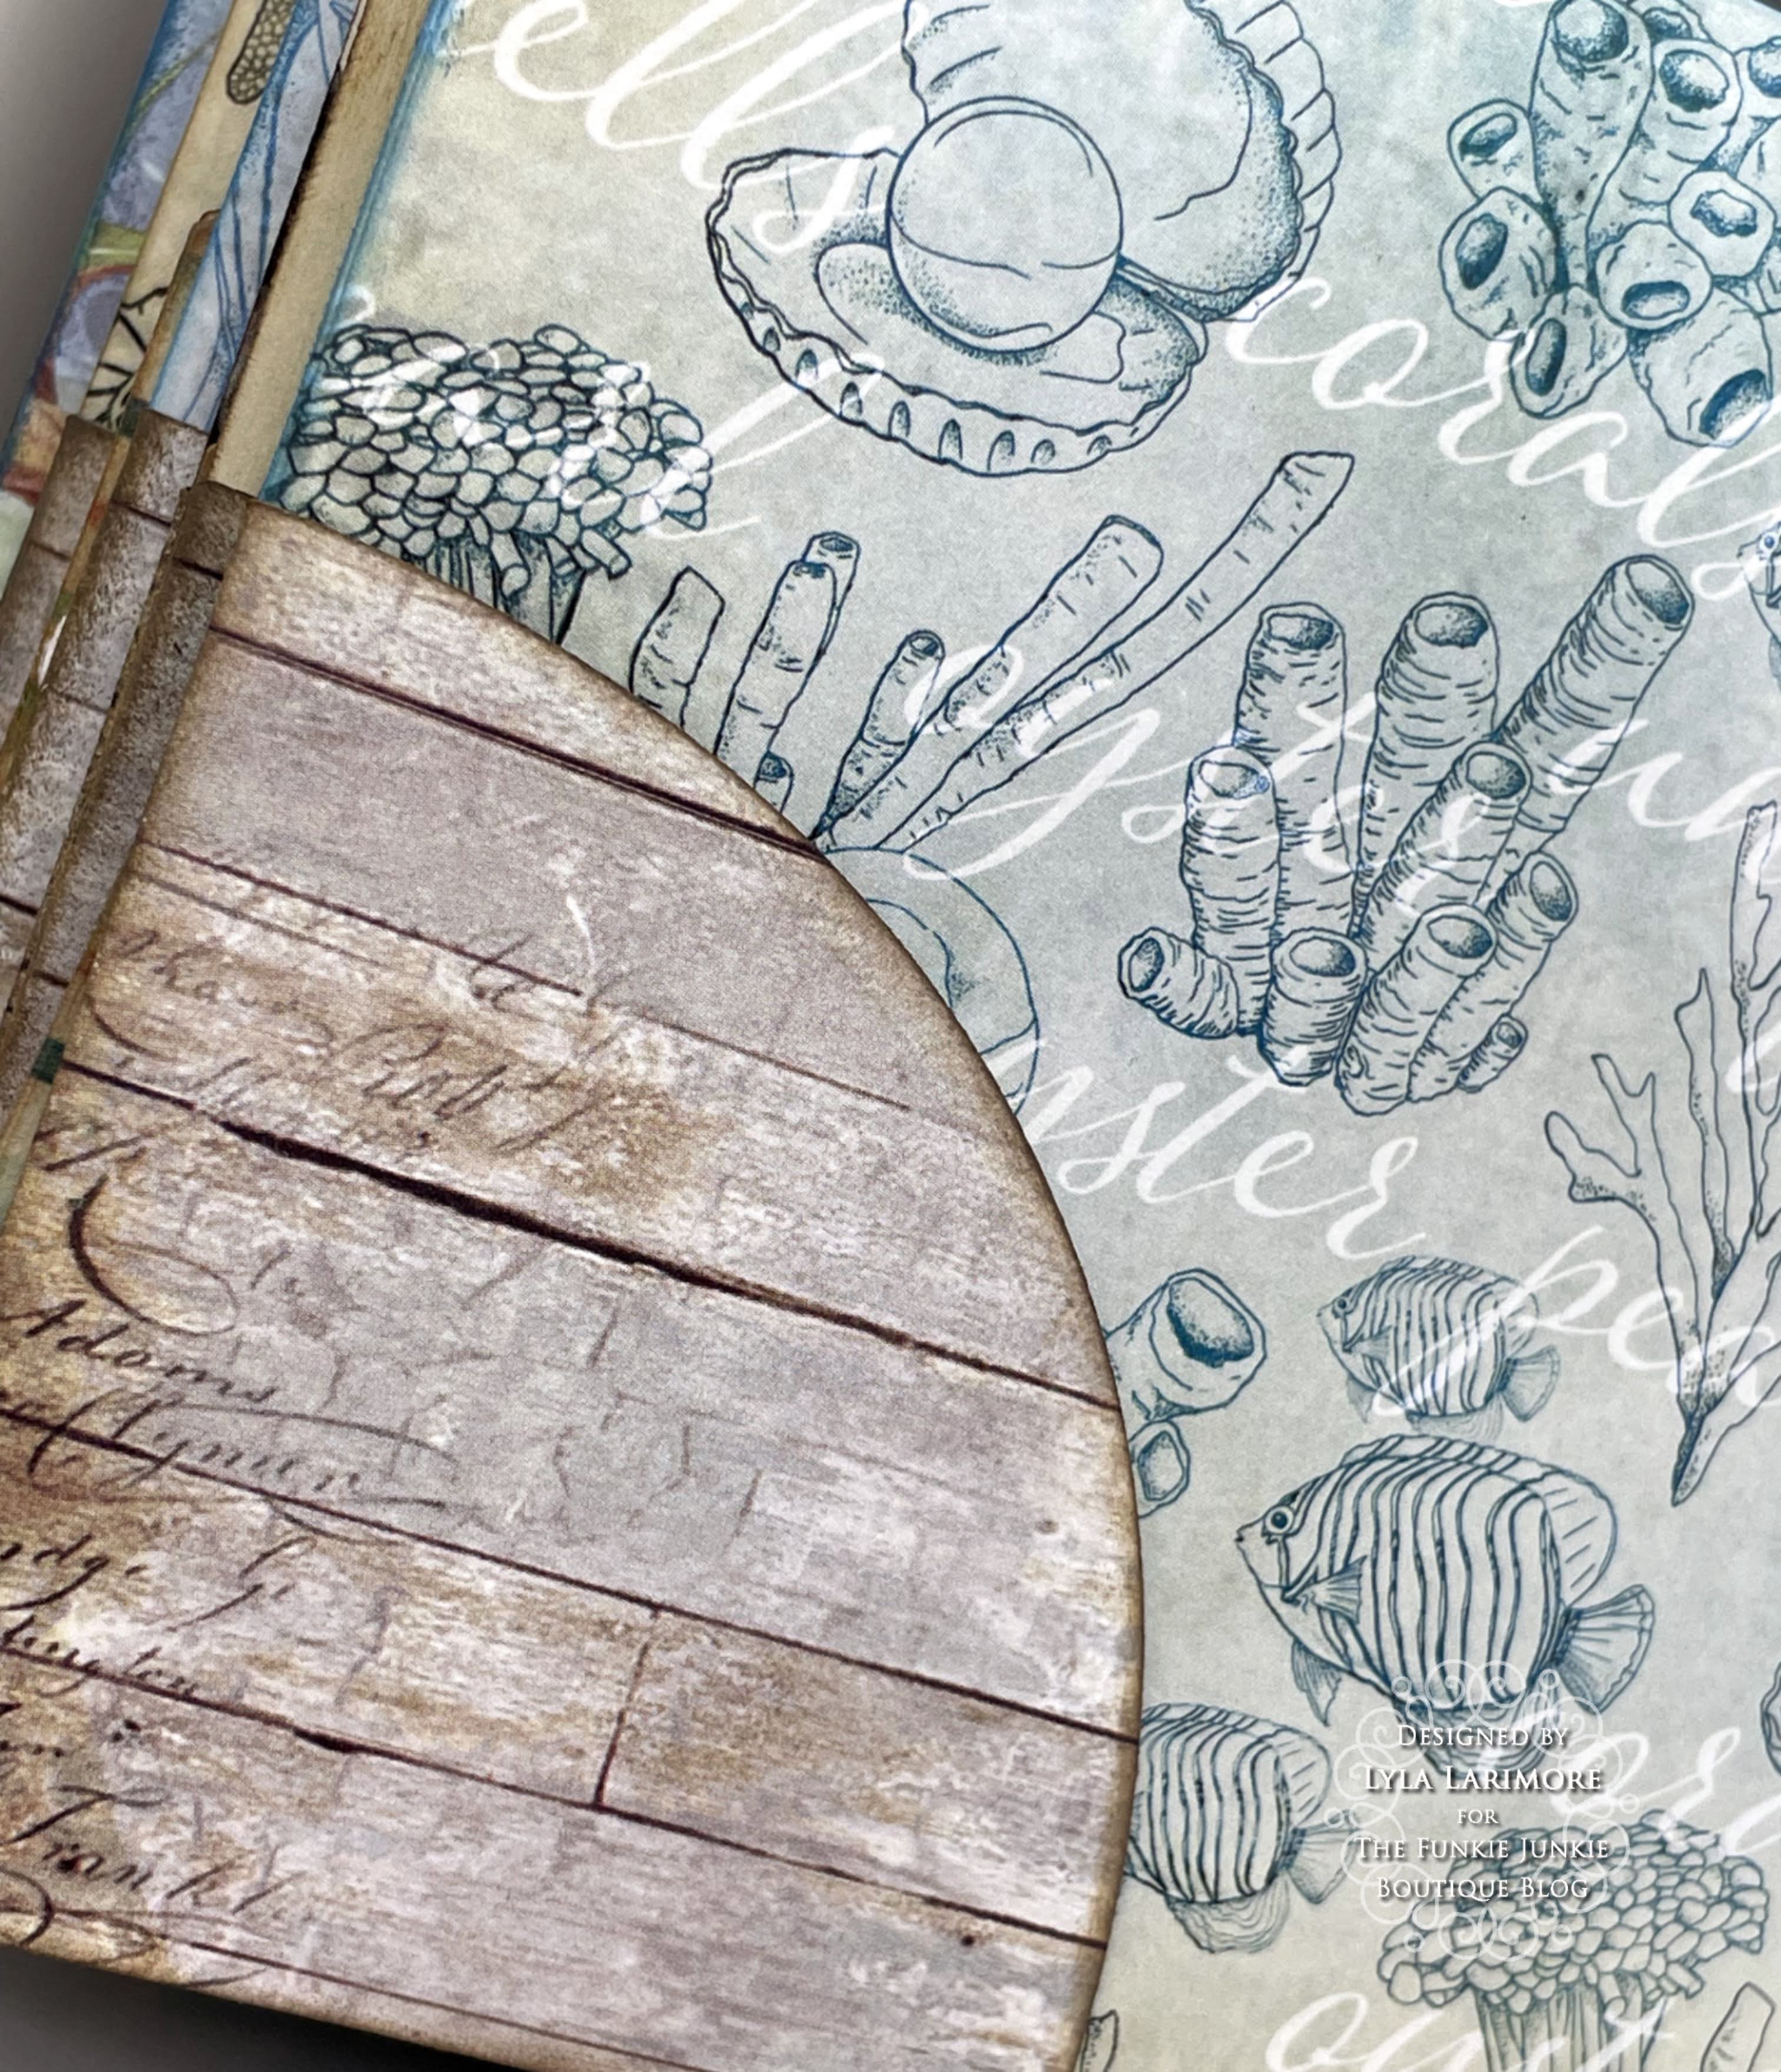
After getting the cover together, it was time to layer in the pocket pages.

I cut 3 pages from the stash papers with this EH Passport Die (retired).
Otherwise, it's easy to simply cut a regular page thinner to use as these middle pages.

I cut tag shapes out along with their reinforcers- to go into the pockets.

There were quite a lot of small bits that just fit for this project- with almost nothing left!

Not enough time.... and NEVER enough TIM STUFF!!!

The new 2022 TH Vellums are even better than the 2021, in moho.

I always score my book pages again and also scored the TH Vellum so it would fold into the book.

Making the foam shapes stay on the pen springs is easy:
1) cut two of the same shape
2) pull the end of the spring point up- apart from the main body
3) use that point to poke through one of the two shapes
4) flatten the point back to the main spring coil
5) use wet glue, like Glossy Accents, to aheare the second shape on top of the first
to hide the spring.

Once you have it poking through, smash it flat and then patch it up (patch shown just left of wire).

This is a strange angle, but it shows how tape keeps flat (main book in top half),
and wet glues can warp (the smaller with the clock)

I was waiting on my new TH Watercolor Pencils, but they got here after I left for NY.
Meanwhile.... TH Distress Crayons never disappoint!
You can see I found a (very retired) TH Cabinet Card in which a photo from the
Halloween Paper Dolls fit right into it, for the perfect cover embelishment.
A few (retired) TH Black Halloween Roses made this dress coloring pop.
A very tiny TH Mirrored Heart (also retired) colored with Wild Plum Alcohol Ink, gave her wealth.

This was the backside of the much older TH Cabinet Card- too sweet not to show!

Click on the item for help in finding things that I used for this project:
Are you ready for the results?

FRONT
This VIDEO shows the entire MIDDLE of the book!

BACK
I've got more Halloween fun coming up, so make sure to check back in.
You can now sign up to follow me on Blogger (up in the top right side),
and never miss a project's posting!
Remember to check back in for the rest of the Design Team's projects,
and be sure to follow the simple NEW RULE on
so you can get into the random drawing for a $25 Spending Spree at
I's time to cut down and cover all the flowers and plants of Summer 2022...


Until next time...
Stay Safe &
HAPPY BLOGGING!!