Year 2013 & Year 2014 2

Year 2013 & Year 2014 2
Showing posts with label Summer. Show all posts

Tuesday, August 9, 2022

The Funkie Junkie Boutique Challenge #16 Chillin' in the Heat...The Pool Works!


     S
ummer is blowing by and whether I like it or not, the heat won't stay as strong as it was. Funny thing that, loving the heat while wanting to stay cool in it. Yet, that's the way we roll. I'm like a woman on a mission this week, with so many lose ends to tie up before the end of August gets here, finishing up Sunday School Lessons; I've only got two more to finish making and printing out and I will have a full file of 52 reusable lessons fitting in up to 12 kids at once, for my PreK/1st Grade class. That was a 2-year project if there ever was one! The other goal is to get caught up in my Craft Room with all my "Want to Do" full list of items. Tim Holtz is not making it any easier- and neither is Eileen Hull, by the way- with all their new Chapter 3 products that are soooo cool! What Crafter ever said, "I have enough," without revisiting that with, "I lied," lol!

    We've had a wee bit of excitement in our planning for trips to New York for the soon-to-be-due Newest Grandbaby. Younger Daughter had a bit of high blood pressure, and we were...concerned.... about that meaning the baby would have to come as early as 4 weeks. I hesitated with the word 'concerned' because when the news got to me, I simply freaked out. I had our first was just over 4 weeks early and that ended up with lasting effects for our older Son that passed on to our Princess Pistachio- temperature problems and febrile seizures. Not to even mention that Baby Pecan was going to need someone with him while only one person gets to be at the hospital (which is still somewhat under Covid19 rules). Things settled down over the weekend and we enter into this "3 weeks to go" phase with a bit less anxiety. The older Daughter has had some very rough times also, and I immediately went into prayer mode for BOTH! For parents who think they're off the hook once their kids turn 18: forget that! When you bring a child into this world, a true gift from GOD, being a parent never ends. The type of care changes, and your relationship deepens even as they continue to branch out and create their own families in their own homes, but the concern and urge to make sure they're always "ok" still manages to overflow in your heart. It multiplies all the more as your family grows bigger.  

   This new Funkie Junkie Boutique Challenge is called "Chillin' in the Heat" and I'm taking the lead on it with challenging you to think about these last days of Summer before School begins. What's your favorite part; the heat of the sunshine and laying by the pool or on the beach... or keeping cool in the water, and loading up on cold lemonade in the shade? Let's see a tag, panel, book, or even 3D project using either HOT design using warm colors (red, orange, yellow. etc) or COOL design using cool colors (blues and greens). Use your dies, stamps, pastes, etc, at your will to dress up your design and compliment your idea of the perfect degree!

     While the heat of summer is definitely my thrill, chilling out in the BLUES are my fave things!! All my Grands have baby blues, the 2 older went with Mommy to buy a blue Subaru, and my LA Dodgers are definitely blue hitting out into the blue! I so miss those JT/Adrian selfie moments, and we're ALL going to miss Vin! My Hunni Pi is feeling blue along with me at the thought.


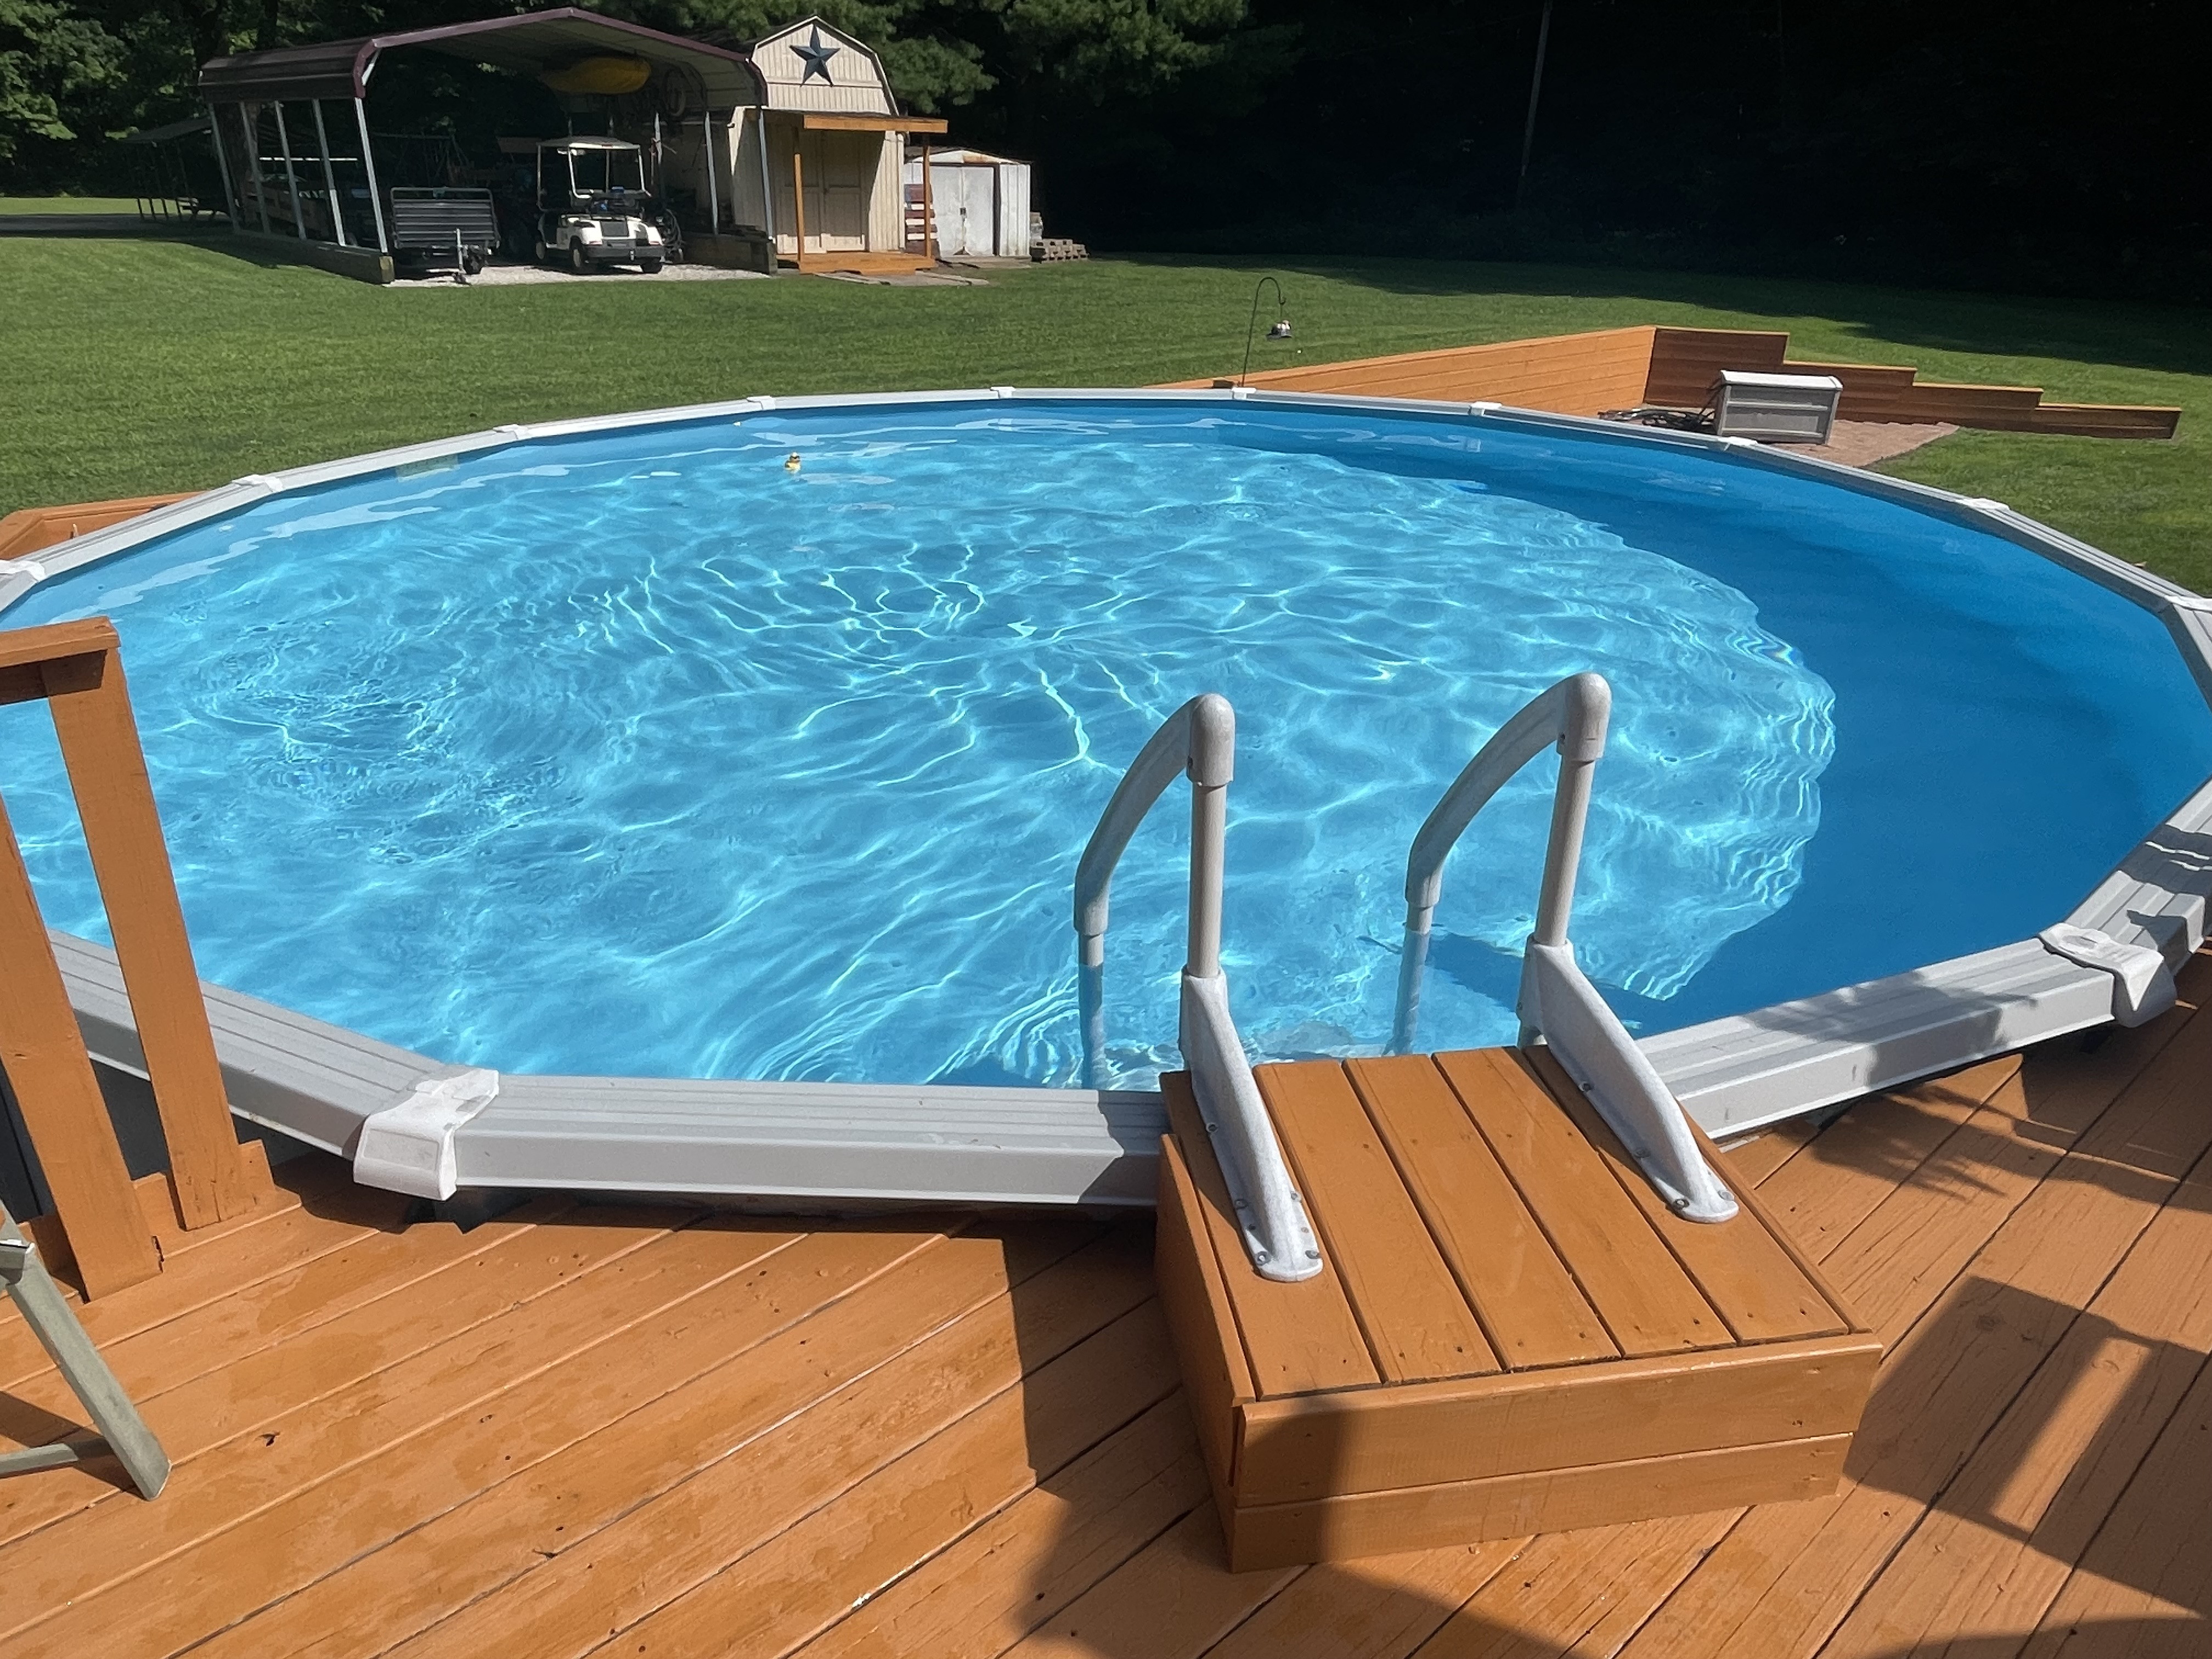


                           I'll show you where the COOL colors took me!


Here are some LINKS to help you find products I've used:


I chose 2 different sheets from the TH Backdrop Papers (double-sided) with
complimenting patterns. One might say the solid was a 'leather' but when I stared at it,
I decided it could pass for metal also, which was my goal. Both sheets covered 
the TH Etcetera Mini Tag nicely with excess to spare.
Not wanting to waste any, I chose to use the 1st sheet's leftovers for edges on the blue backside.

The backside here was going to be the water side. The blue...cells??.... will end up
adding a nice touch of whimsy in the end result.

Each layer would need to be rusted in order for the edging to look right.
So, when it came time for coloring plastics (shown in later pics below), I used alcohol inks.
For the paper layers; I used TH Distress Paint in Walnut Stain with that yummy
retired TH Embossing Distress Powder in Vintage Photo.
Heat setting everything along the way got me into a jam with the plastics at one point.
(I'll show you when we get to that.)

Meanwhile- the plastic was the layer on top of the 'water' with the green rusted on top of that.

Cutting up some plastic trash and figuring out which TH Bigz Die I was going to use with it all.

Here's my Creative Chaos! Trying to decide if I was going to add more paper color
or just use the one TH Kraft Stock (shown up near the Pipeline Bigz)
I originally planned on using. I stuck to my plan.
But, changed one thing: I got out the foil/cardstock for some faux metal pieces.

Here's some heavy-duty foil taped to plain white cardstock scrap.
Don't let lines concern you; they will not show up after embossing with Tim's 3D Folders!
(Which was my next step for each piece except the very bottom of the light bulb.)

Time for the piping- the water was going to look 'totally ikky' and that's why this weird geenish
twin of the blue cell paper was perfect for the piping and kept within the Challenge's colors.
Remember to FOLLOW DIRECTIONS for the Challenges- the point of the challenge!

I cut doubles of everything in case overlapping pieces could be seen from
the other side of the tag when my project was finished.
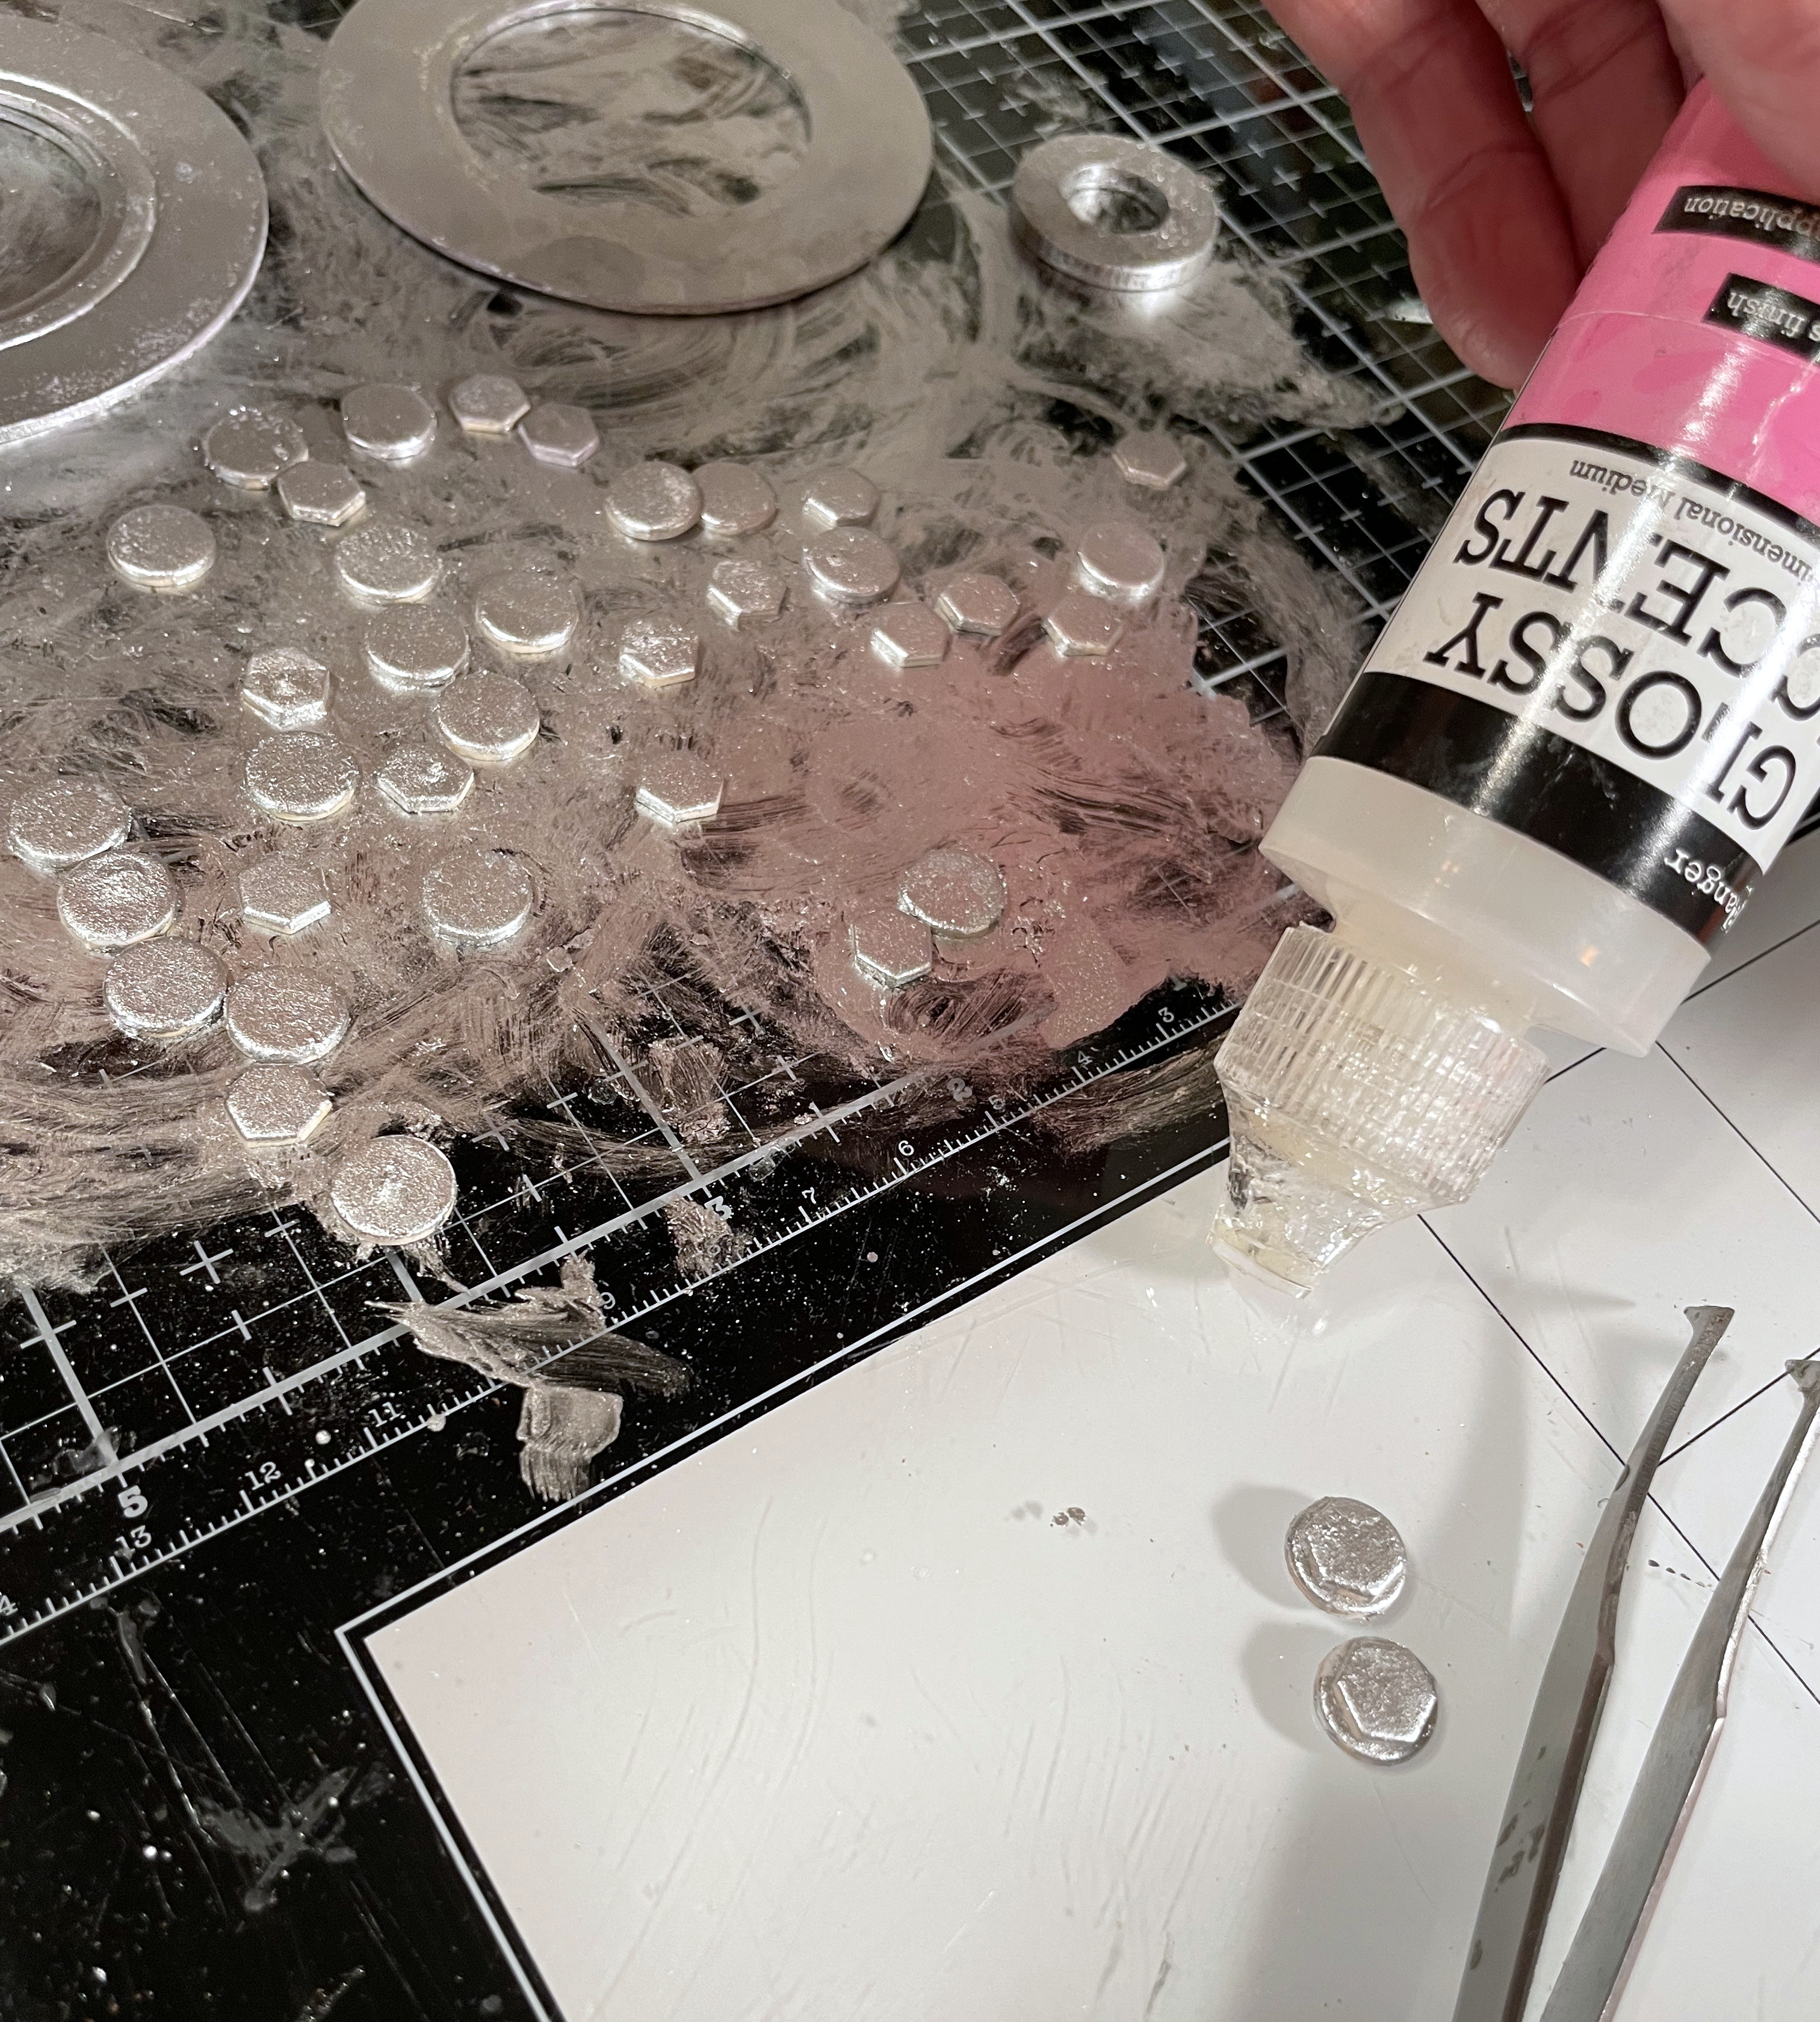
I used my Glossy Accents (my 'go to' glue), as usual.
I made sure to fit each of the pieces I needed onto the tag FIRST- this way 
I didn't have any leftovers of wasted paper. THEN I die cut all the plastics to fit.
This meant having those other sides also covered- if they overlapped to the back side of the tag.
Set those plastics aside for now. We've got another step to do first....

... Rusting up the piping paper. And fitting them together into one full piece.
All the heat drying needed to be finished up in this step.
Once we get to the plastics... no more heat!

Now it's time for the plastics.... adding some Alcohol Ink in Ginger all around the plastic edges.
That just added to the rust and depth for the piping look.
Notice you don't see any AI on this piece yet- so you can see the difference from the result.

Here's the AI getting done.
Then all the plastics adhered to the papers after this.

I DID try some of the Foundry Wax on these pieces. But, sadly, none of it was going
to end up showing up as only the last coats would get the wax and the
plastic would already be inside- I wouldn't be able to heat it up.
I'll have to think on that for a bit and see if I can figure out how to make it happen next time.
Meanwhile... I used my usual Alcohol Metallic Ink.

Same here: die cut the pieces, color them all in AInk and glue them together
before adding them onto the finished layer.

That Industrious 3D Folder, tho!!!
It worked FABULOUSLY on the TH Voltage Die pieces!
Again- the Foundry Wax was not able to be used on this for the same plastics reason.
This was my first chance to finally get those TH IdeaOlogy Dials out!!!
I grew up around my Grandpa's restored antique cars, 
so, I can tell you that these dials are
definitely realistic

And what to do for the post windows??
I heared Ollie Octopus calling out my name.
She knows it's about "that time of year" once again. :`(


And here it comes: the Pool Works!
(And yes, it does work up till a few weeks from now.)


The Pool Works FRONT


That crack is a happy accident! I think it added a lot of charm!


The Pool Works BACKSIDE


The rope is tied like a sailor ties!
How cool is that Tag's hole reinforcer?!
Put Metallic Silver Alcohol Ink on it, brush it up with some Black Soot Distress Ink,
and it almost looks REAL!

Plain plastic portal closed, but you can easily check the water color...?? LOL!
I only wish I had completely cleaned up that Foundry Wax dust all over
before I headed out to take photos for the finished results. 
*sigh*
Live and learn.

Poor little Ollie Octopus!
She's deadset on NOT closing up that pool!
She's just gonna sit in there all by herself. Just until that first ch-ch-chilly day,
then she's gonna pack it in...
And head for FLORIDA!


I absolutely detest closing the pool. It's one of my very UNfavorite chores.
The older 3 Grandbabies have morphed into fishies this year, and that's going to hurt.
But this year, closing earlier than normal has a good ending:
GRANDBABY NUMBER FOUR!!!
That's the reason I'll be spending September to October up there in New York.
Probably going to need some battery-operated undies to keep me warm in the tooshie.
But my heart will be totally warmed spending some time with Little Man Pecan
and the youngest of the Larimore Family!
I am so blessed to have 2 boys and 2 Princesses!!

I'm sending out another SHOUTOUT of THANK YOU!!!
for all the kind comments on all my recent makes!!
THANKS, everyone, for spending the Summer of 2022 popping into my blog
and being on the waves of the Journey with me!

Now it's YOUR TURN!
Simply take a peek at 
The Funkie Junkie Boutique Challenge Blog's Latest Challenge:


Sponsored by:


The Design Team are ladies of very fine talents who have great ideas and a lot of 
simply FUN techniques in each Challenge. Take some time to yourself and try one out.
I'll be watching for YOURS!

Until next time...

Stay Safe & 
HAPPY BLOGGING!!!


Tuesday, August 3, 2021

The Funkie Junkie Boutique Challenge #10; Shimmering Summer Fun...Favorite Holiday - and as Guest Designer!


      July- Oh my, this month went out with a big *bang!* in being very busy! We got back from Florida (as noted in my last post) and had only a few days to change out the undies in our suitcases and head back out again. But, as luck would have it; our younger Minnesota kids were making a trip down to spend time with her side of the family. I was able to get in one evening with Baby Pecan, then it was time to hit the road again. We would have one more day together - along with the ChiefHubby's Dad) when we returned, before they had to head back up again. This time, we were headed for Hillsburo, Ohio- the site of the P2P (Person 2 Person Ministries) Family Camping Retreat. This was our third time there (4- if you count how covid19 caused cancelation of the entire event last year, as most things went in 2020), and it is an awesome time to relax and enjoy the many chances to worship The LORD and serve others. A group of us from Church of Christ at Logansport go together, with one a Doctor offering services while there. He's the one who got us started going 4 years ago. Since I am deaf and have a hard time in larger groups, I attend just the evening gathering, so this gave me a chance to chill with my Guest Designer spot for The Funkie Junkie Boutique Challenge Blog, with "chill" being the key word there: "chill" did not happen. It actually became the hottest week of the year! And most of our group was situated on pre-reserved spots we had chosen one year in advance- in the full sun. So each of the campers had full beating sun on them, with little escape from the heat until the full cool of the evening gave us all a break. Ordinarily, this kind of weather is MY kind of stuff- I LOVE IT!! But, it wasn't actually conductive to my plan of creating, as you'll soon see.


    When Jenny (Marples) first contacted me for the spot, I was looking very forward to it, and of course I said "YES!" right away, thinking that even with all the things going on- I got this. No prob. And then she sent the details for "Shimmering Summer Fun" Challenge, my ego deflated really fast. My first thought was "Oh, NOOOoooooooo! Glitter?!?! I HATE glitter!!". All I could think of is the fact that our only GrandDaughter (Princess is 2 now) just discovered gold glitter. She and her older bubby (Peanut is 4 now) were visiting their Grammy Fasha while we were in Florida, and she created a craft room for all her Grandkids to be Artists and they have all taken advantage of it- with gusto! So now, with the 2 oldest Grands doing all kinds of crafts and arts in my Sunday School Class, as well as the youngest up in Red Wing making his own splash in the fine art of paint, crayon, and glue; but mostly just learning that his creative side also happens to be as an entertainer....(like his Memaw,lol). I have to suck it up, BudderCup, and take the lead in this. I stalked around the house for a bit, bummed about how to go about making a glittery, glitzy, gaudy, for-the-love-of-pete-I-hate-glitter type of project. Then I decided "Okay....it's all about CHALLENGE. So let's get back to that basic and see where this goes." and I went back and re-read the guide lines, seeing that it wasn't going to be as bad as that. And then the idea came to me: shimmer and shine doesn't HAVE to be all glitter and gold. Sometimes, it's the shine of some area of an item that catches our eye and then...viola!...we find an absolute treasure we didn't know we were seeking!


       The Plan to SHIMMER & SHINE for TFJB Challenge:


Yes, I keep a journal of plans.
Not every project is in here, though, as sometimes I just go where my ArtMuse leads.
On the left side; the backside of the project that won me this GD spot.
CLICK HERE if you missed it.

I actually set out everything I thought I might use. 
As it happened, I didn't use the new TH Stencil "Circuit" 
and it will have to wait in the wings, once again.

That new Crop In Style 16x16 is getting a LOT of use this year!

I like making my own cardstock-backed foil for all my projects,
I like to use heavy duty foil, but forgot to pack the box into my craft bag.
Camper foil will do.

The key for having it stick; leaving it dry flat for several days ahead.
But, me did not get that time because me forgot.
Then me didn't plan on da hot, sticky, icky weadder sticking to me bedder than da foil stuck!
In the end, it all worked out, though. ;)

And THEN, there was the TH Yupo paper experiment with the same colors...
Can you say "FAIL!"??
Ah, but let's embrace those mistakes! I did like the one on the left and saved it for another day.

So...let's try that again...

and we SUCCEED in getting just what we're after!

Now, we set that awesome FRONT background aside, and work on the BACK side.
I wanted the front side of the Tag to shine more and the back to be more aged-looking.

Getting two pieces of that TH Collage Paper Travel to layer together and be able
to cut part of the overlap off...
I taped the bottom half down to the craftsheet at the top underside edge of the tissue-
leaving the rest of it just lay there.
That kept it from moving all over while I was trying to get the other half secured to it-
again with just one row of tape on the bottom underside edge of that top half.
It was easy to match both up exact.

After this, all I needed to do was gently lift off both pieces (they were now held
together by the tape on that top half),
and easily cut off the excess piece.

And then I transfered the entire (now a one piece sheet of tissue) thing
to the TH Mini Etcetera Thickboard Tag.

Burnishing
 (which is basically: glue the material to the Etcetera tag, trim the edges off as close as you can- Tim Holtz's Mini Snips scissors are great for getting close- then use your sanding tool to sand all that edging to as much or as little as you like)
 is my favorite way to alter the TH Etcetera Tags and these Bracket Shelf pieces!
After that, I wanted to add a finishing touch to make it "mine" with my
favorite sprinkling of TH Black Soot Distress Paint.


Don't forget to heat dry TH Distress products.

After using what I needed for the Etcetera Tag, Bracket Shelf and Reinforcer pieces,
I cut one piece of the background to fit inside the frame.
and used Lady Liberty with Ranger Archival in Jet Black to stamp her where 
the Silver Alcohol Mixative was spread the thickest.

By cutting the piece to fit FIRST, I could tell exactly where I wanted 
Liberty's face to fit the frame best- I layered it all like this:
1) the TH Frame (splattered with TH Distress Black Soot Paint
2) the stamp glass
3) TH Cling Stamp Liberty
  to stamp the cut background piece.

This is the SIZZIX regular Bigz barn Star. I thought I had Tim's (shown next pic), but if I did,
I wasn't able to find it before leaving. In any case, both work the same way and
you end up with the same pieces/finished piece.


Using one piece as your pattern, cut each of the rest down to the size you wish your star to be.
(Use one of the cut pieces to then cut the pattern piece in turn.)
You should have five pieces all equal size.
This die- as with Tim's- can also make a 6-sided star, but it will need to be cut to a tighter fit.
Both the regular die and Tim's die make very nice LARGE barn stars. 
You'll see why I cut mine down when you view the final results.


I used the TH 3D Impresslits Folder Foundry.
while the foil stretches nicely due to those tiny wrinkles,
you'll notice I still spritzed the folder with water- just for the cardstock backing to stretch better.

Again- that TH Black Soot Distress Paint comes to aid me in making a bit of distress
on my SHINNING Star!

Now, I wanted to finish the background plan for the FRONT side of my Tag.
I told my ChiefHubby: "This is the part where I can either come out with an
awesome-looking successful idea...
or I can embrace a failure and go with my Plan B idea. 

And here's where I FAILED.
The Distress Glazes just did NOT want to work during the heat and humidity for whatever reason.

I went ahead with my plan to ghost stamp a rare set of TH that had 
some cursive writing on it that I wanted to resemble old 1700s type of writing.
(See me trying to hide my mistake..hehe.)
I do hate how gummy that clear set gets, though.
Tim's stamps have come a long way with the cling sets and I LOVE those red rubber stamps!

The rest of the idea for the Flag went off as planned. :)

Once I got back home, I was able to finish up a printed set of sayings to choose from.
This set my Tag in my favorite Americana Summer form!!


And here's the results- let it SHINE!!!


The FRONT SIDE


The brand new released: TH Distress Glaze in Prize Ribbon shows off its blue sheen.
on a cut of TH Grungepaper die cut with TH Stenciled Number 4 for July 4th,
my Favorite Holiday! The TH Ranger Silver Alcohol Ink Mixative helps the TH Distress Chipped Sapphire peek through just right, and it's held there with a TH Large Hinge Clip.

IdaOlogy !!!
That blue ribbon showing off up there is a FREEBIE GIFT from
that came in an order with my TH Distress Glaze in Tim's newest release.
THANK YOU, LINDA COUGHLIN!!!

Alcohol ink can make anything shine!


What better to bring a little pop of shiny color than more STARS?!
These have been sitting around for some time and I wanted to use them.


The BACK Side


Why not use a SHINY button with a fave motif or better yet: our own USA Flag!

Lady Liberty: she SHINES her own light for all to see throughout the world.


       THANK YOU, once again, for joining me on this SHIMMERING SUMMER FUN journey! And a very special THANK YOU to The Funkie Junkie Boutique Challenge Blog and its fabulous Design Team for allowing me to take the Guest Design spot to wherever my ArtMuse wants to lead me. I've come to realize that "shiny" and "shimmer" doesn't mean it has to involve glitter. Those of us who don't care for the glitzy, glittery, tad-too-much-glare (not to mention messy) type of projects that make us avoid taking a CHALLENGE altogether, don't need to be shunned. Seeing what we can come up with that suits our artist's desires, while stepping outside our own box can actually end up with a TREASURE that shines brighter than any amount of glitter could.

    And just like that; this Shimmering Summer Fun Challenge will be over all too soon- the deadline is Tuesday; August 10th at 11:55pm. Join in on the fun and see what you can come up with. You may end up winning the $25 (randomly drawn) Gift Certificate (Sponsored by The Funkie Junkie Boutique


THANK YOU, EVERYONE:
Yes, I am overwhelmed and humbled by the sheer number of folks 
who are taking a look at my artistic creations!
Especially all the wonderfully kind comments- they lift my spirits!

Until Next Time...

Stay Safe &
HAPPY BLOGGING!!!