I've saved the best (in moho) for last; this make didn't take nearly as much time as the previous post's makes, but it definitely made me feel more confident in feeling like I've made something that looks absolutely 'polished'...the way I think of the things made by several of my favorite Designers (Tim Holtz tops the list, of course), like Paula Cheny, Barbara Schiassi, Tami Bastiaans, Zoe Hillman, and especially the Design Team Leaders of The Funkie Junkie Boutique Challenge Blog - I eagerly await each Challenge if only just to see what each of the Team will make as inspiration! (As if you can't tell by how much I follow this group/site and plug for both them, lol!) I scroll through the Tim Holtz Addicts Facebook Group where most of these folks will post their latest projects.'Polished'...yeah, that's the word I am thinking of. The level I think I've reached- still greatly in need of practice (as if I could stop the FUN- hahahahaha!), but feeling as if I have hit a level that I have worked toward in skill. Talent is a GOD-given gift. But even the most talented people still need to hone that talent until it comes with ease. I'm nowhere near 'with ease'...Rheumatoid Arthritis and the fatigue of 21 Rx meds daily make that nearly impossible. But...polished- even just this once...I can handle that!
And let it be known that I began this project with the reason of it being a gift to my ChickCousin Bestie for her birthday which was November 15th. The 14th was her Wedding Anniversary- which she celebrated here on Earth and Roy celebrated with JESUS- for the 3rd time now. Since we well be leaving for Florida winter living soon- ChiefHubby retires January 4th officially and last day is now Dec. 18th. Time is always a problem, but I took comfort that we are only 2 miles away....now that becomes HOURS away. so; no time like the present....and giving a present of time as well! I made up a box suitcase and put both this make and her Memory Book inside.
Here we go...
I skipped out on using the little packaged string of fake lights,
and ditto on the Snow White Flower Soft.
The little red laterns (of which we have a real one hanging inside our entry area)
were found at WalMart- a very NON-busy WalMart that is out in the boonies
in a 'summer visitors' town west of our county.
But I still wore my mask, gloves, and did the drop-your-clothes-and-shower thing, too.
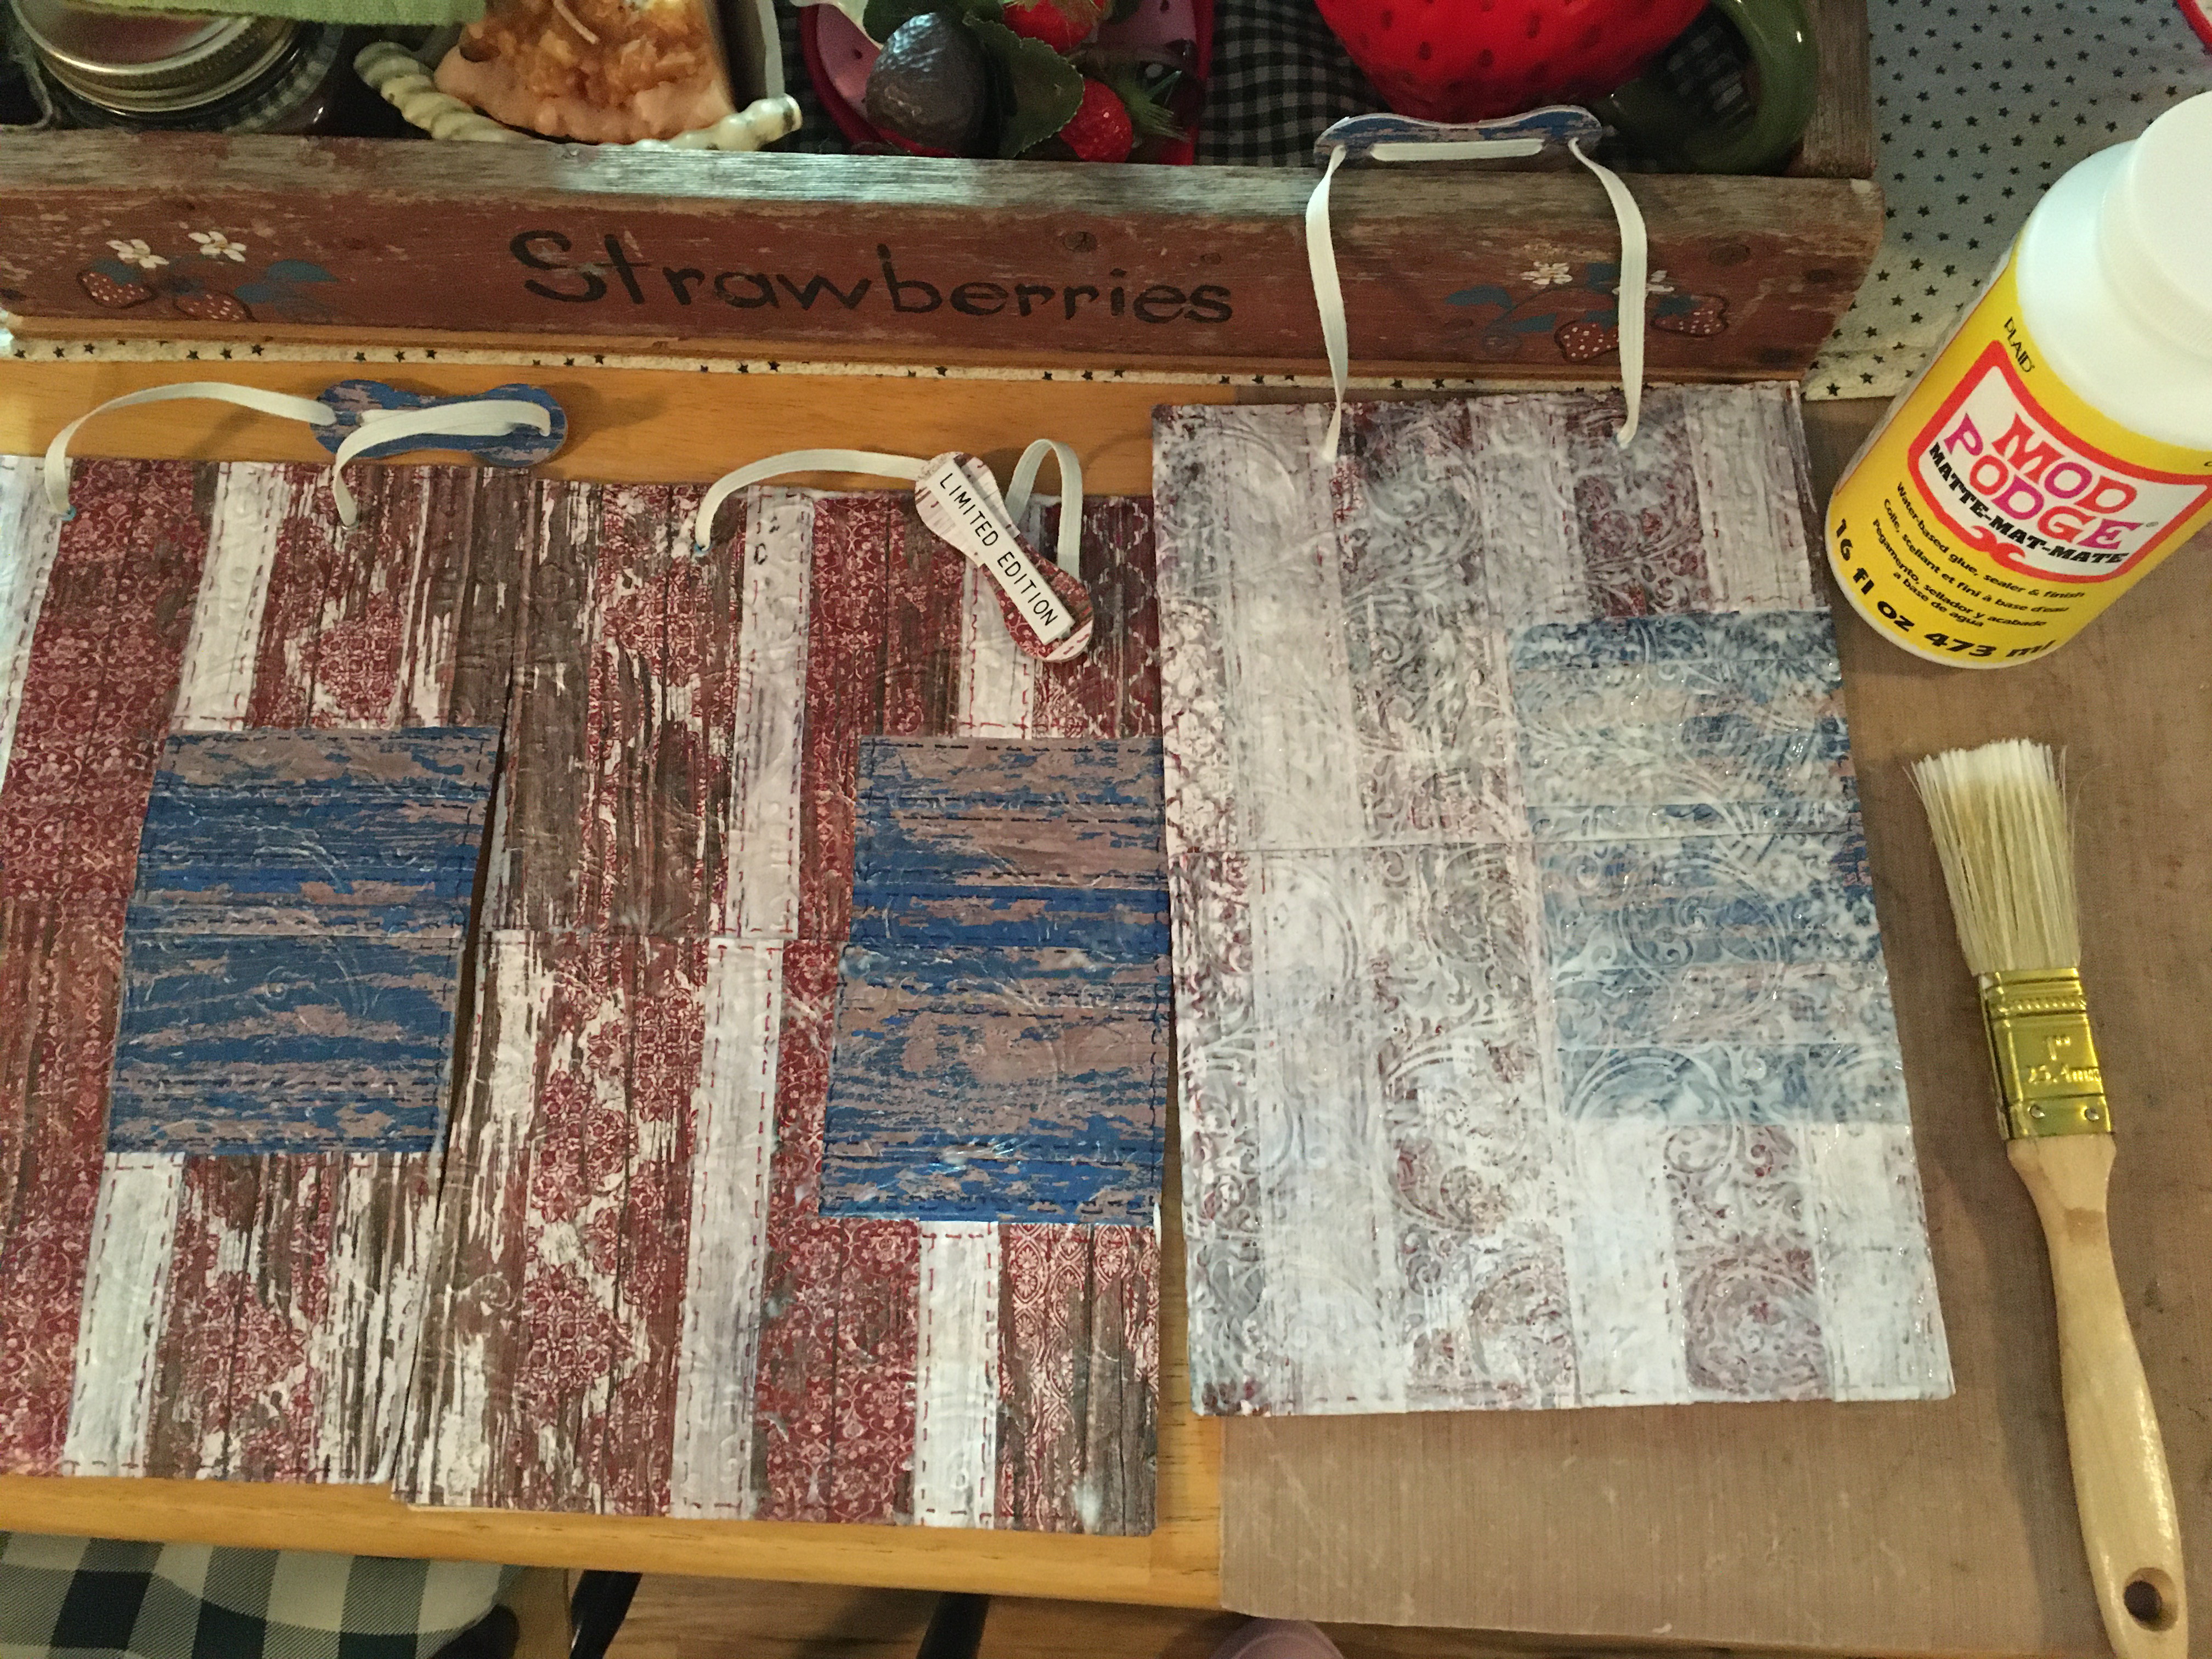
This paper was all from a very long ago found stack I found while after-Christmas
shopping in Florida during one of our breaks.
It has several patterns in the same shades to choose from, so this was
a perfect background for that 'warm, fuzzy feeling' you want to pass on when the weather gets cold.
*NOTE* I used THREE SHEETS of each paper:
the Thickboard is covered with 2 layered (*hold it up to the light to align) sheets, then
burnished and the shelving is covered with any excess from those two 12x12 sheets.
The THIRD SHEET: I cut it down just about 1/4 inch on each side to be
smaller than the Thickboard.
The idea is to see a type of '3D' wall.
But, you'll need that effect because you'll be hiding wiring in between those sheets and sheet.
Oh yes...another hour of practice on the Tim candles.
My snowglobe was going to be a HALF ball.
I do have a set of the full Tiny Snowglobes,
but they kind of go off the shelf too far.
This 'half' idea fit the plan perfectly.
Here I am making paint & distress touchups and hoping my hands stay steady.
This was in the plan for the backside...
Layers of Matboard were needed- to fit the thickness of the light set's battery pack.
I wanted an even surface on both sides. So building up and cutting out space for
the wiring made sense. And it WORKED.
The black electrical tape is to cover the extra bits of board put back into
the slits where the wire goes in and then back out to cover each window spot.
The black tape keeps the light from showing into another window or door area
other than that one window/door it is supposed to light up.
You can do like the candles and double up a couple of bulbs then use
the wire to spread the next bulb(s) to the needed spot.
The very last thing after making sure the top paper covers where it should,
is to drill the tiny hole where the wire will now go to the other side
to shine as a sun, and go up into the candles.
The wire came through, and I had to leave one bulb right there at the hole.
I wanted the Sun to show, but only one bulb didn't do the job, so I used
3 bulbs. But now, I could only see three BULBS through the Vellum- not very "Sunny".
So I got an idea: just make a Sun- actually cut a circle and
glue the bulbs down inside that bump of a circle.
The hump it made was no problem- the window cut stuck out and pop dots would
even out the rest of the covering paper- which was measured even with the rest of the items!
I just LOVE it when an idea works!!
Yeah, yeah...fine;
my Geometry Teacher was right that the course was useful in life.
But he was still wrong about TRIGONOMETRY- I still refuse. *raspberries*
And this is what she got...
FRONTSIDE
BACKSIDE
Smoothly THIN!
Best painting job I've ever done so far-
because painting is definitely NOT my forte'!
And, the snowglobe is a SNOW globe- a TH IdeaOlogy Frozen snowflake (retired??)
I added TH IdeaOlogy Mica Flakes in it so it really does shake like snow.
The snowflake now comes only as IdeaOlogy Icicles but this was from a set that
is shown in the very first "materials used" photo at the top.
These little gems were from Hobby Lobby in the 'littles' Christmas tree dept.
But that bow just MADE this work!
Hint: I do use wired ribbon SOMETIMES.
The trick is to make your bow as usual, then after securing it to your project,
gently pull back the material at the ends to show the wires - about 1 inch out-
and clip off those ends, then pull the material back out and fluff.
The bow stays its shape, but the wire on the ends won't show & the ends will be SOFT!
Again- I just LOVE burnishing the paper to these Etcetera Tags and Shelves!!!
THIS was one of my coolest elements- I was trying to fit the TH Catherdral Window die cuts
back to back, but they are much better fit just layered stacked as you cut.
But the TH Vellum Scene placed over the CUT OUT PAPER- then the window cut on top...
that TH die is one that I will wear out too fast!!!
As I gave this to Cindy, I reminded her that while the girl could be both her or myself;
the doll she holds is the doll Cindy placed shelf above her bed long ago when they first moved from just four houses down the street from us, to their new house a couple miles away.
She and my ChiefHubby grew up close 1st Cousins- her younger brother was his best friend.
Her 2 younger Sons grew up with our 2 Sons- what a blessing for 3 generations!
Tims's die even shows one of Cindy's 5 kitties in the window.
Or...hmmm....is that one of my OWN new THREE kitties???
But wait... you also get...(lol)
FRONTSIDE- lit up!
BACKSIDE- lit up!
Cindy can see the sun going down just like this- in her own backyard.
I was excited to really "nail it"!
You'll find this project entered in
which is always Sponsored by
Thank you all for your time spent reading my stories,
or just passing by to scroll through.
May your THANKSGIVING be heard and poured back tenfold in blessings.
As we prepare for the Season of CHRIST's Birth;
Be Safe, Wear the Mask, Wash the Hands, &
HAPPY BLOGGING!!