

Summer is winding down, like it or not, and Labor Day usually has a way of bringing intense heat with a sense of urgency in all the bugs. They know the hour is late for them now and I find myself swatting sweat bees and constantly swiping down cobwebs off the porches. School has already been in session for the past month, but what's different is most places that were open for the summer, are now closed. Everyone tries to get in one last "hurrah" over Labor Day Weekend, and we were no exception- taking off with the camper to Salamonie State Park with some of our Besties. It's only an hour or so from home, but we'd never visited that area and the town of Wabash much, other than a funeral once. It was a fun weekend filled with hot, sunny weather which produced beautiful sunsets. We got in a few walks and even decorated Hawaiian for supper one evening and I even got in some time at the beach on the lake there. The internet was sparse at best, but we did get updated pictures from the Grandbabies: Peanut got a haircut, and both he and Princess Pistachio walked the underpass to Canal Park after Pizza. Pecan and Princess Rose called to let me know they are counting the days (15 now) till they come down to Indiana- very excited to see both sides of their family!


While the actual Fall season is still a couple weeks away, The Funkie Junkie Boutique is in full Fall mode with so many new Designer Chapter 3 products, molds, papers, and embellishments, it's hard not to get excited for the coming month! Owner Linda Coughlin has our Design Team right on top of things with the new theme for this next 2 weeks: "Fall Colors"! I don't normally go outside Tim Holtz very often, but when I saw Stamperia's new line of papers, I just had to grab the 12x12 set of "Sunflower Art". Come along with me and you'll see what I paired it up with to make a fall birthday gift for one of my Besties. I'm calling this one "Sunflower Art Kitchen Book" and it's filled with cool elements!

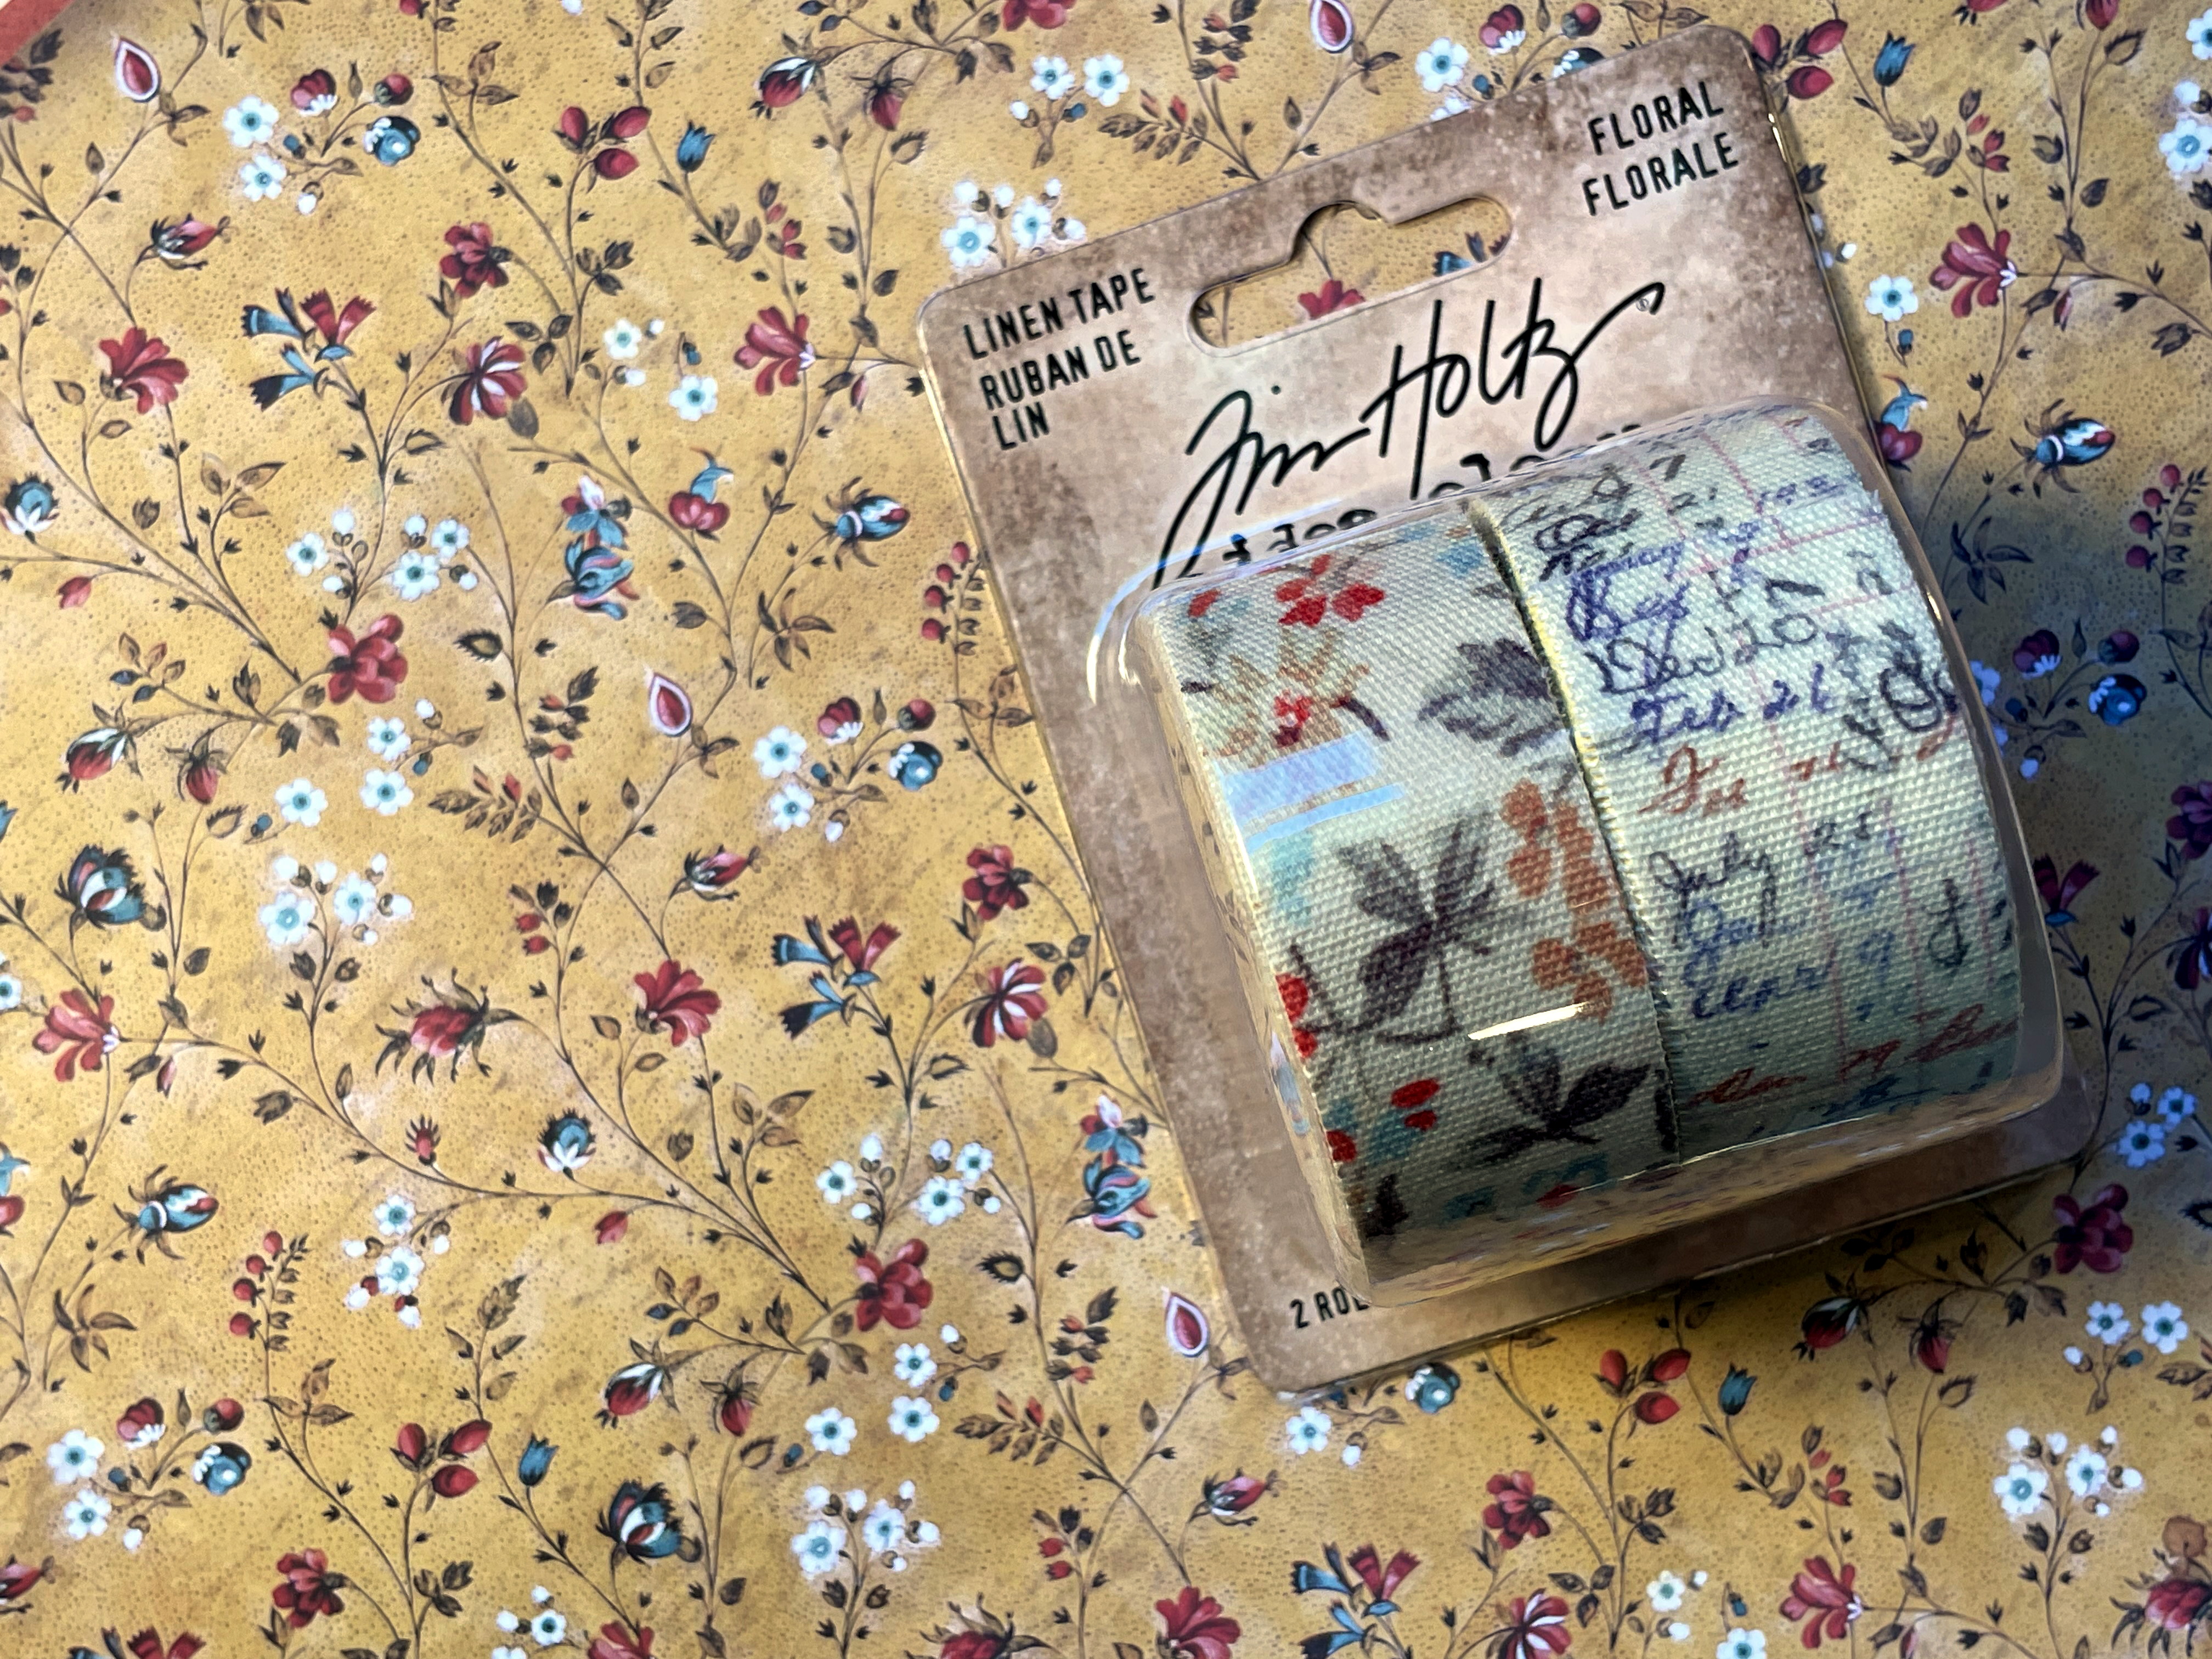
Happy Mail from The Funkie Junkie Boutique!
The older 2022 Eileen Hull Sunflower Die was part of my plan as soon as I laid eyes
on the new Stamperia Sunflower Art 12x12 Paper Set.
Yay! I was finally able to get the set of Lumberjack Plaid included.
My thought was to use neutral color Oxide Ink, but if I wanted to go
with redish Sunflowers instead.... I was all set!

The plan was to use the Eileen Hull Frame Pocket Bigz Plus Die once again,
and use some smaller Thinlits Dies with it.
At the end of this tutorial,
you'll find that while I didn't use the Eileen Hull Library Card Thinlits Set,
I've still included it- further down explained.

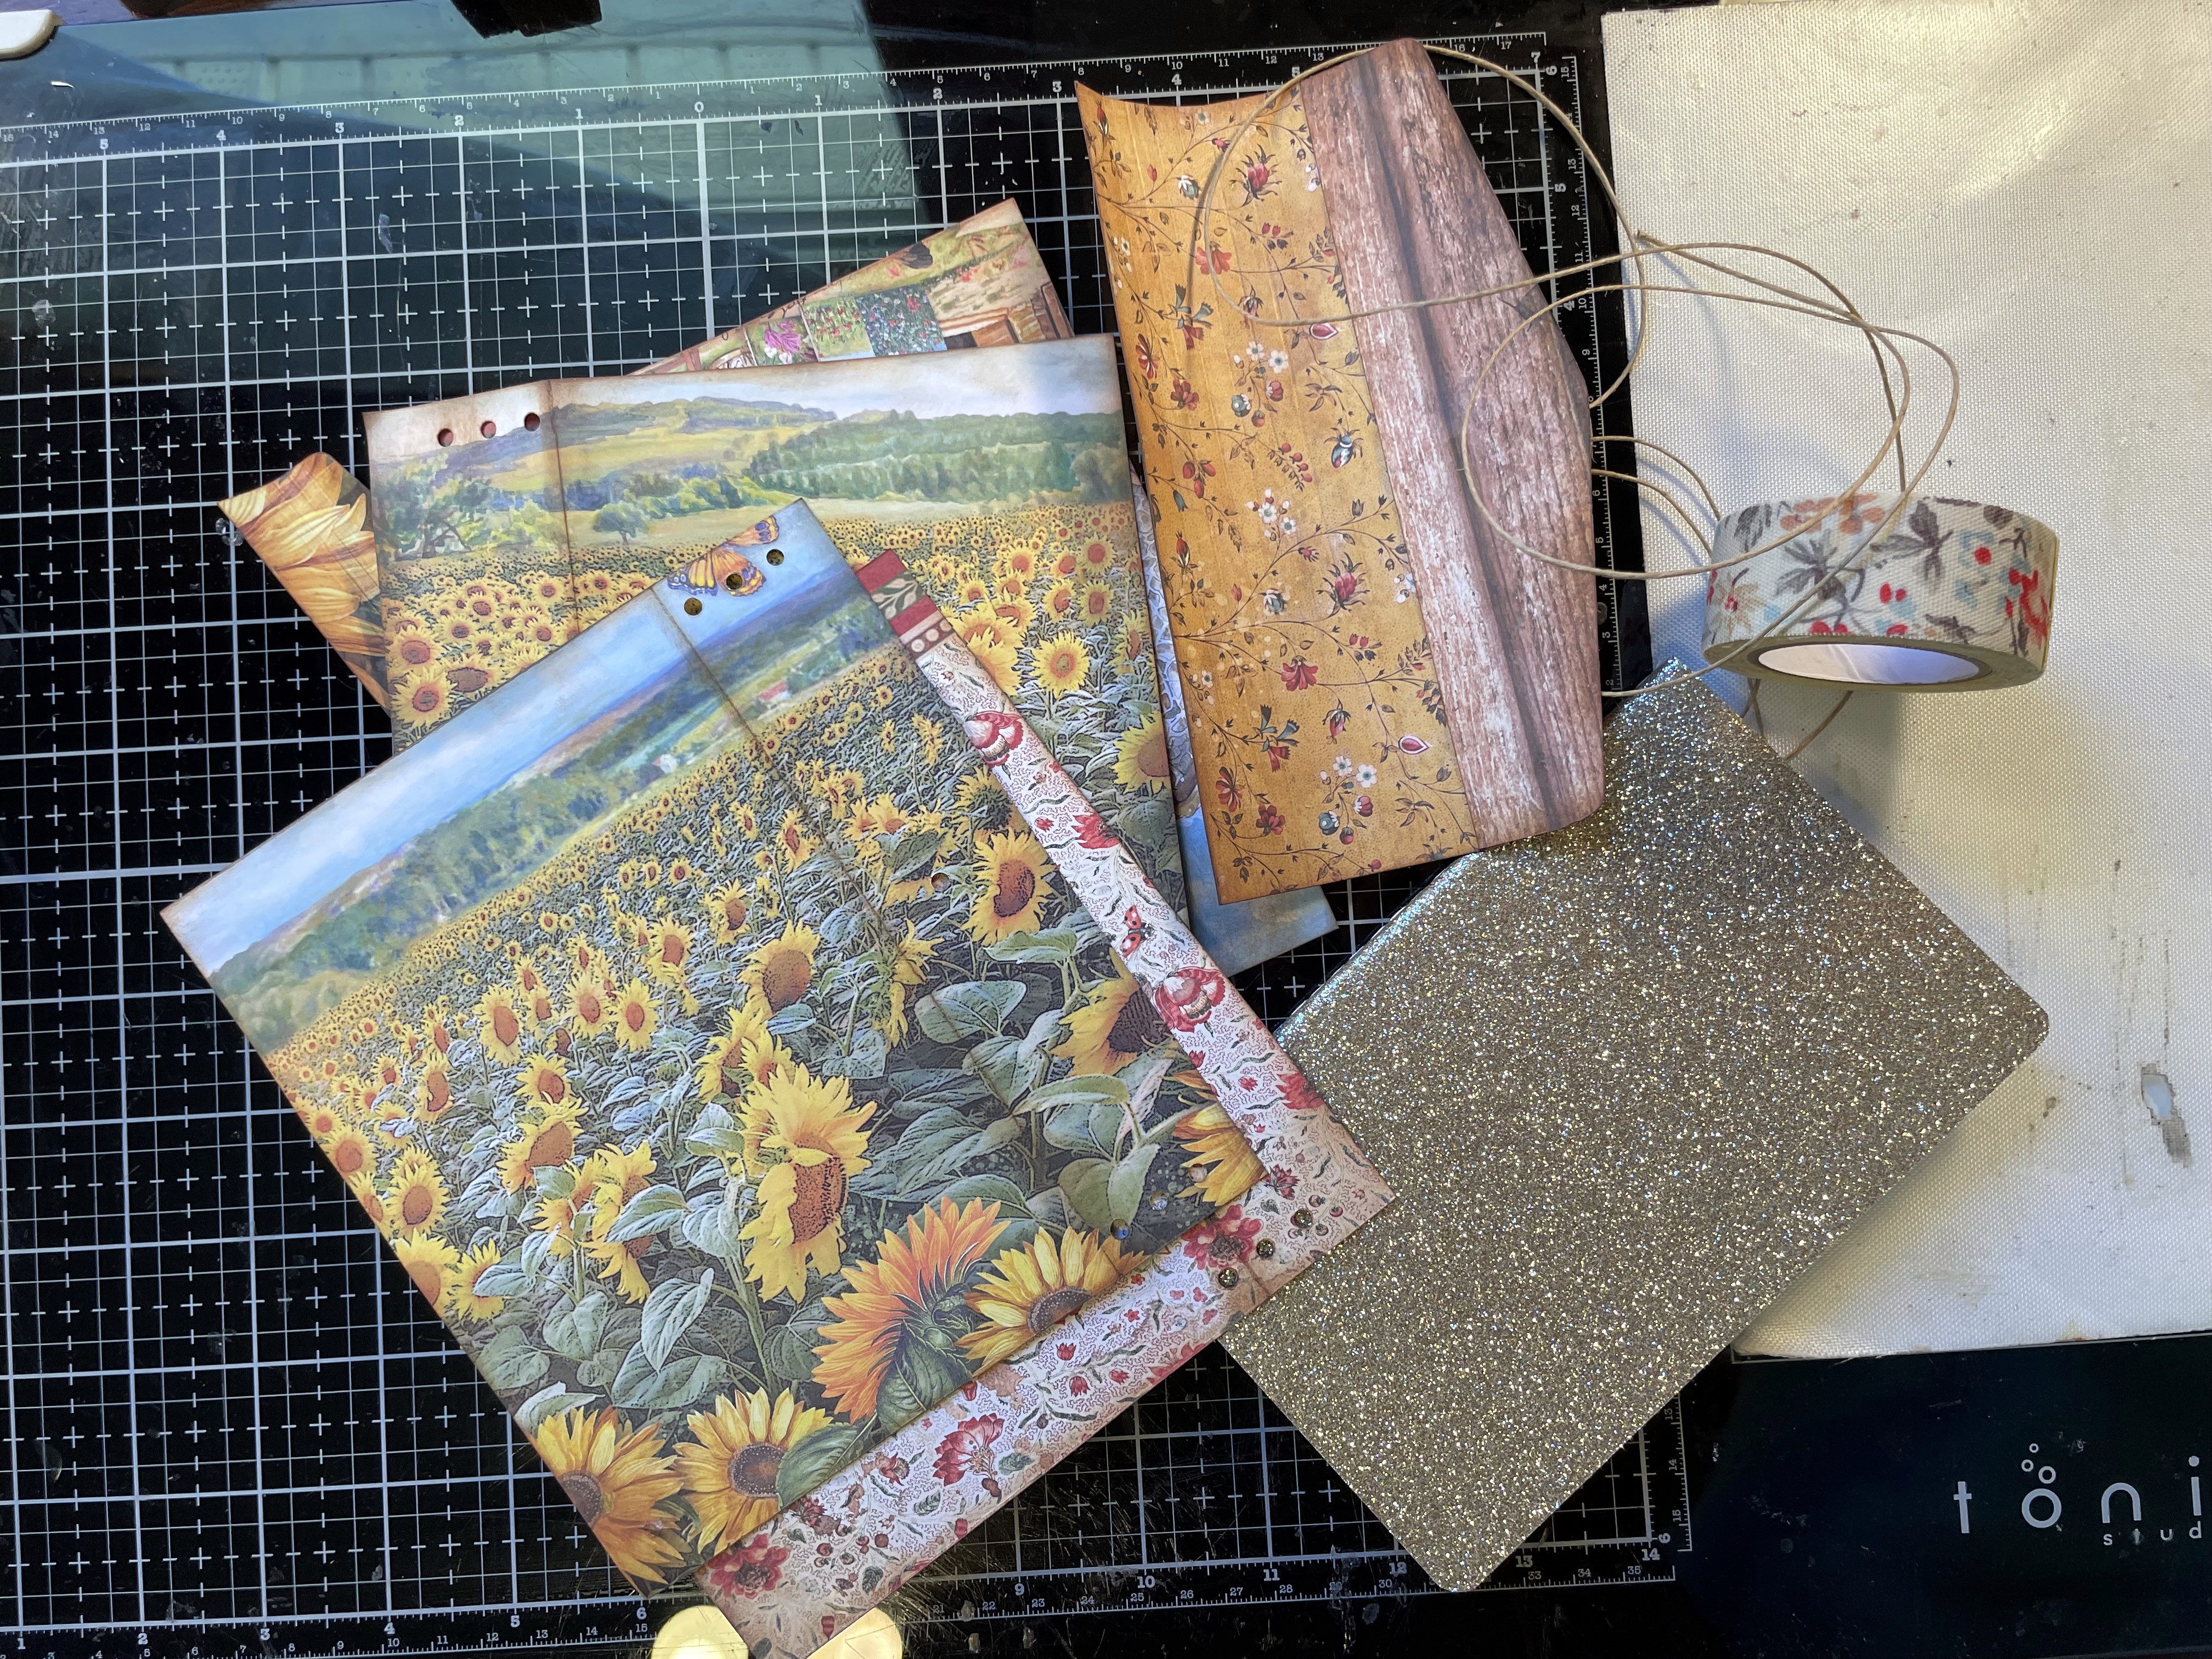
I'm pairing this new Stamperia with TH Backdrops, Bronze Leaf Embellishments-
both from TFJB- with a few salvaged items from stash.

I couldn't let this tutorial go without showing you my fave papers...
I'm a horse girl- born and bred.

The one on the right became the outside of my book,
along with the left side complementing.

This set has lots of fussy-cut items to choose from.
I used the left side to cut two simple foldout cards to put into the tuck pockets.
The color of the photo might not be exact, but in person: it's stunning together!
Here's some LINKS to help you get these products at great prices!
Sizzix Scoreboards Plus Die - Frame Pocket Journal by Eileen Hull


First things first:
Cut the layers of the cover and match up the holes in the spine so that the tablet
will have enough room on both sides of the cover to fit into the book without hanging out the front.

Then cut to fit the other side of the spine- where the closure will be.
This Eileen Hull Frame Pocket Journal Plus Die makes a journal book that folds over.

Then cut the rest of the pieces for the book part.

I inked up the pockets and then heat-dried before I covered them both with clear laminate.
This was just for the sake of strength to hold anything heavier than Tags.
As it was, I ended up with 4 double-layered tags in one side and 3 in the other.

Here's my mistake that I am embracing for another project- another day.
I found these two in my stash and thought they were a cute match
for a "sunflower look" put together as a closure.

And it worked!
Later, I would tear out this brad piece and use a TH Large Fasterner
attaching the Sunflower petals instead.

I used another smaller piece of scrap in between the two-layered envelope-shaped closure
for some added strength, and tied the hemp string to the button.
All the pieces were ready to assemble.
There were 2 sets of front and back for the cover- one outside layer
and one inside layer. So I matched each piece to have outside and inside as well.

I inked up the tablet and heat-dried it- the glitter on it is gold and aged nicely!
I used Upholstery thread and a needle small enough to fit into the holes
in the middle of the already-sewn tablet.

The needle easily glided through and tied tightly to the glued spine.

Time for the fun of making a sunflower!
By this time, we were at the campground and I finally got to use my Big Shot Foldaway!!

I kept the same neutral edging going on...

and puffed out the middle by doubling up a circle underneath the main middle piece.
I cut a piece of "pie" from the puffed piece and glued it smaller.
Then inked both circles up and adhered them together, using some
double-sided sticky foam underneath to pop it out more.

To make a tuck pocket out of the cover:
simply fussy-cut 3 pieces of paper and score each long-way in half.
Ink up all along the folded edges and heat dry.

Then add the cut/inked papers to three sides between two layers of the cover.
If it's a tight tuck, you can open it up a bit just by using a circle punch along the open edge,
for an area of the tucked tag to show at the opening.

Oh, dear.... the closure was going to rub up against the flower,
and, it was just not looking like they were both going to fit and be eye-pleasing.
So, a re-do was necessary.

After I redid the closure, I inked it up and added a fussy-cut element from the Stamperia.

Last thing to do was re-tie the hemp string and wrap the spine with Linen Tape.

Those stash flowers may have actually been Black-Eyed Susans, but I used them
GA glued/wired wrapped onto a TH Hinge Clip as tiny Sunflowers.


The TH Linen Tape was a matching stroke of lucky find!


The Bronze Leaf Embellishments added a sweet "old" touch!
I used TH Long Fasteners to attach the Bronze Leaf to the paper leaf,
and TH Large Fasterner to attach the petals to the button.

Shown here is the Eileen Hull Scoreboards Plus Frame Pocket Journal Die's pocket- used
on both sides of the tablet. But, if I wanted to keep this book (or a later book) thinner,
I could have substituted Eileen Hull's Library Card Thinlit Die for a thinner pocket.
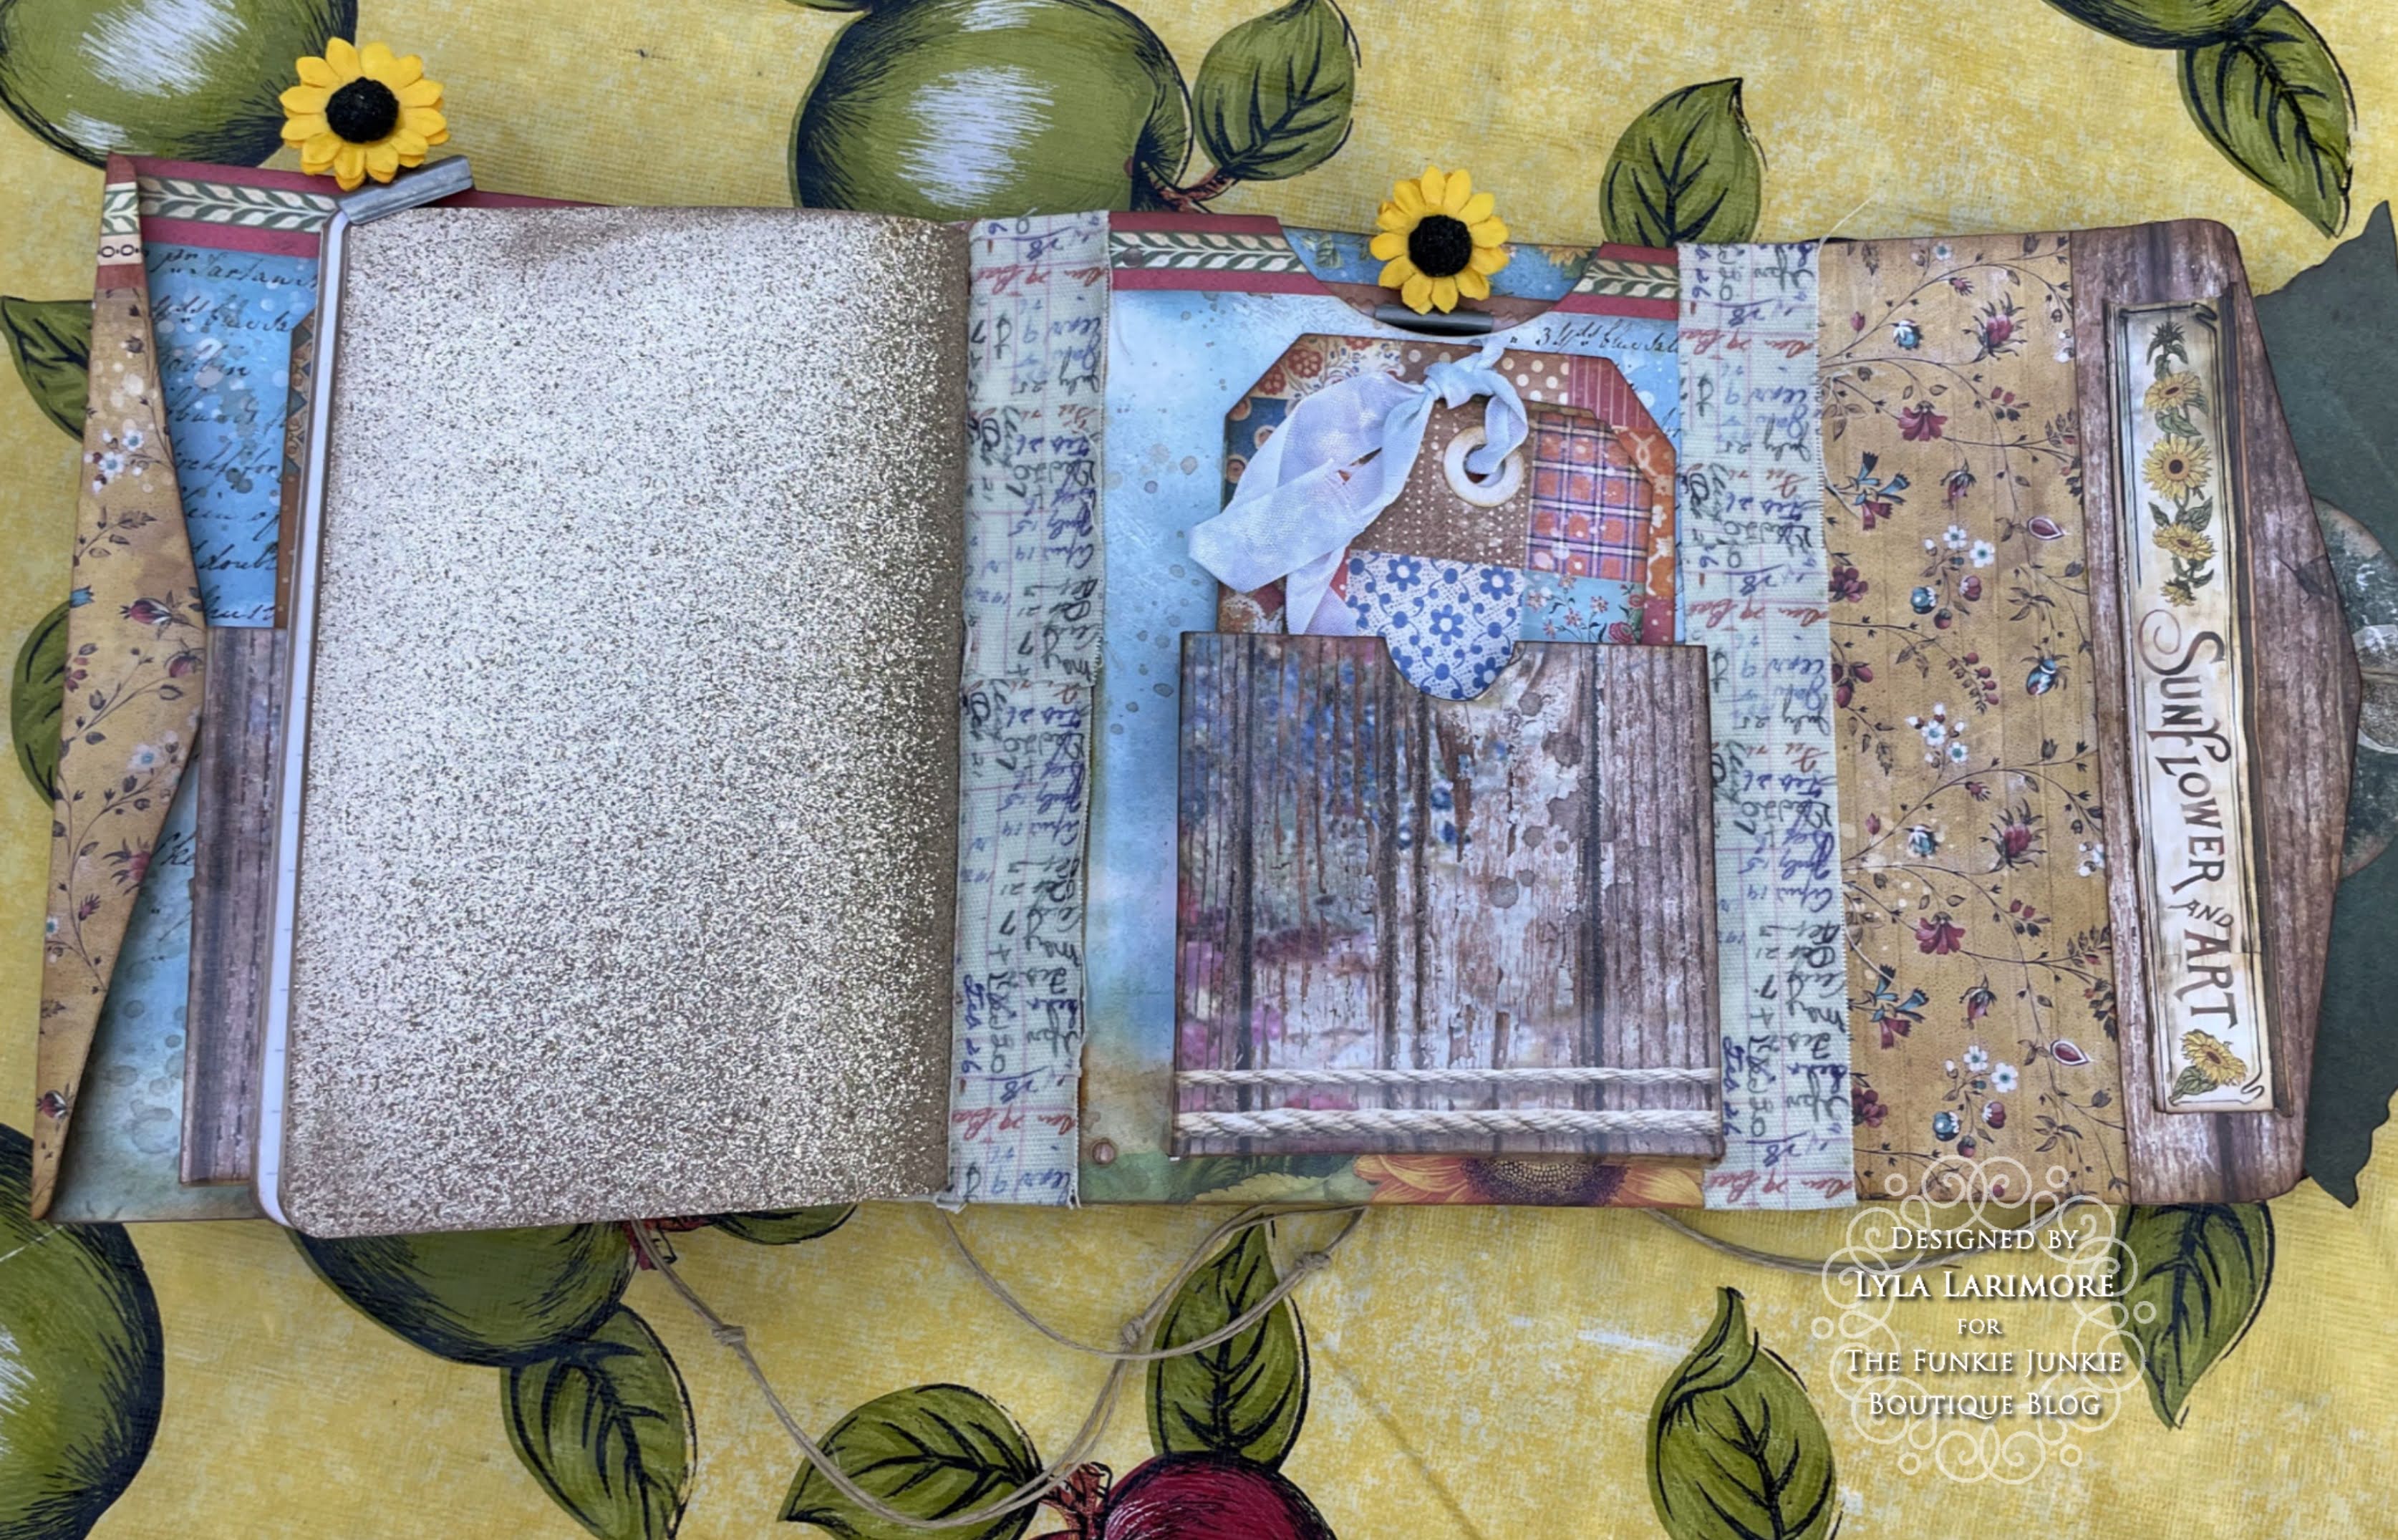

The Foldouts are double-sided and one side of each has a little tie-on cut out.
The Tags are all 2 papers thick.

Foldouts and Tags: On the far right bottom is the only set made with TH Backdrops Vol 5
and the Eileen Hull Thinlits "Snail Mail" Set. I just couldn't resist using that paper with
the cute play on the flower (which could be a Sunflower or a Marigold).
I am forever looking for a bit of paper to tear off for a note.... aren't you?

Tuck Pocket 1

Tuck Pocket 2

Tuck Pocket 3

BACK
And now it's your turn to take out your tools and make something with "Fall Colors"!
Still not quite ready? No worries: there's more Inspiration Ave is headed your way from the rest
of the Design Team in the next two weeks, so don't forget to pop back in often!
Be sure to drop in over at The Funkie Junkie Boutique in order to keep up with all the new products releasing for fall.... and now CHRISTMAS is getting set to debut- don't miss it!!
The FUN is just beginning at The Funkie Junkie Boutique!
Until next time...
Stay Safe &
HAPPY BLOGGING!!
No comments:
Post a Comment