Year 2013 & Year 2014 2

Year 2013 & Year 2014 2

Tuesday, June 14, 2022

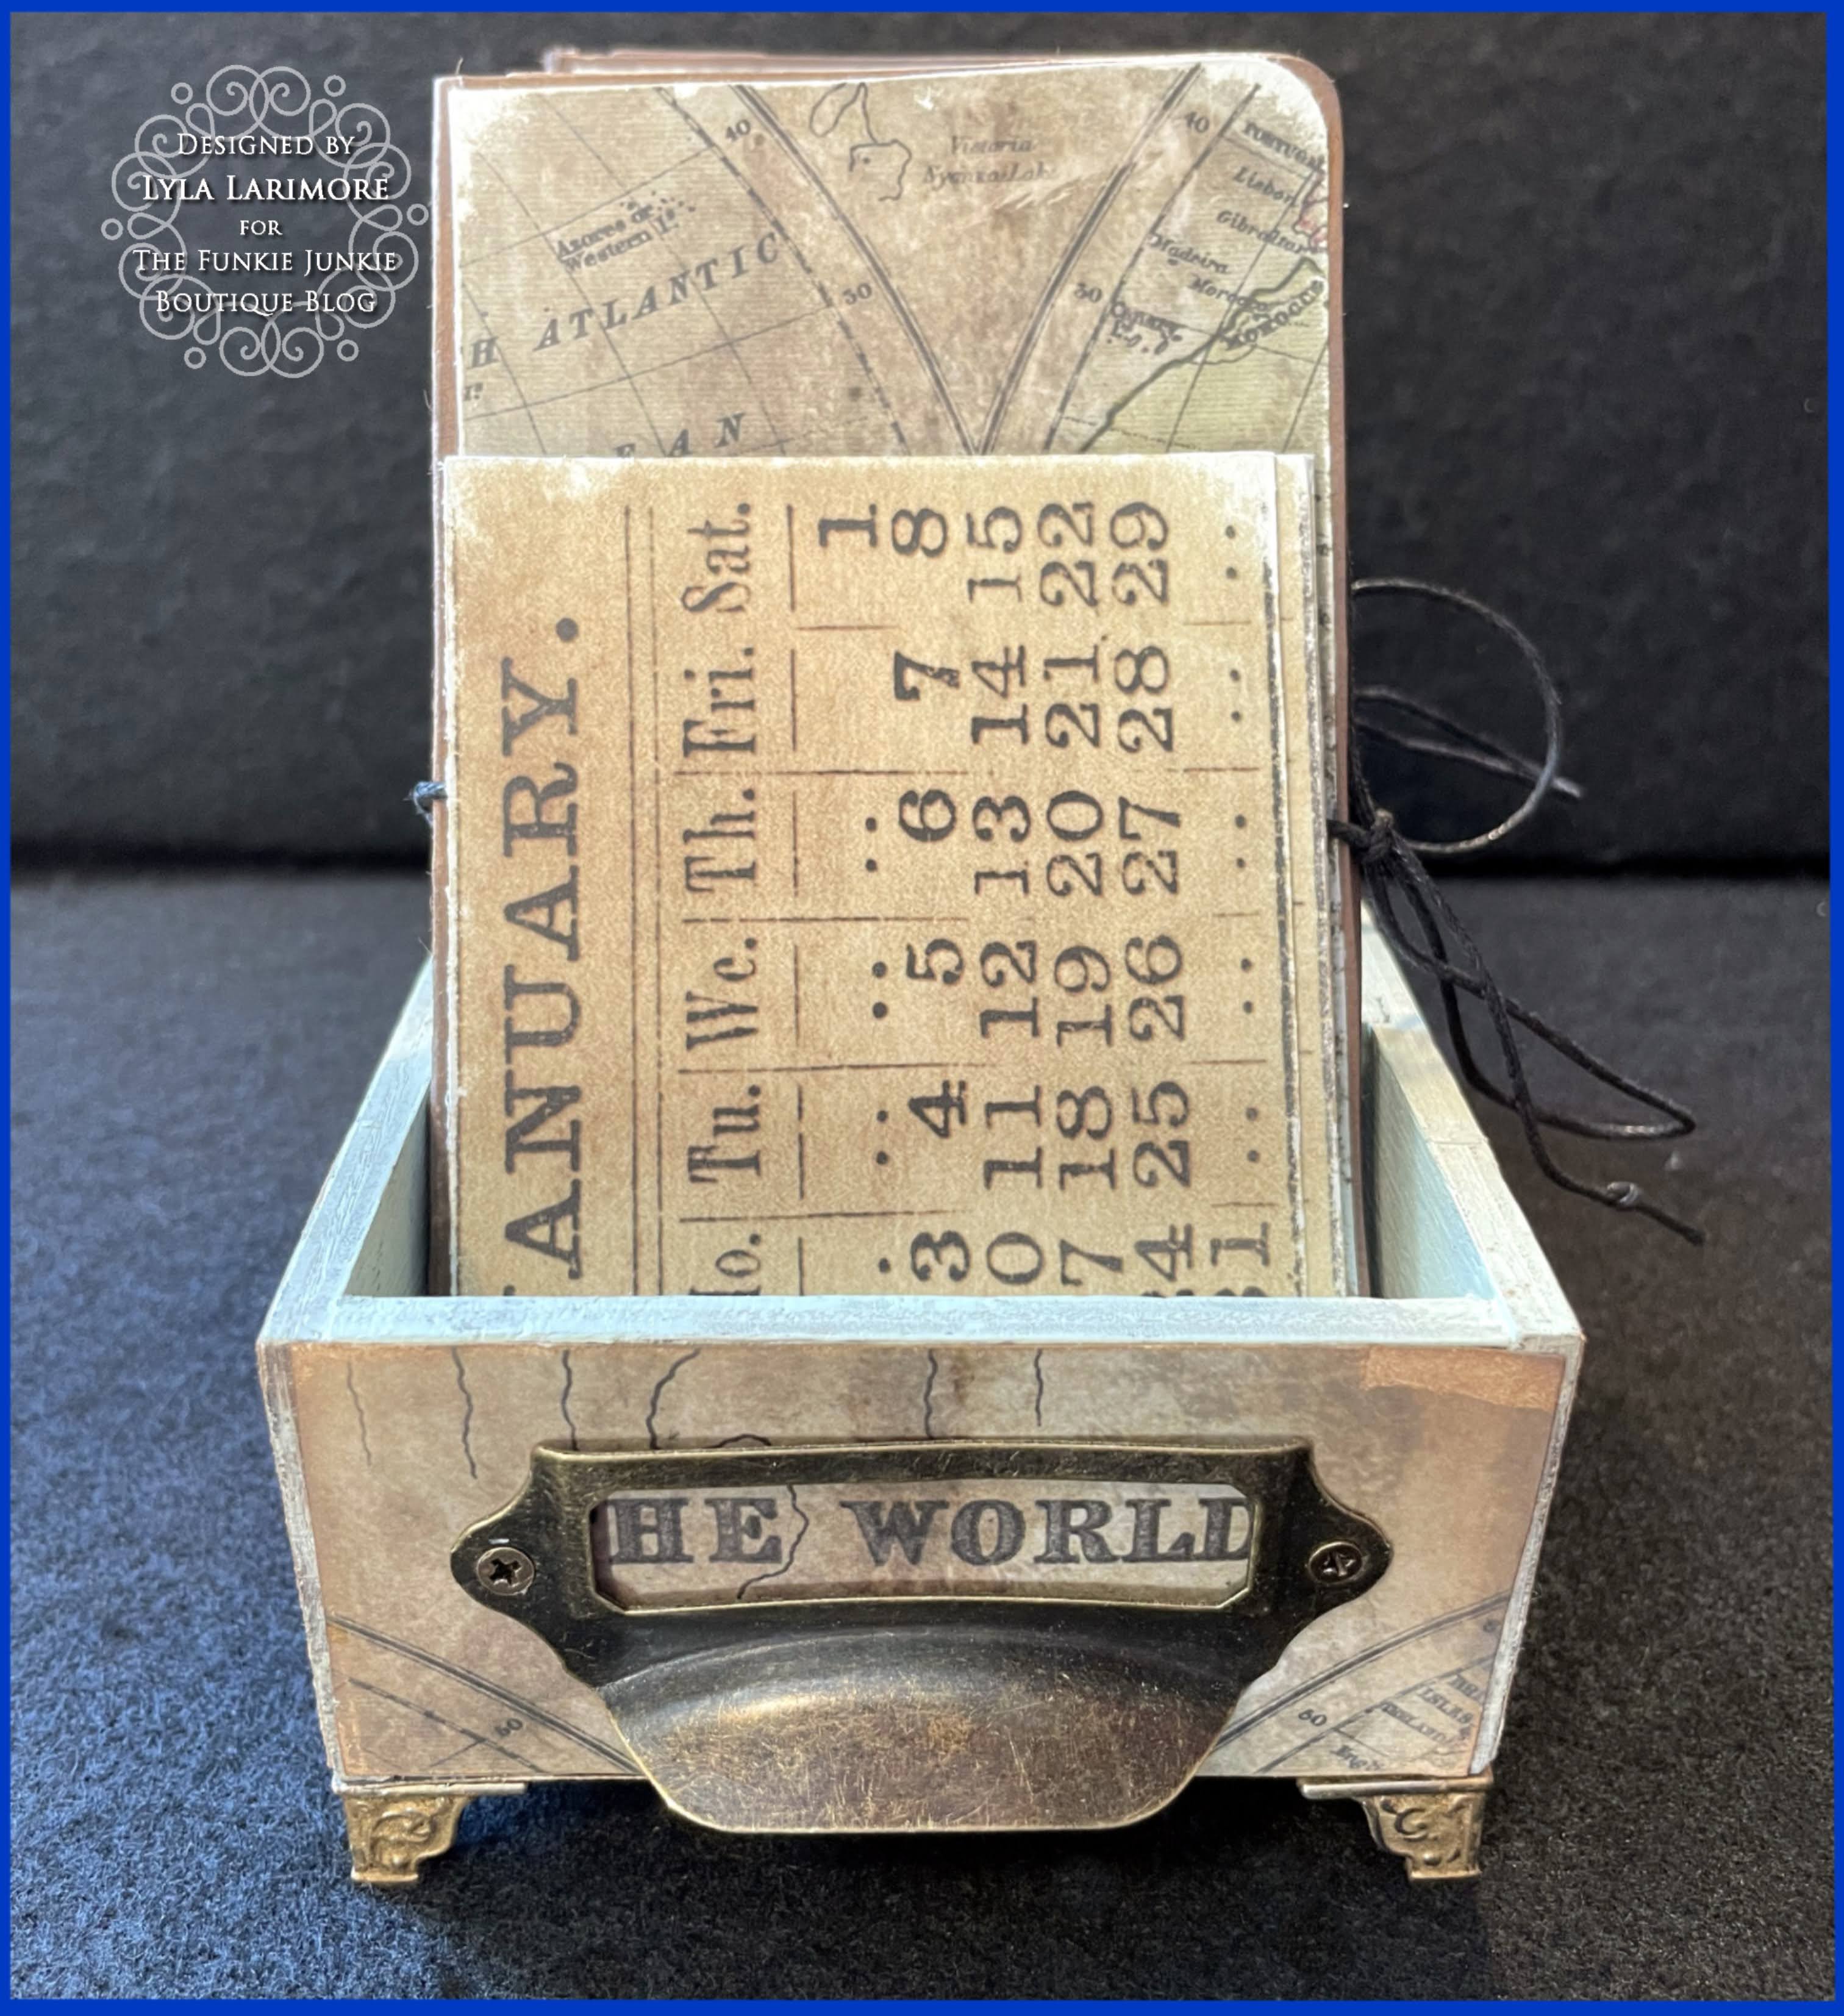
The Funkie Junkie Boutique Challenge #12; StuckInTheMiddle...File Box with Mini Files!


     I
'm loving every minute of June and the hot weather it brings! I always keep out a bowl of water in case anything happens by in the night who gets thirsty. I do the same all winter. It was officially 101*F today, yet I hardly felt it since I spent most of the day trying to get ahead paper-wise, then an eye Dr appt. I saved my pool time for the cool of the evening at 10pm. The long days are my favorite, but they start getting shorter in just a few more days already. We're currently 'recovering' from 2 Family Reunions over this past weekend and have one more this next weekend. With those done, we look forward to some time for just our own family in July and then Besties together again, at the end of July.

      June brings two of the last family birthdays until the Fall; younger Daughter will turn 31on the 26th, and is still having morning, noon, and night sickness in her 7th month with Baby Girl. I keep hoping it gets better for her, but I went through that also, and sadly- it doesn't end till Baby gets evicted. Our older Daughter has been having so many pain issues and hoping the Drs will finally get to the bottom of it, I lived through THAT also and it's like you are the mouse for whom they put cheese on the end of a string and pull it around for you to allllllmost grab it before they yank it away; promising that this time they've got it figured out. Right. But no matter how they both are feeling, they still manage to do what needs to be done as much as they both can- that's what real Moms do. It makes me so proud of them, on one hand, and on the other, I wish I could wave a wand and make it easy for them. Older Daughter put up decorations and went all out for Peanut's birthday party: the BIG HALF DECADE!! If there is any milestone number that shows how fast time goes, it's that year 5, because the big bad school bus tries to come around and take them away. But not this boy just yet. A just turned 5-year-old is ready for a HALF day, but ALL day?? Yeah- if it was half day care and half learning. Both our boys just turned 5 when they went in but we were very blessed that both were gifted and well ahead of the average; even being the youngest in their classes. Why schools had to go and mess up a good thing and make Kindergartens into 'the new' 1st Grades, is beyond me. But then.... a lot of things are upside down these days. At least Peanut will have more time to use his first new fishing pole to catch more fish, until then. Here he is with his very first catch from our lake!


      Suzz is leading the way for this new TFJB Challenge; "Stuck in the Middle" in which she's challenging us to "showcase something in the middle. It can be a pop up card with a surprise in the middle, it can be a mini journal with pages inside, it can be anything that highlights the middle of something"! I've had two of the new Tim Holtz Vignette Card Files but not a chance to use one of them yet. I took up her challenge with one because...well... it DOES have a MIDDLE! So I started with that. 

                    Scroll down and let's get to it!


I started out with 5 out of these 6 items.

The Tim Holtz Paperie came as a surprise: a gift to me from one of my Besties
who is de-stashing. You cannot believe how EXCITED I am over these stacks!!
The one on the far left (TH Correspondence) is one of my all-time fave stacks!
The other two; I've only seen these in photos, having never gotten my hands on either!!
THANK YOU, DEBB!!!!! 

That middle stack (Yep; that's a "MIDDLE" for ya!) is one of THE coolest I've ever seen...
and FELT with my fingers! It's got vellum paperie included among the regular TH cardstocks.
Yet- this 'old' stuff is different than his paper stacks of this day and age;
the old paper is 'layered' as if there's a top and bottom with a cardstock in the middle.
Sanding or tearing had to be done gently, as one of the layers would seperate.
But, it's one of the reasons I LOVE that old paper!!!

 Be sure to click on any of the links below for help to find these products I used:


Ranger Inkssentials Ink Blending Tool + 2 Blending FoamsTim Holtz Tonic Studios Kushgrip Snip w/Non-Stick Blade & Cap 7"-SmallRanger Inkssentials Glossy AccentsRanger Tim Holtz Distress Oxide Pad - Ground EspressoRanger Tim Holtz Distress Oxide Pad - Vintage PhotoRanger Tim Holtz Distress Paint - Antique LinenRanger Tim Holtz Distress Paint - Bundled SageRanger Tim Holtz Alcohol Blending Solution 2ozRanger Tim Holtz Alcohol Ink Mixative - GoldTim Holtz Idea-ology Vignette Card FileTim Holtz Idea-ology Paper Dolls Solo


I'm starting with the box- taking out the screws from the pull handle.
I advise taping those screws down so you can easily find them when it's time to put them back in.

I gave the top edges a couple of layers of Antique Linen Distress Paint,
since it soaks in quickly- as you can see in the lower left corner.
Then gave a full coat inside and out of Bundled Sage Distress Paint.

After the paint coats were all dried (I air dried as well as heat dried), I measured 
for the paper covering. I'm lucky in that it's easy for me to "guess" sizes without too much
measuring. Most people have to precisely measure to the point, but I can eyeball it and it fits.
I'm also pretty good at "middling" which is what we call finding the middle of anything.
That gift comes in handy when the ChiefHubby is building or hanging anything. 

I did sand all the outside edges by laying the paper flat and gently going over
with the TH Grip Sander. I made sure there were peels from the first layer
to allow an aged look to each piece. I LOVE that look
and decided only the box would have a touch of Distress Oxide in Vintage Photo.

I wanted it to rest on legs. I dug these TH Mini Foundations from last year-
waiting in my drawer till I found time to do a file box like

At first, I thought it was a no-go. The Gold Metallic Alcohol Ink was a very old bottle,
and came out somewhat gummy at first. I thought I might have ruined the 
feet, and wiped it down to start over. And then it happened: one of those
crazy mistakes you didn't count on, but fall in love with!
The pastiness came out looking just like the pull handle on the box!
I simply allowed it to dry and then polished them up with a tissue.

Now, we're getting into the mini folders I made.
I actually made them the same day I die cut & made the 
Photos say a thousand words, so if you need to read how- just click on the link above.
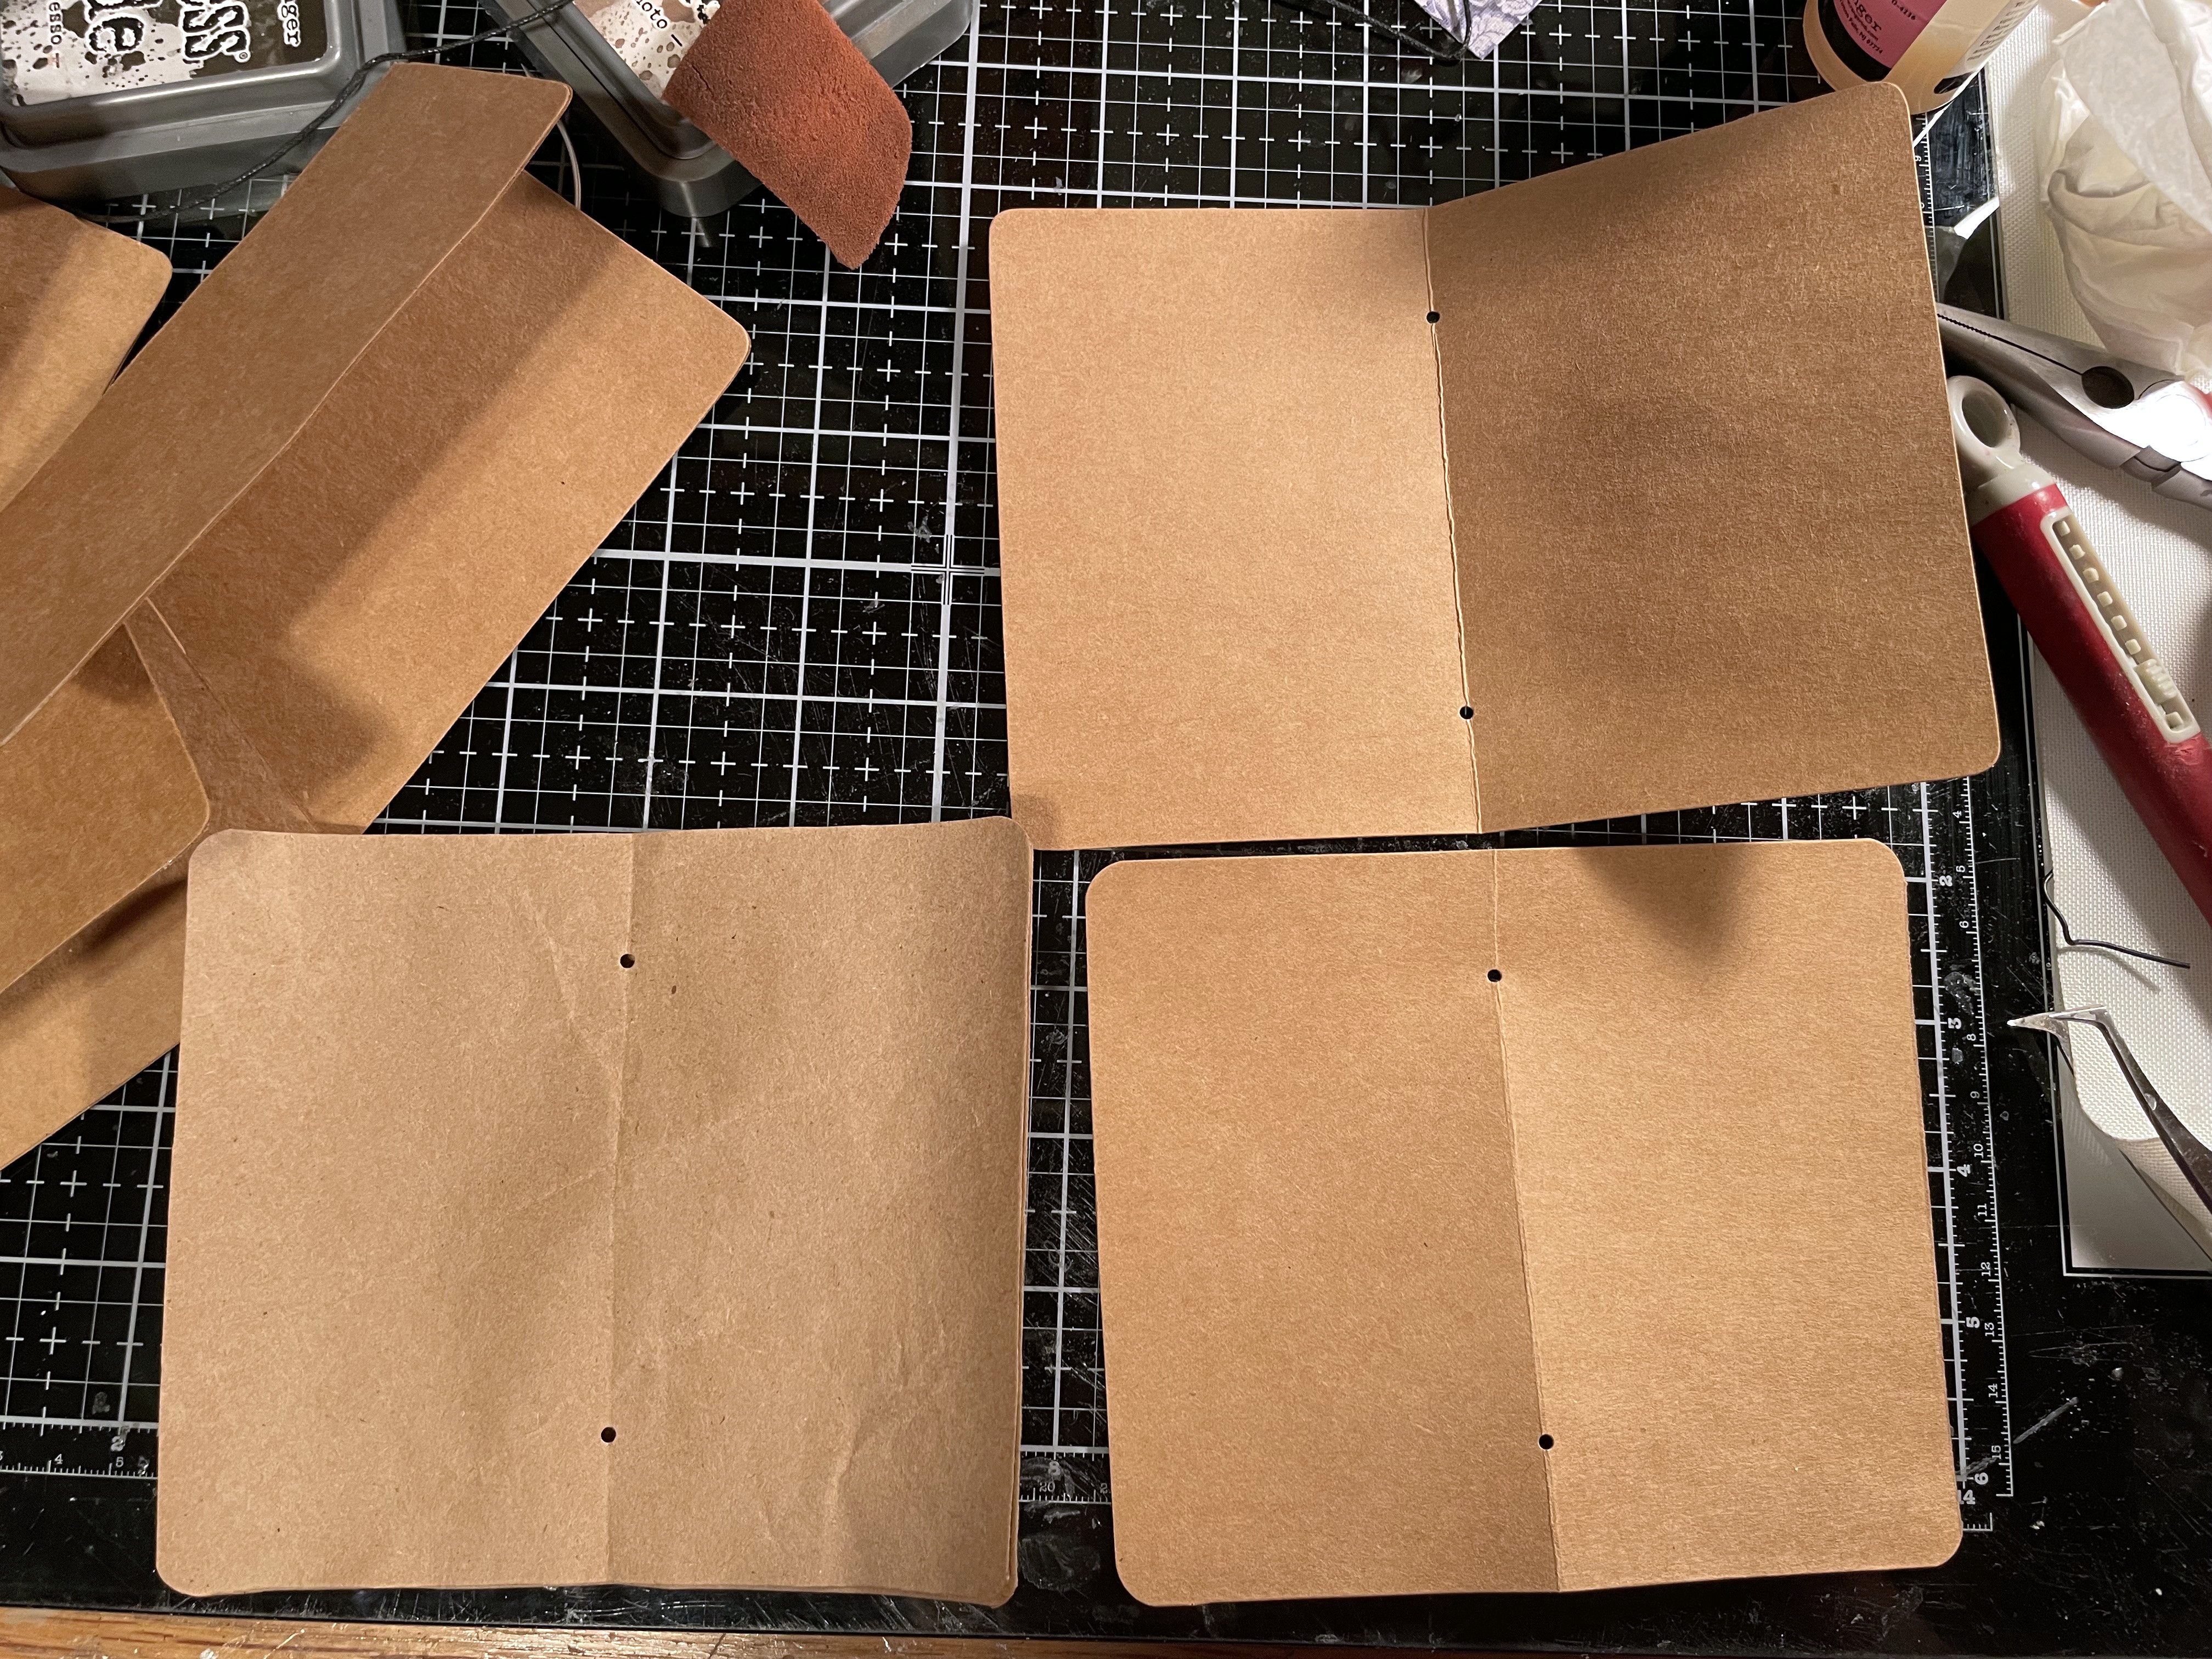

The only difference in these booklets made into files:
I left the string on the spines.
I simply tied them together at the opening and you have a tied file.


But the gift of the Tim papers made all the difference in the look!

I sanded the paperie and edged the files in Ground Espresso Distress Oxide.
I did not use anything else to distress the papers.

There was one full sheet of calendar (probably 1989 as my dial date showed) 
which was the year our older Son was born- Tuesday, May 2nd. 
So that was cool! I sanded all of the pieces after I fussy cut all the months out.

Got out the TH Paper Dolls (listed above in Materials but not shown in photo).
This is where I chose 
the MIDDLE compartment of the box
with its MIDDLE mini file
to junk journal
the MIDDLE pages!
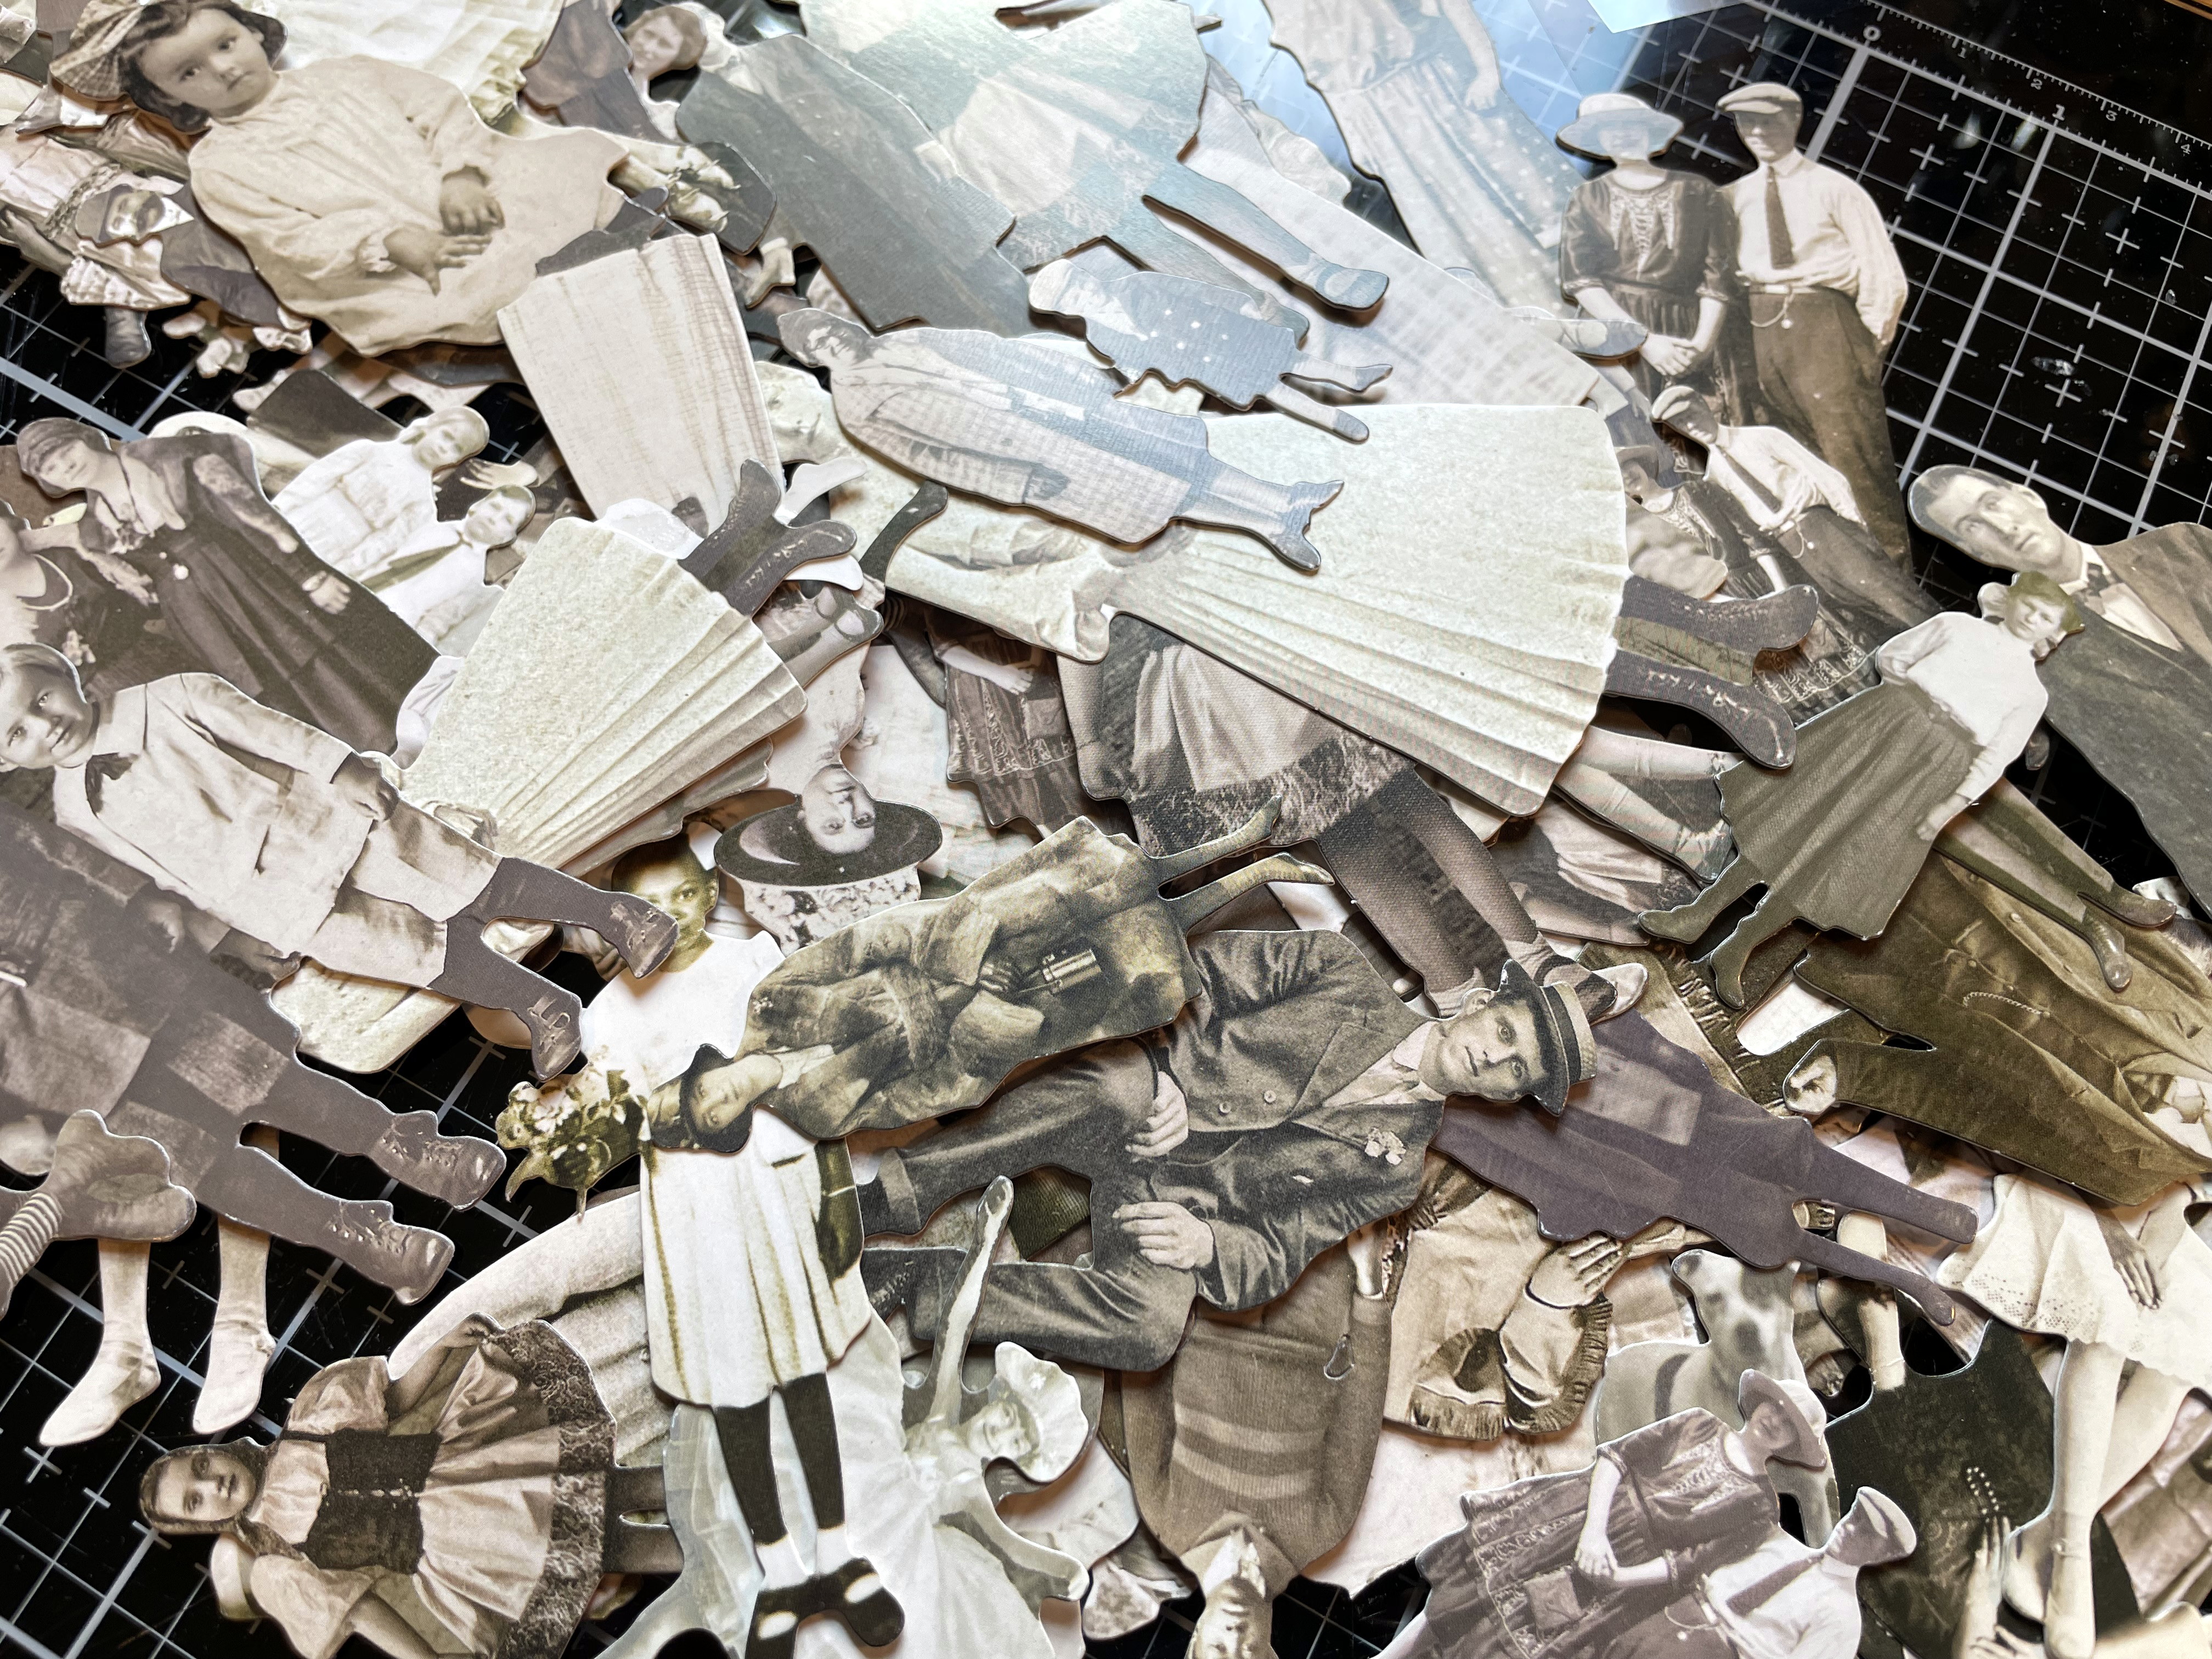
I spend waaay too much time when I get these out. They're so FUN!


And this is what the results are:


the MIDDLE compartment of the box
with its MIDDLE mini file
to junk journal
the MIDDLE pages!

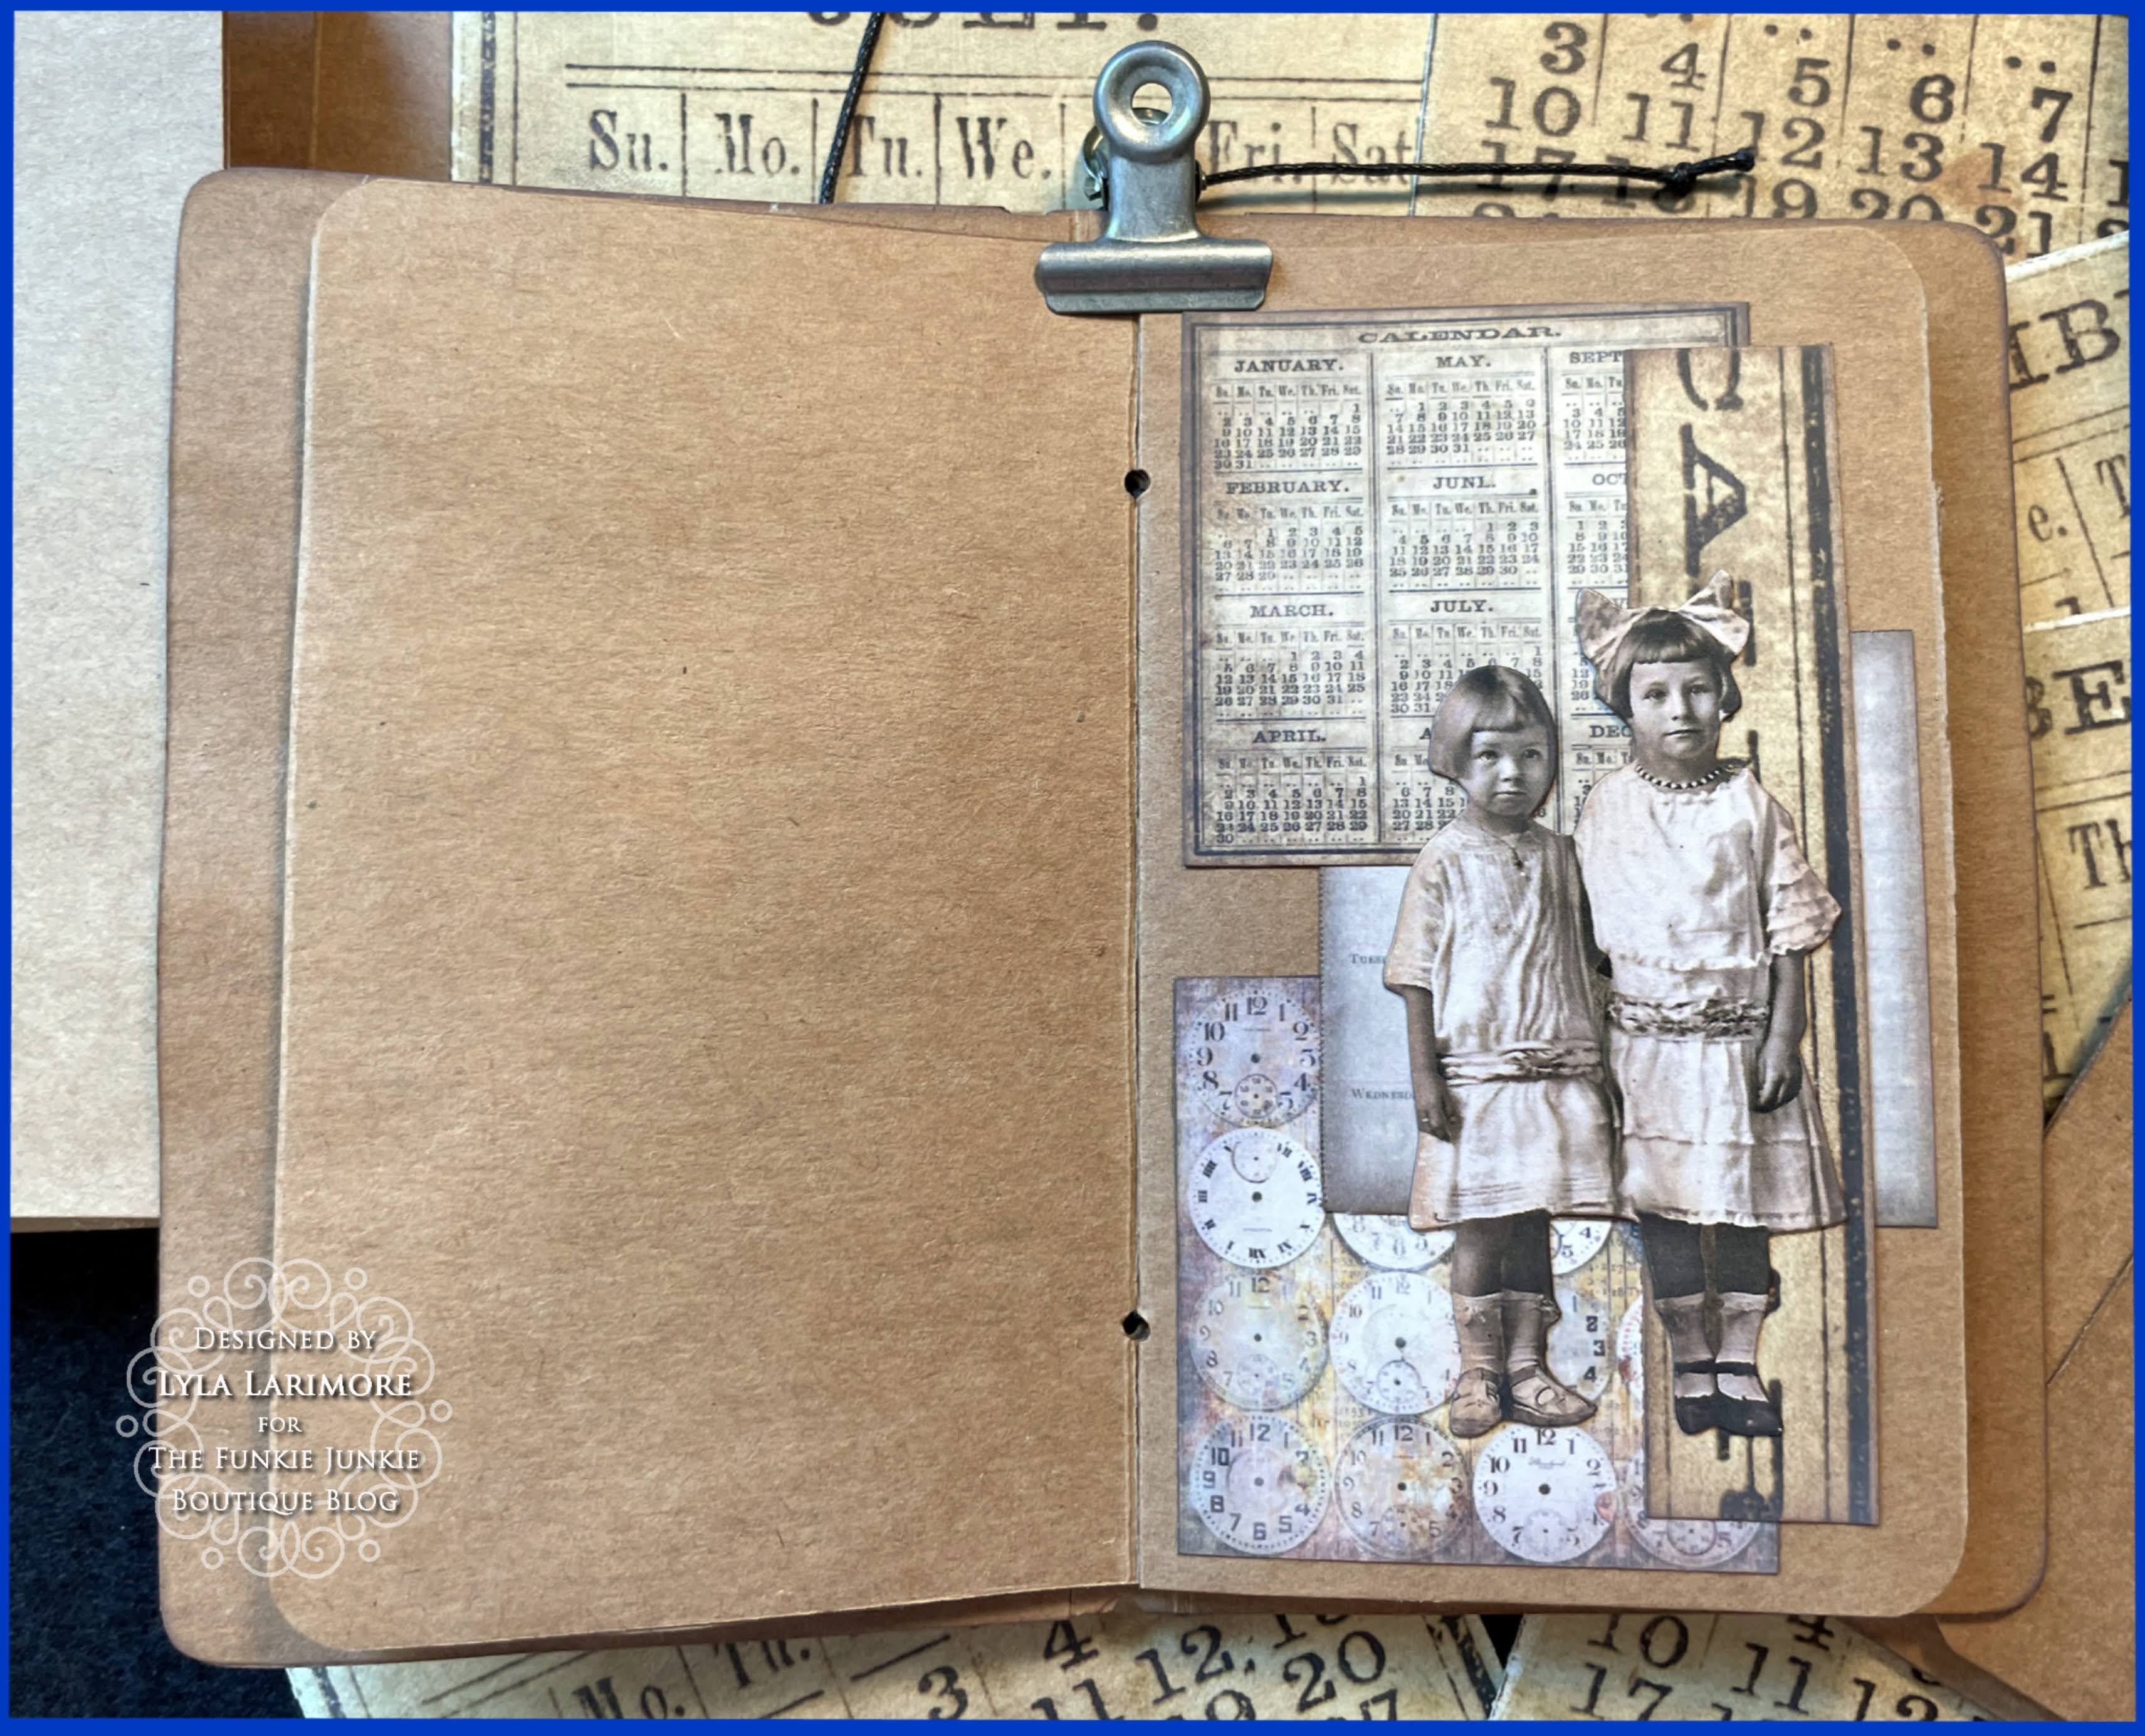


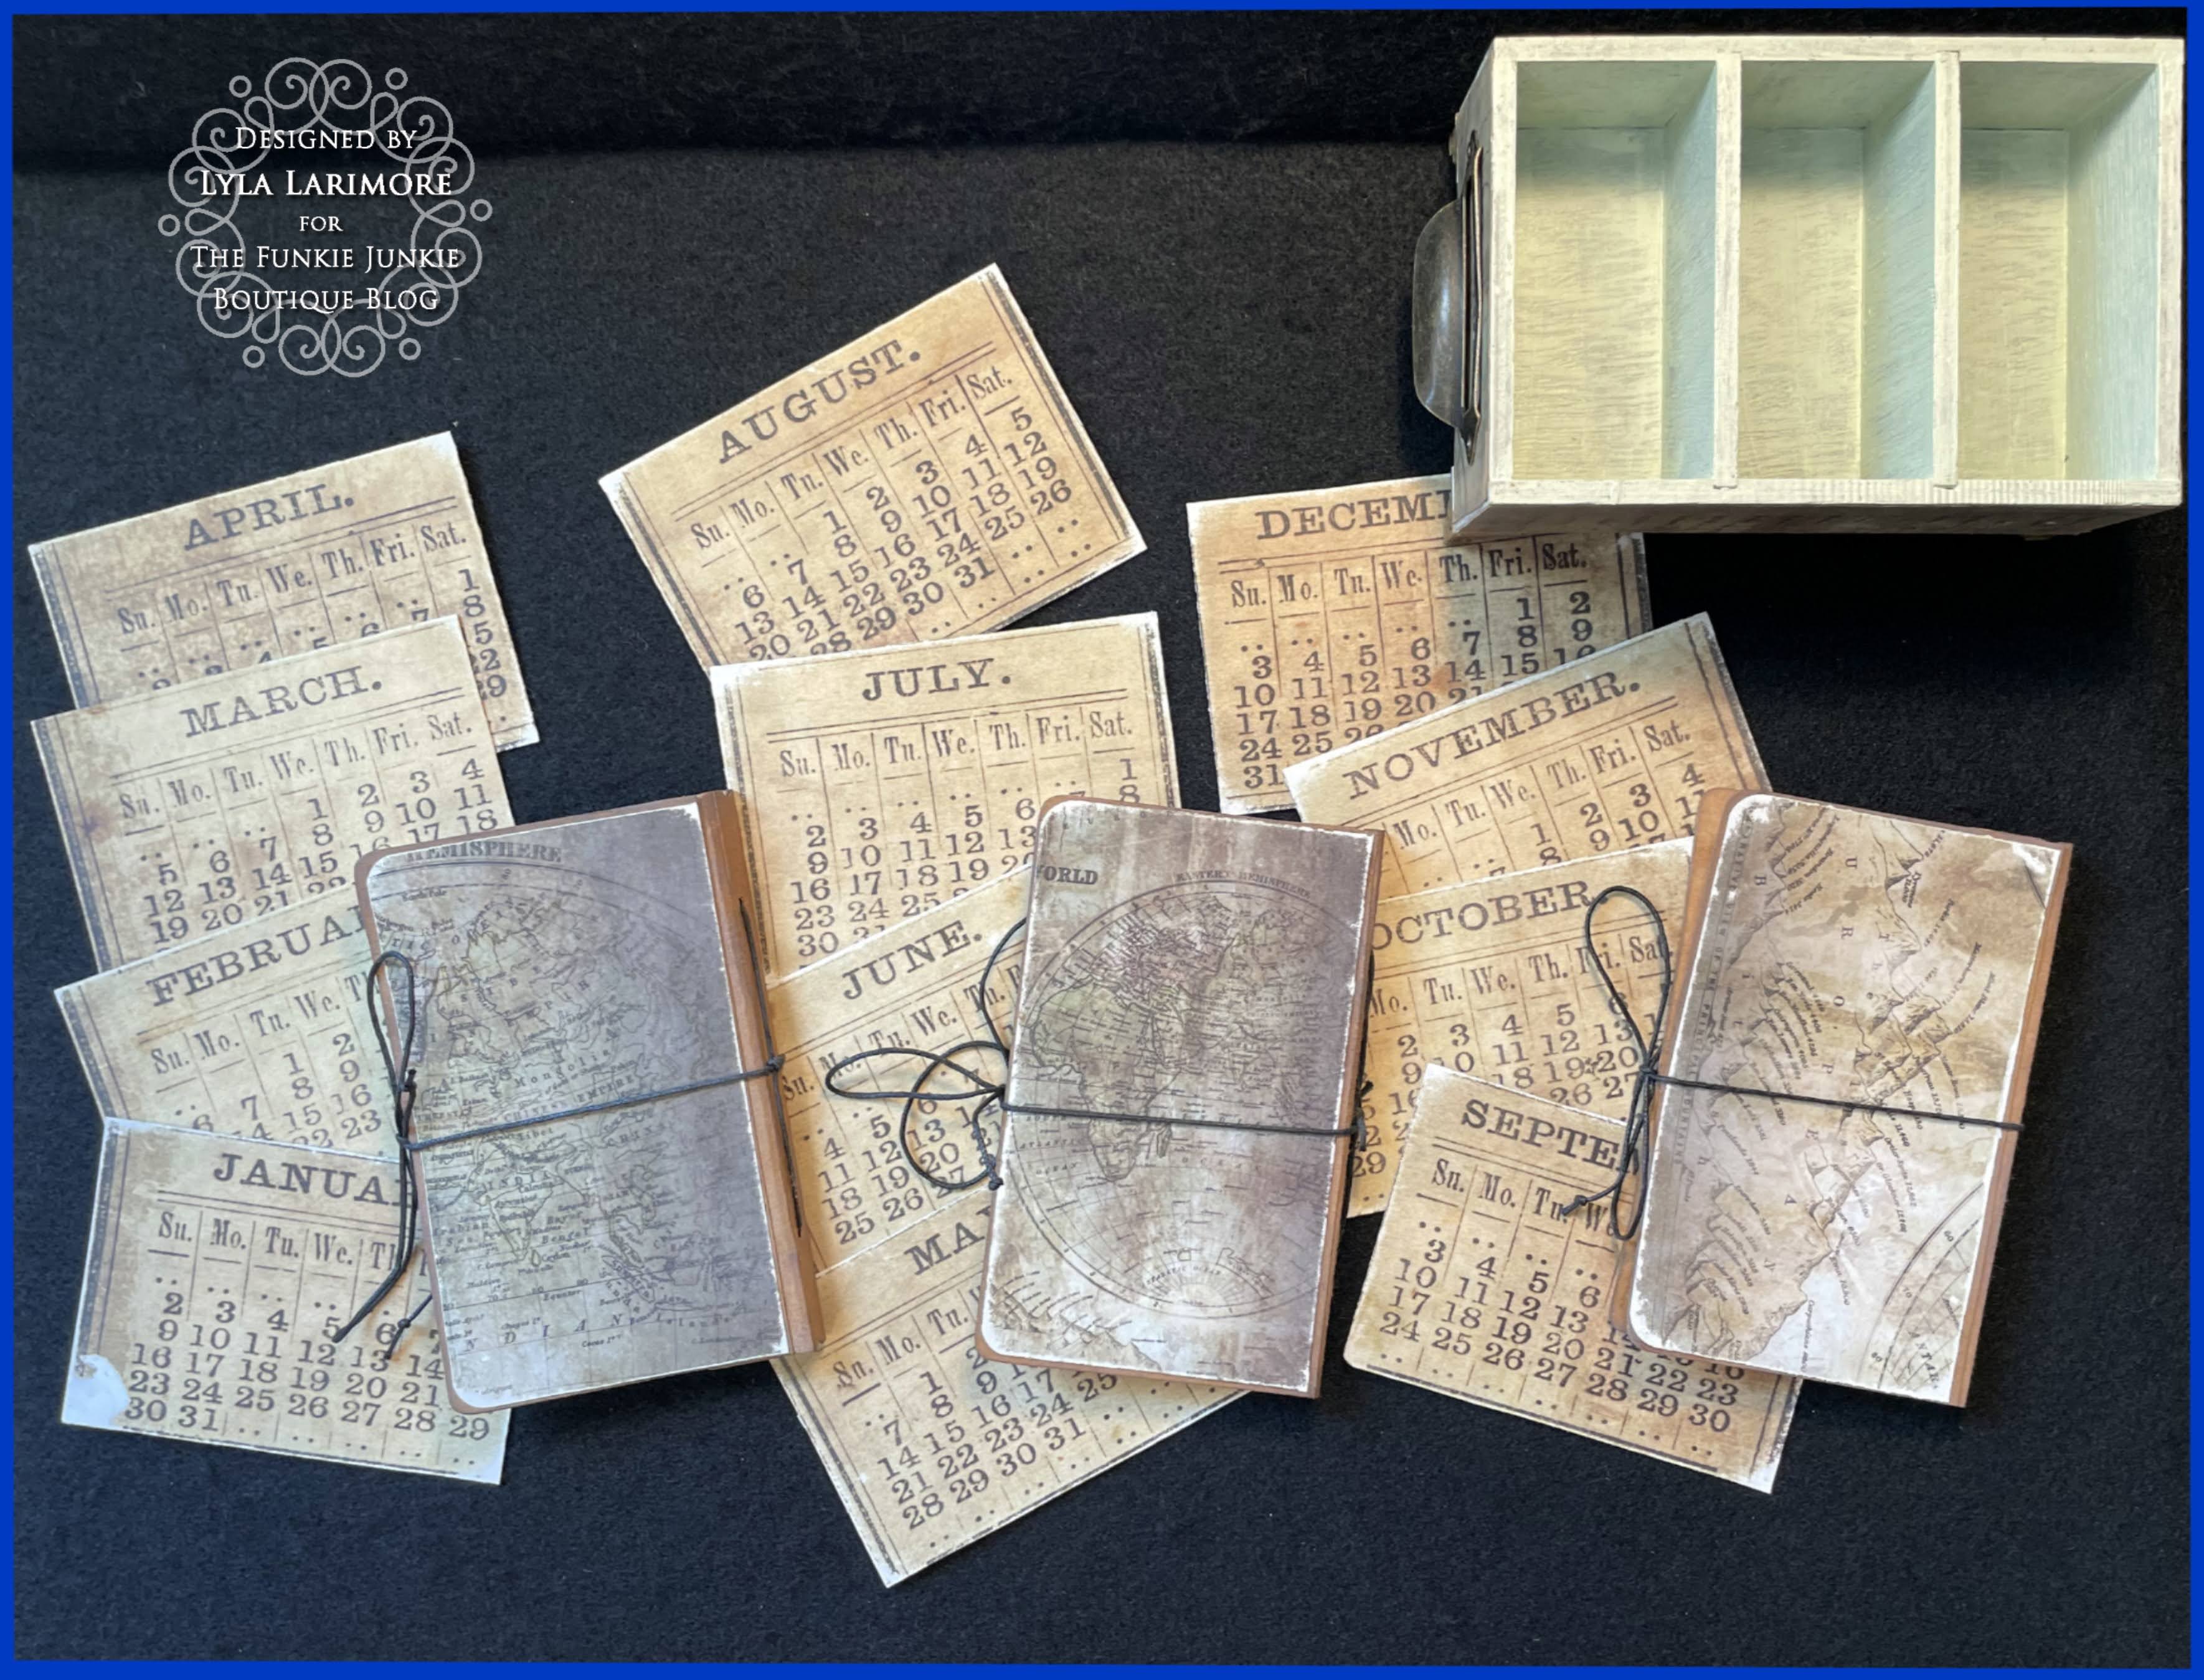
Backsides of the files match the box- using the smaller images of the same papers.


I also die cut some TH Tags from his Tag Thinlits Set and 
trimmed them down a bit shorter. Now I can make the odd Tag when I want
and file it behind the right month in the correct compartment.

I chose to display the finished Vignette Card File to the left upper corner of my main work desk.

Shoutout of THANKS! for all the wonderful feedback, support,
and lovely comments on my recent projects!!!

Now it's YOUR turn!
Create and take your make over to The Funkie Junkie Boutique Challenge Blog
and you may be surprised how easy- and pleasing- paper crafting can be!
Our Sponsor,
has rewards for Winners/Top Picks, as well.
You've got two weeks, and your own imagination is the limit!

Until next time...

Stay Safe &
HAPPY BLOGGING!!!

Friday, June 3, 2022

The Funkie Junkie Boutique Challenge Blog's Saturday Showcase; Peach Tea Charms and Prima Marketing Watercolor Flowers: "There's Only One Me!"


     Happy Saturday to everyone! It's Lyla, here, for another Showcase on some pretty cool things that are just about 'staples' when it comes to crafting...charms and flowers! But these are just any old charms and flowers, they happen to be Peach Tea Charms and Prima Marketing Painted Watercolor Flowers and the splash they each brought to this project is just...WOW! I've never been much of a "flower" person when it comes to paper crafts; just looking through my blogposts can testify to that. I prefer real flowers growing outside, but my first time working with Prima Marketing flowers during my first Saturday Showcase (click here if you missed it ) I was quickly hooked on these! And then there's the charms that are out of the PM Peach Tea line... I'll just have to show you! Let's get started.

While everyone else has been going full throttle with Tim Holtz's Gladys and Thinlit Simple Plaid,
I just got started with them, so I decided to use them both as my "vehicle" for the flowers and charms.
You'll note that 1 charm is missing from the 6-count package; GrandDaughter Princess Chloe needed one to make a necklace after seeing the color and shine on these beautiful flower charms!

All four items came in one bunch of shopping at The Funkie Junkie Boutique .

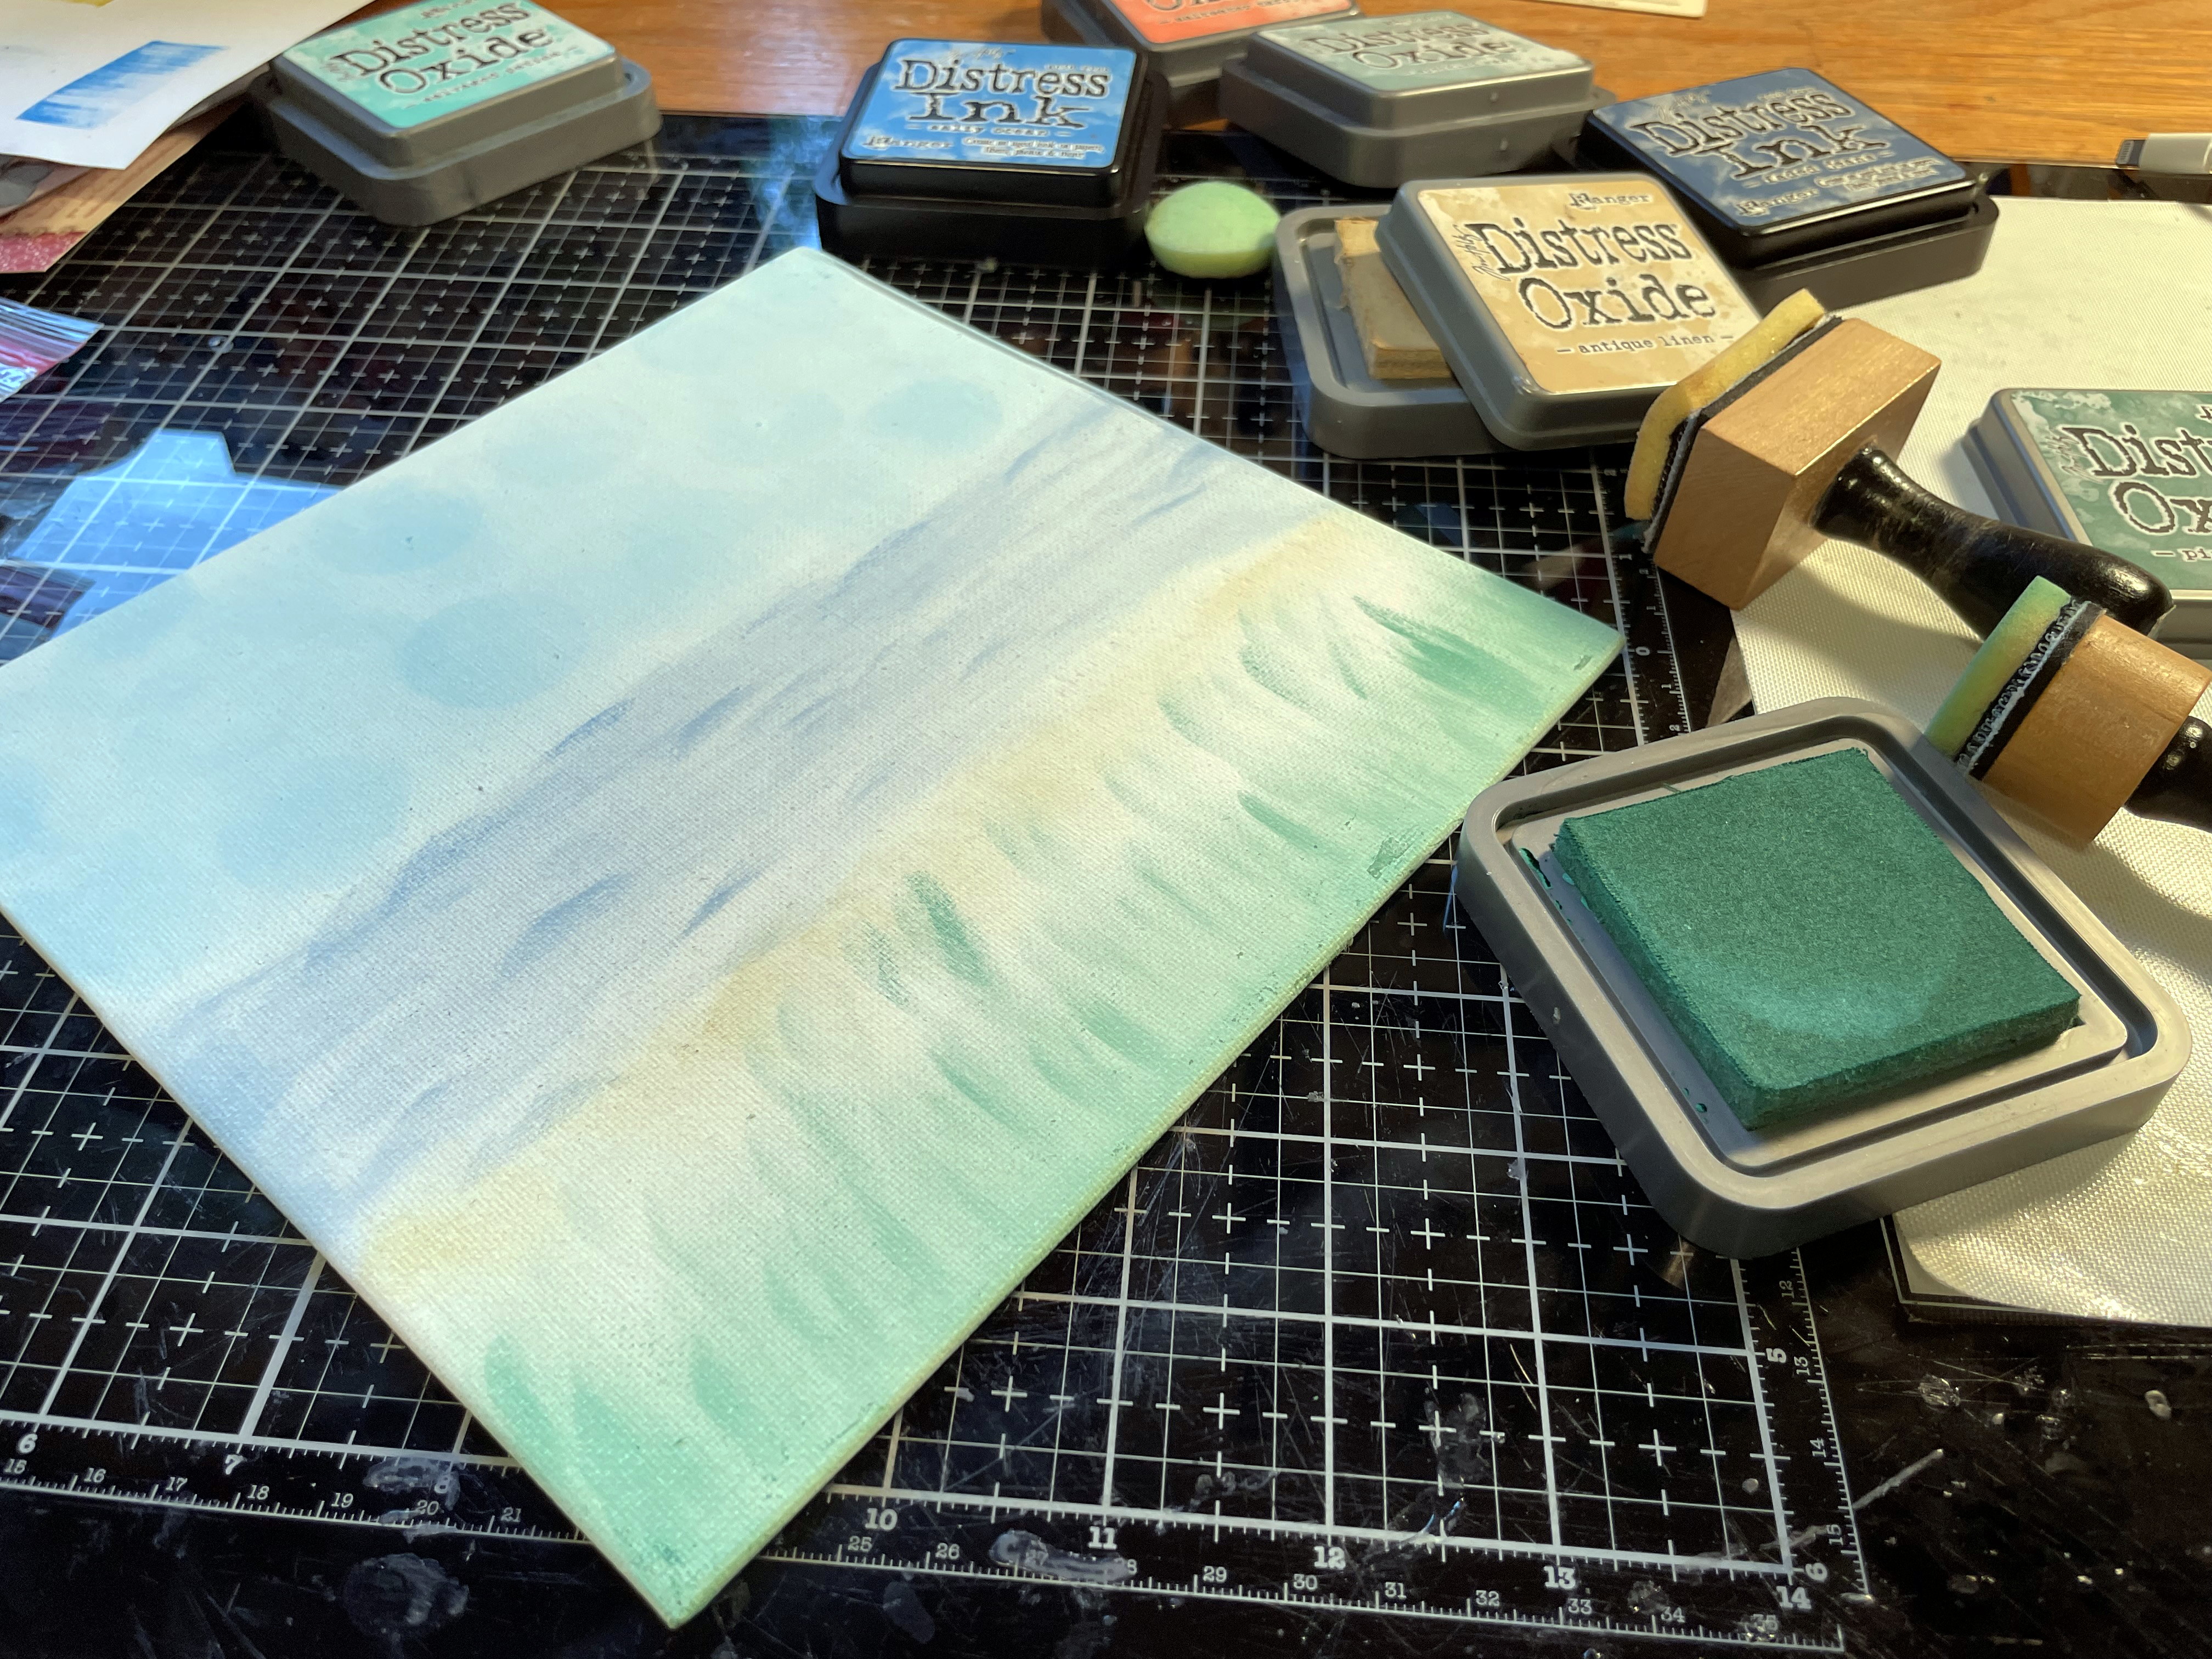
The first thing I did was to get out some shades that were close- but not spot on- 
match to the Prima Marketing Watercolor Flowers.
I still had several panels leftover, so I chose a square for my base.

After choosing the shades of Distress Inks and Oxides, I got startted on the background.
"Sky" came first... by pouncing lightly with a round Mini Blending Tool to make subtle circles.

Then I opened up the DI Faded Jeans and used another Mini Blending Foam
holding the Mini Blending Tool at an angle so as to make arc-like strokes that I
wanted to resemble water/ocean.

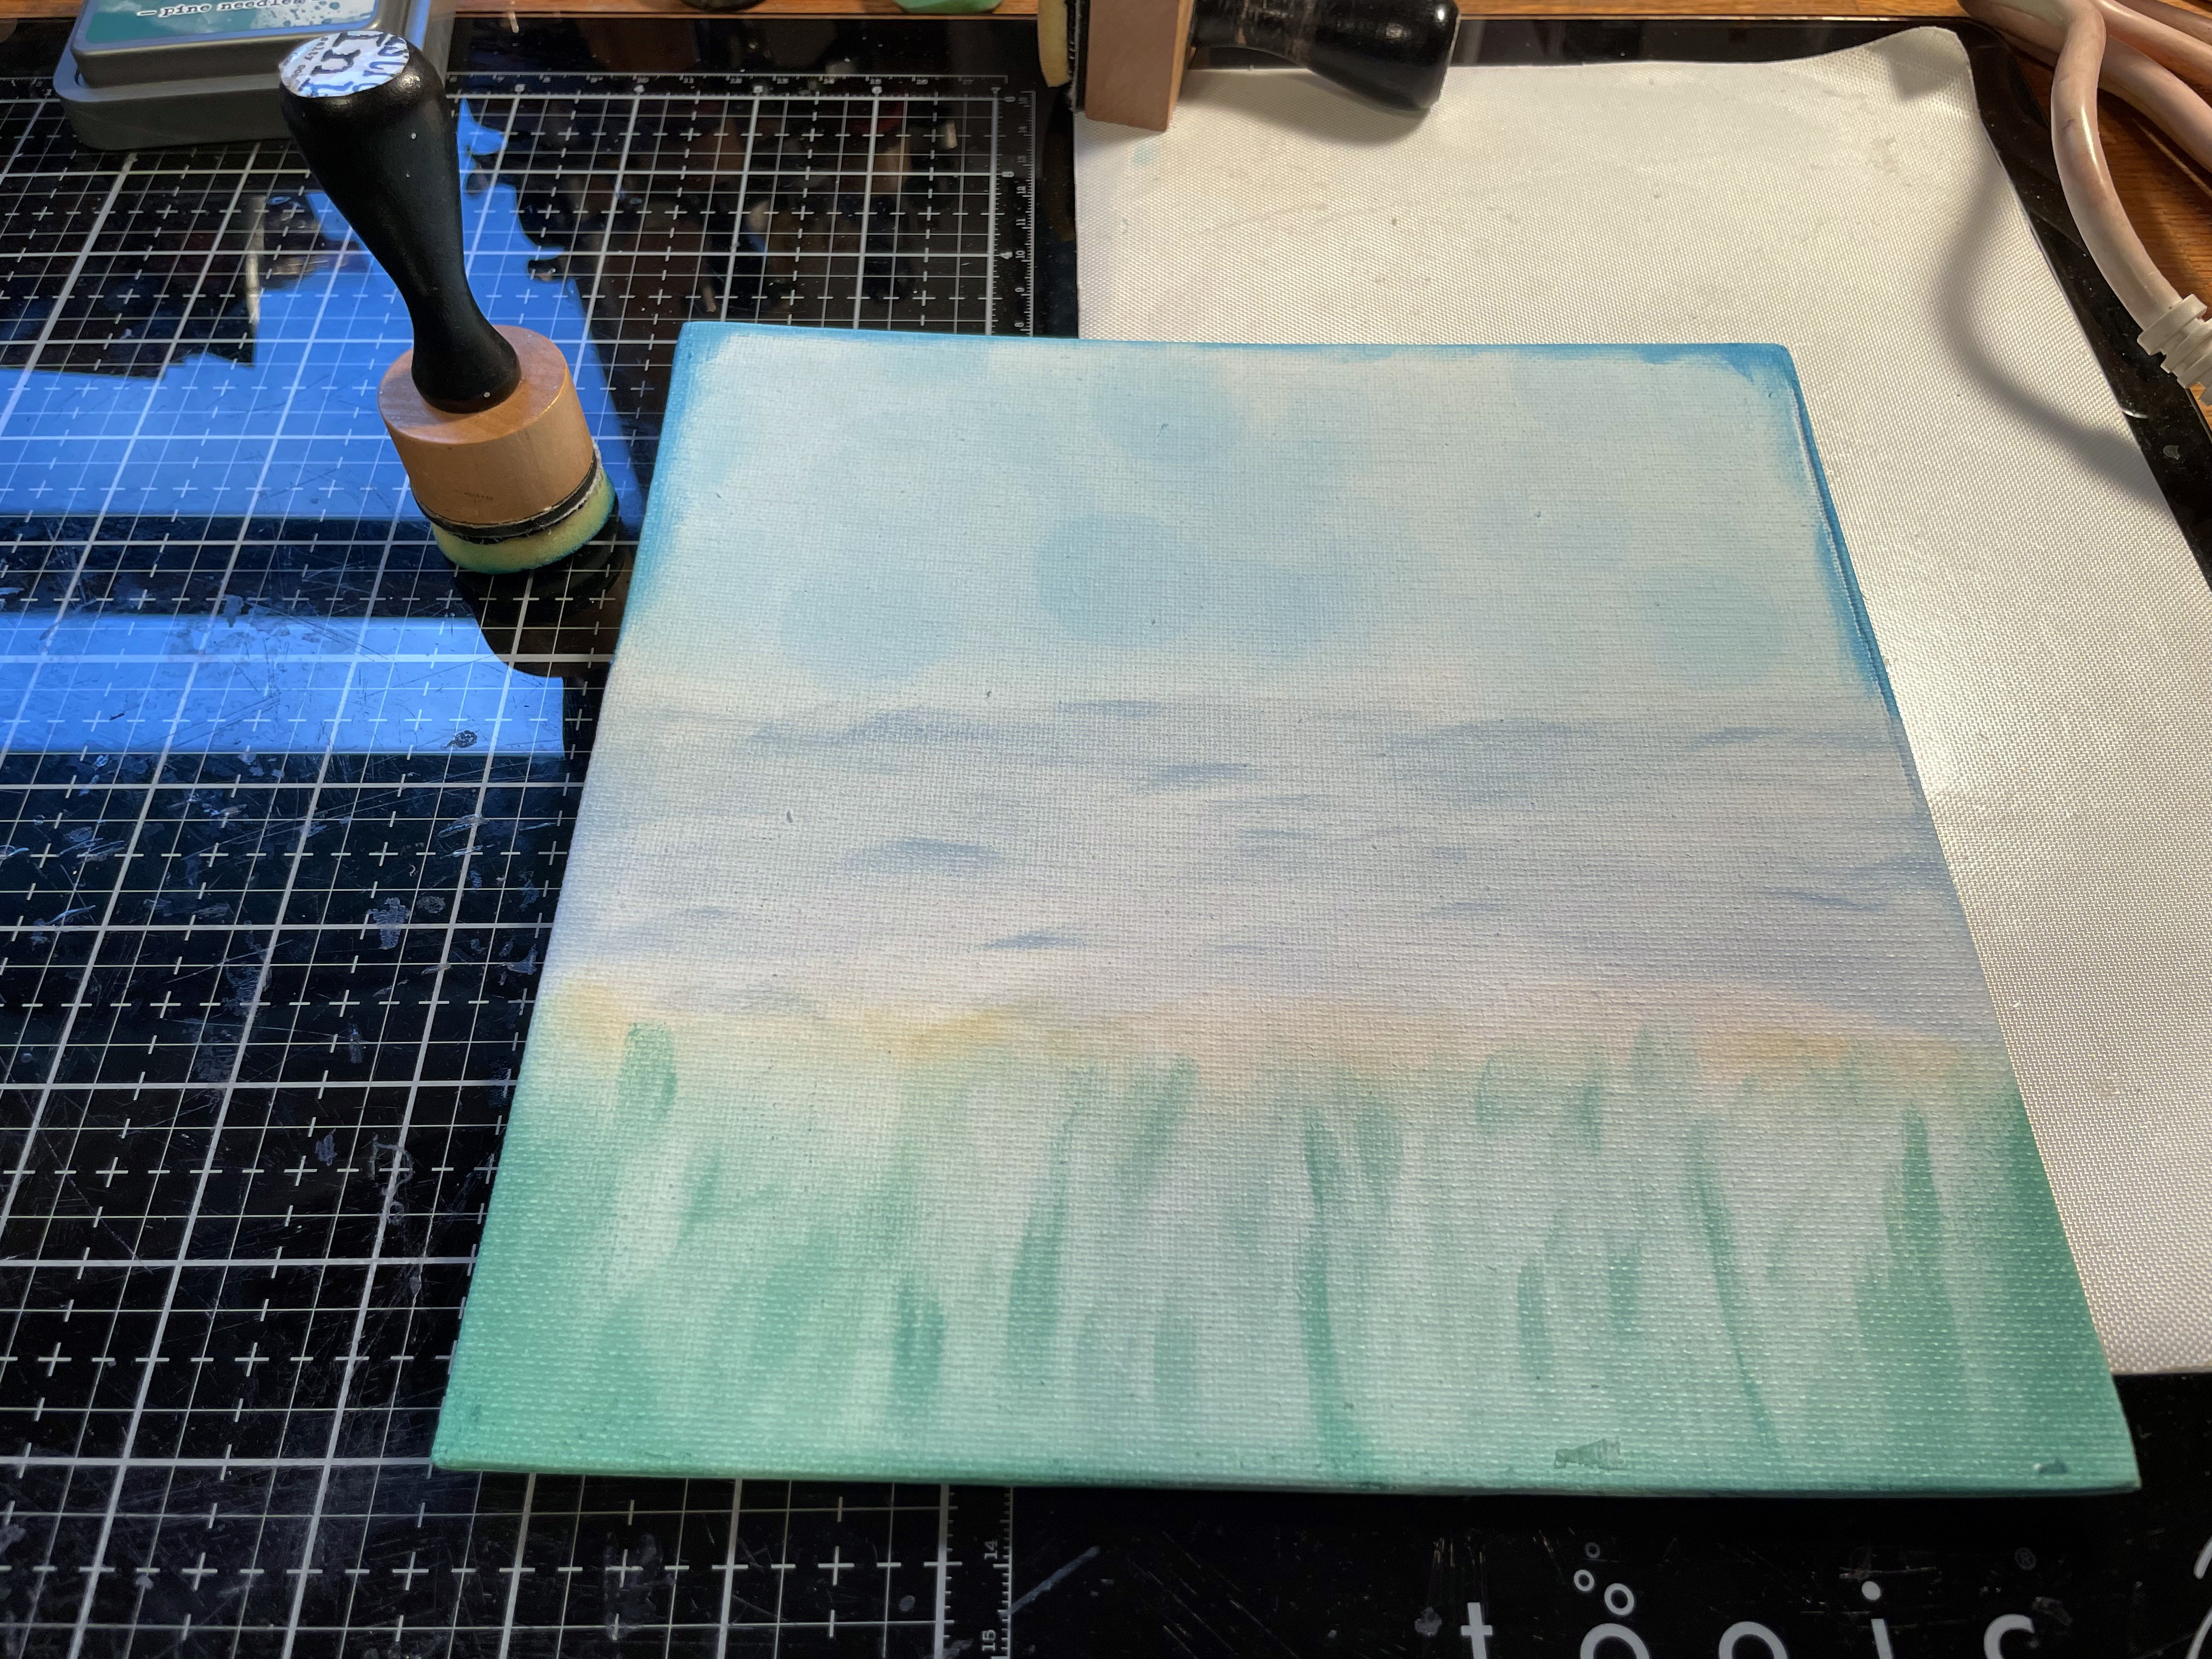
I used the same techniques- holding the Blending Tools at angles or flat on,
to create sand/beachline, and tall grass. Those colors used: 
Distress Oxide Antique Linen and DO Pine Needles.

I went over it all again, until I was satisfied with the colors/ shapes.

I also deepened the sides a bit for depth.
At this point, I had no idea I was going to want a frame.

Next came making Gladys and George- the names I've chosen for my girl and guy.
I took out my stash of Tim Holtz Kraft Stocks for this job.

I wanted three birds- always an extra...jic.
The Colorize Thinlits are easy to folow since they are marked on the backsides.

After I had all the bird pieces, I wanted to make shirts for the birds- matching "tacky tourist" shirts.

I first made a 'pattern' by cutting around the body and the wing.
Then I used the white pattern to make the matching shirts from.

Here's where the Simple Plaid Thinlit Die came in.
I cut two lengths of the Plaid in a darker shade (for contrast), then used the shirt pattern
to cut another layer of shirts. Then glued the two layers together before putting the shirts together.

I was happy with the results because it looks cute yet "tacky" instead of going for Hawaiian shirts.

Next came making the Leis for Gladys.
I didn't want George to look tacky; Gladys is one of a kind and needs to stand out.

I chose only the 3-petaled flowers and set the 4-petaled flowers back into the package.
You'll see those again in another project, I am sure!
I have fallen in LOVE with these Prima Marketing Flowers!
I used a rounded sailing needle (I always keep them on hand because of my sailboat),
and strung each flower petal nearest the middle stamen pearl.
It was very easy to do.

As I strung each petal, I spaced them evenly,
 using a bit of Glossy Accents on both sides of the petal- right on the string.
*(I used a thin crochet string that can be used for needlepoint.
I keep an entire roll around in case of little needs like this.)

Yeah- it's tacky, but it WORKED!
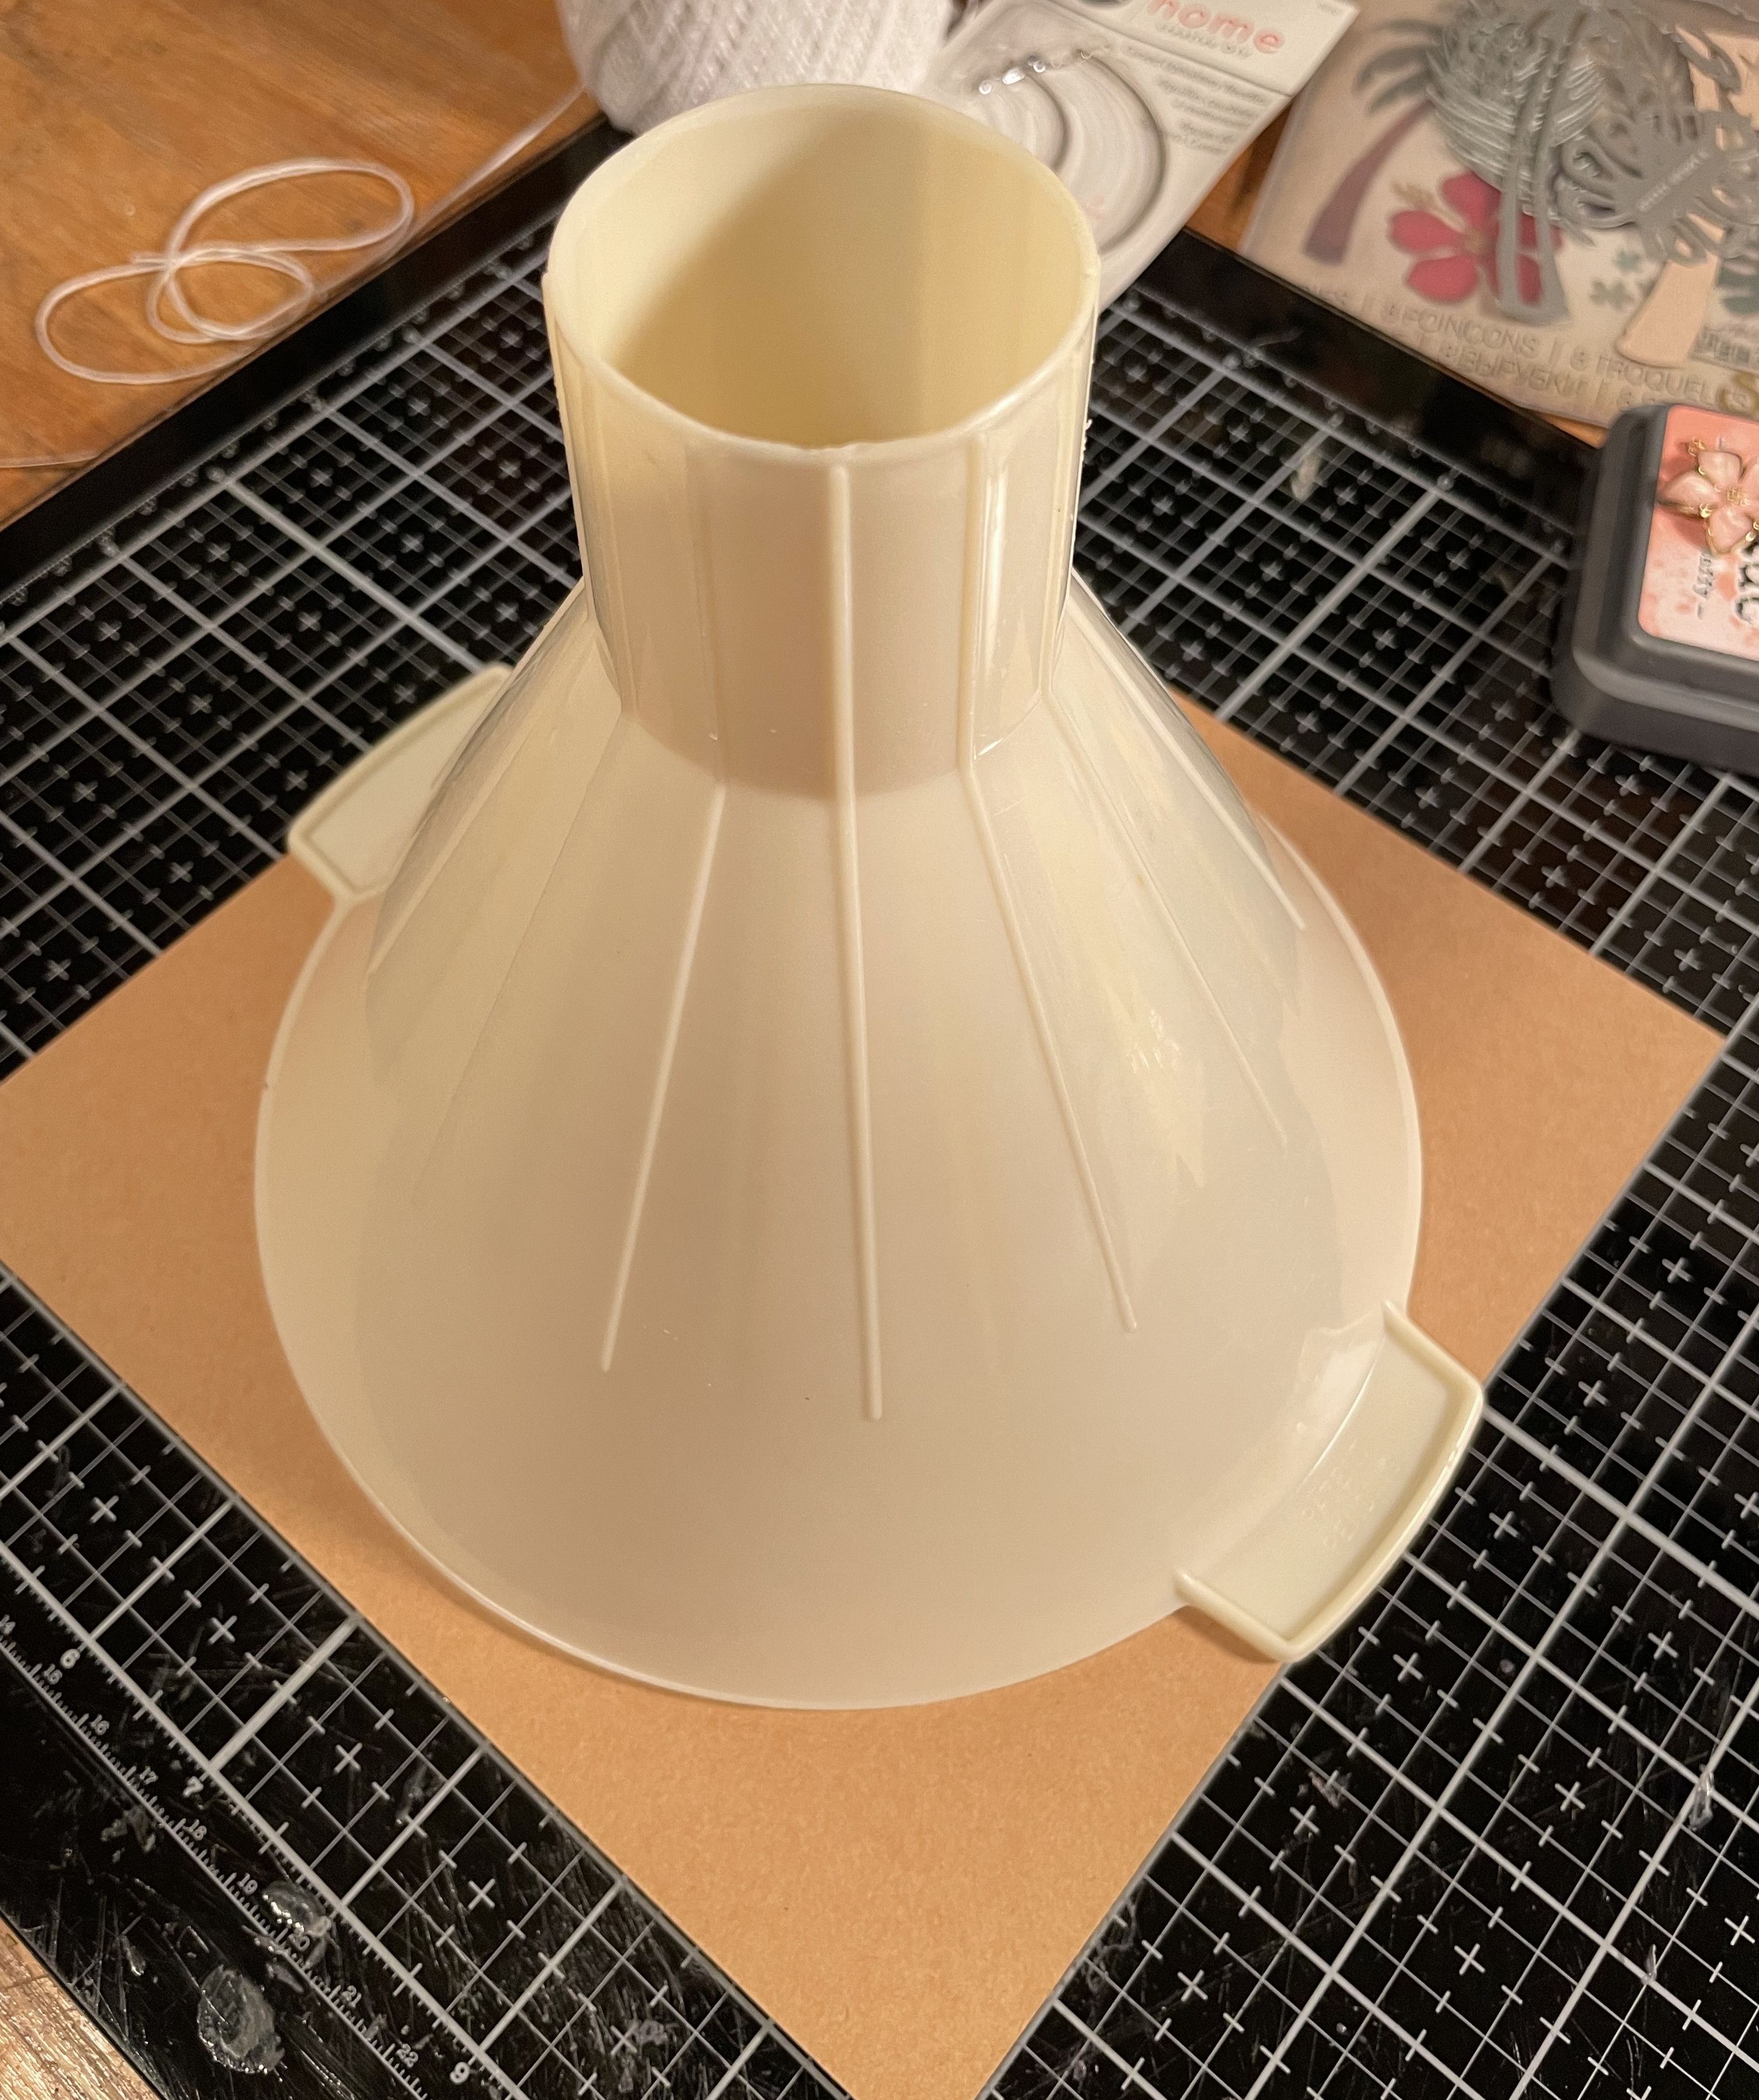
I needed a circle that was the same size as the panel- which was also the same size
as the TH Classic Kraft 8x8inches.
I went to go get a plate or saucer, but saw this funnel and knew it would work.
Fit PERFECTLY!

This is the wrong side (Kraft side) of the Classic 8x8 Kraft Stock.
I simply used my pencil, then went in with my Mini TH Scissors.

Then, I backed that frame up with pieces of Mat Board- for stiffness AND 
to pop that frame out.
I added more pop out volume with Sizzix Double-Sided Foam.

Now it was all starting to come together even BETTER than I had in my plan:
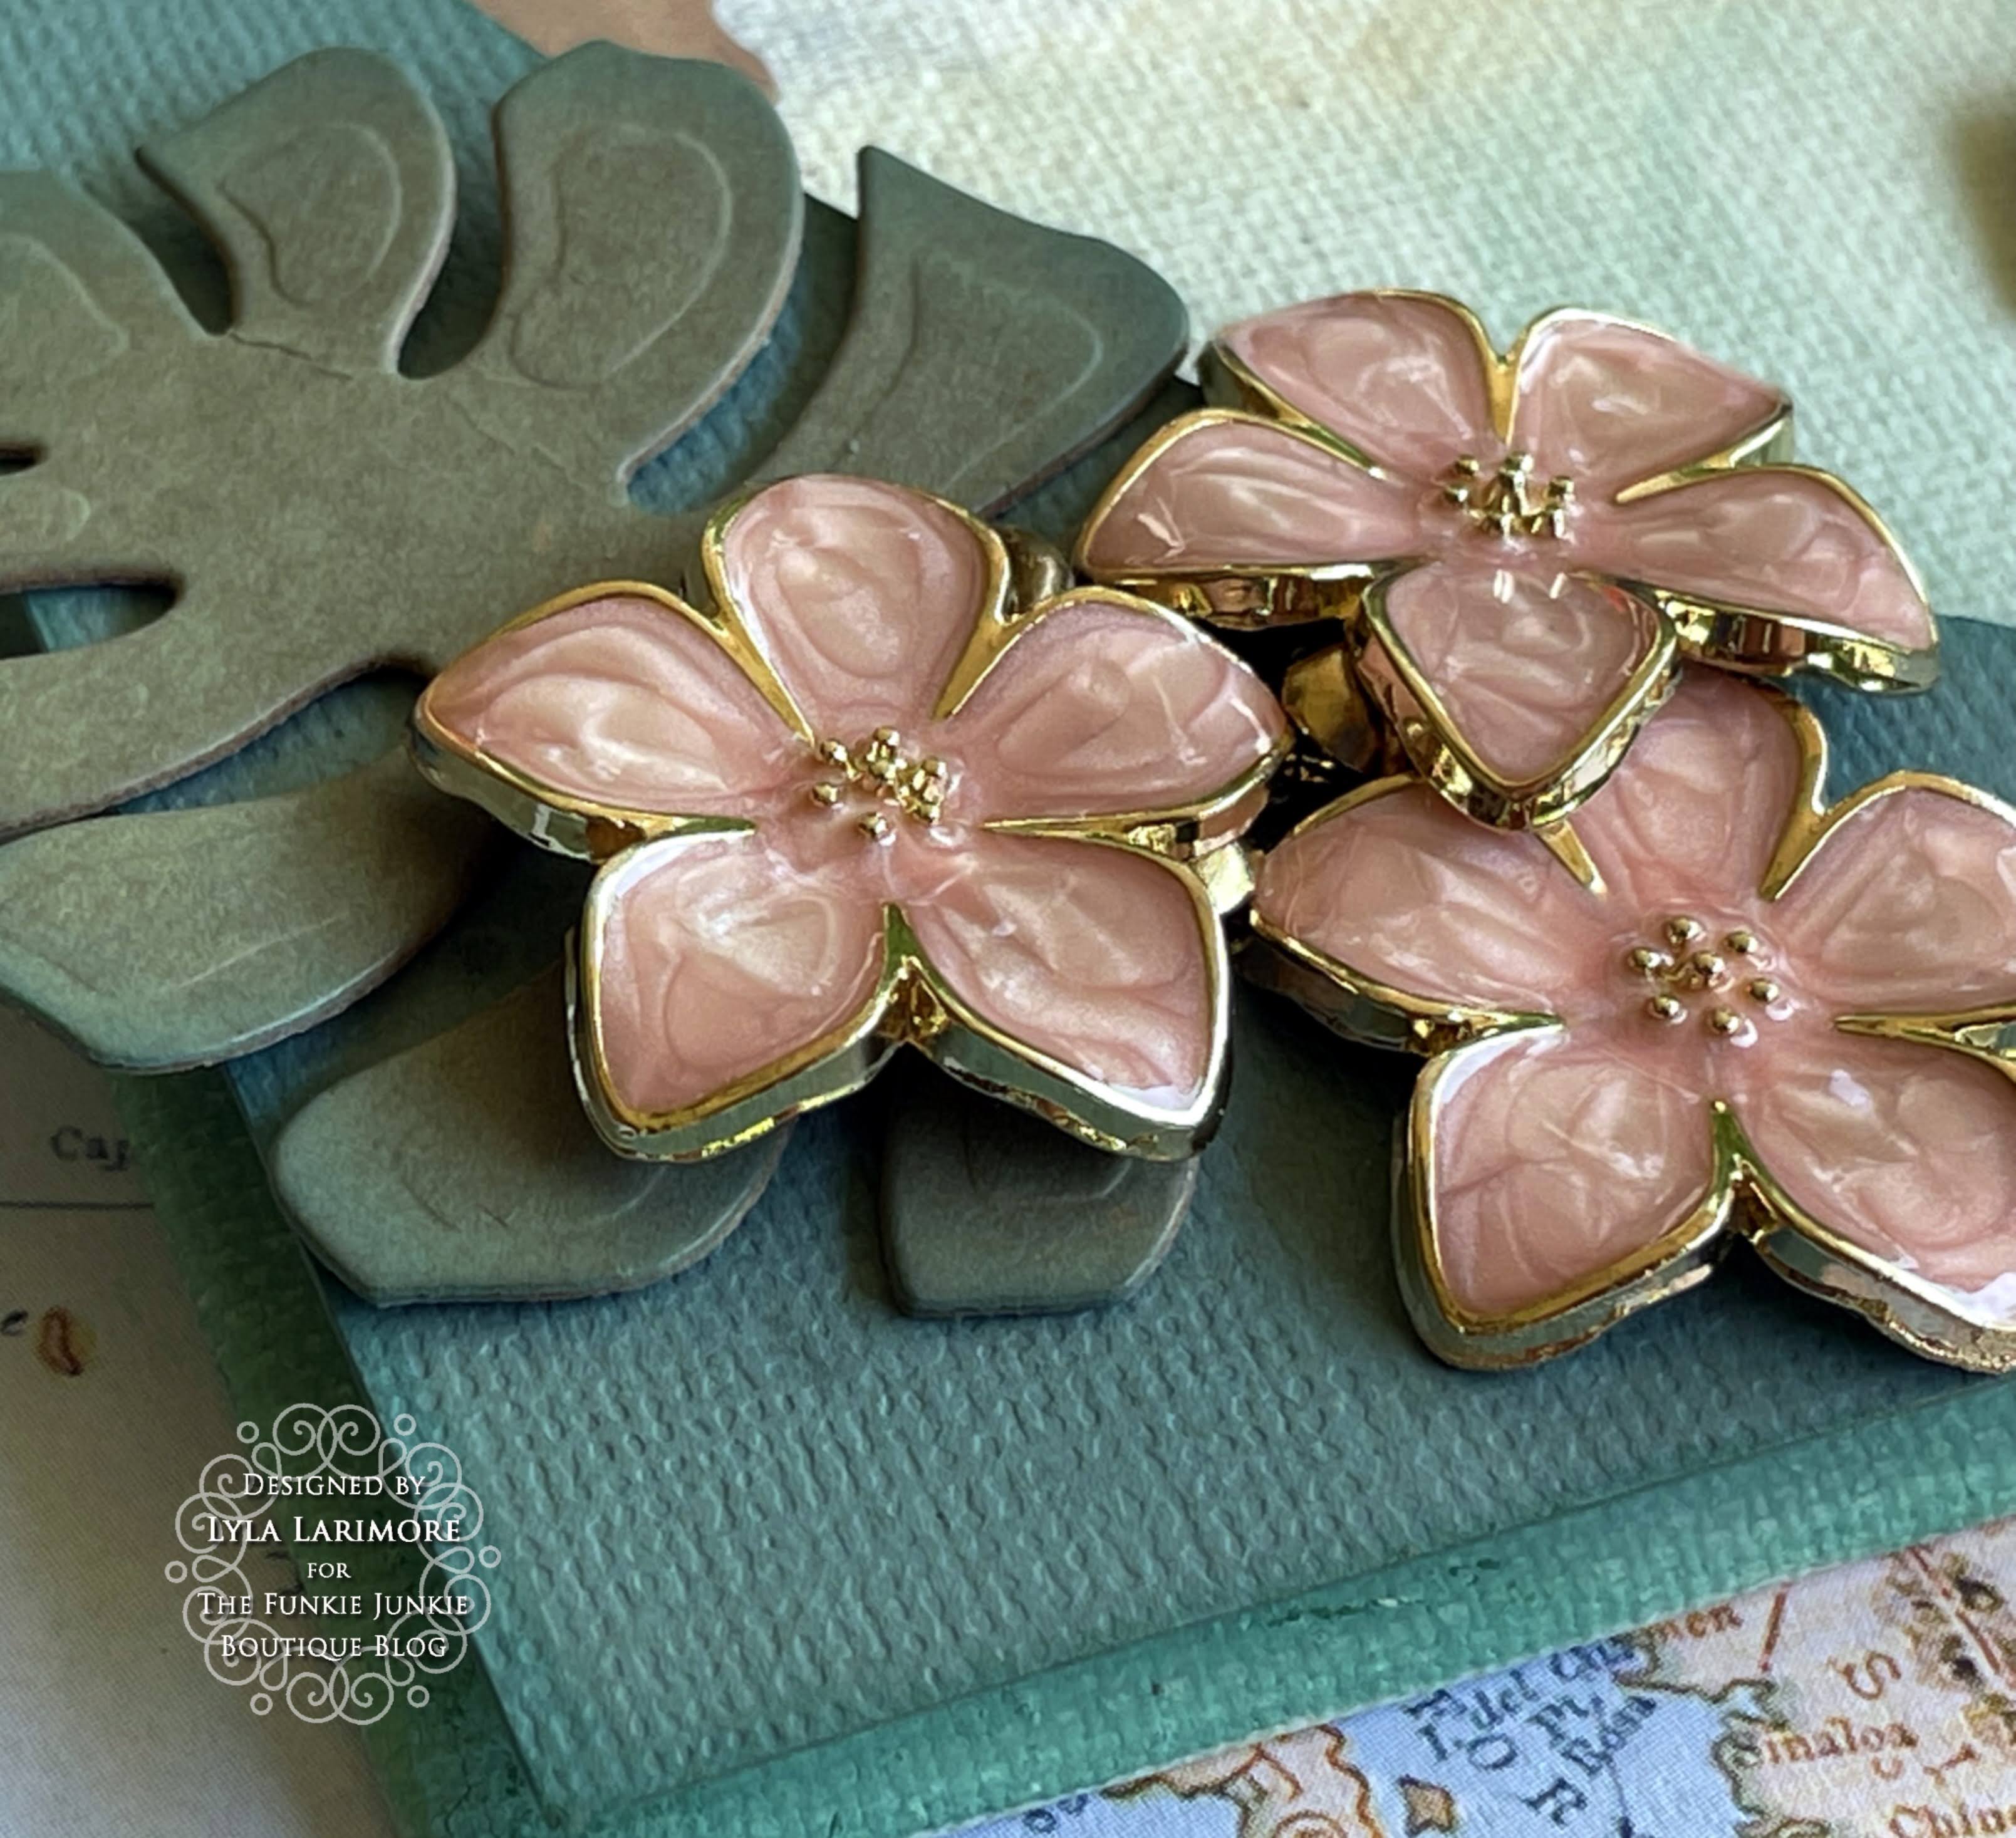
the frame became the perfect "vehicle" for the Peach Tea Charms, giving it that
BEAUTIFUL Hawaiian punch of color!!!
Some plain gold stash brads helped hold them in the places I wanted,
while layering them together and hiding the brads; all at the same time!
A leaf from the TH Thinlits Set Tropical stood out as a compliment to the charms.

Here is where the palm and bushes came in....

I stretched out the palm tree by cutting more than one trunk and layering them for height.
Cutting more palm tree tops in different shades, and turning them around, helped fill out
the single palm top shown on the cover of the die set.
I did the same with some other leaves to form a bush. 
I do this all the time- it's one of my fave sets.

Some tools and materials are out of stash or very old items I have on hand.

My main materials and paper.


The resulting make is a fun look:

Yes, Gladys is ME. And her googly eyes describe how I usually can be when I am 
on a roll. Life is about being who I was meant to be- a bit wild, a bit crazy,
somewhat eclectically dressed, and usually always with a camera in my hands.
I seek out the warmth, sun, and waves, but have a penchant for creating with Tim Holtz stuff. ;)


Look at how BEAUTIFUL- and simple- those flowers are when put into a LEIS!

She's even got a flower in her hair!

George is staying in the background.

The Peach Tea Charms are just FABULOUS looking
and they are very thick and full of shine!

These Charms would make an excellent bracelet...which I do have planned!!


This Tim Holtz Quote Chip (Theories) says just what I needed on this panel. 

You can see how thick the frame ended up and made this panel into a type
of pop-out picture.


Thanks so much for joining me on another Saturday Showcase at

Please check out these links for items used in this project:

Prima Marketing- Painted Watercolor Flowers
Prima Marketing- Peach Tea Charms
Tim Holtz Distress Inks: Faded Jeans, Salty Ocean
Tim Holtz Distress Oxide Inks: Antiqued Linen, Pine Needles, Saltwater Taffy, 
Salvaged Patina, Vintage Photo
Distress Crayon: Salvaged Patina
Mini Tool Blender (round) & Mini Tool Blender (round) Foams
Tool Blender (rectangle) & Tool Blender (rectangle) Foams
Tim Holtz Tonic Tools: Mini Scissors, Cush Grip Scissors, Cush Grip Sheers,
Glass Media Mat, Retractable Craft Pick, Sanding Grip
Glossy Accents
Sizzix Double Sided Foam Sheets
Tim Holtz Thinlits Dies: Gladys, Simple Plaid, Tropical
Tim Holtz Paperie: Classic Kraft Stock (8x8), 
Kraft Stock Stack (Cool, Neutrals, Warm), Quote Chips Theories