

 It's a good thing I like to get things out when the idea for a project hits me. Otherwise, this post, nor this project, would have ever gotten done. The huge storm and subsequent 7 and1/2 hr power loss also helped- there was nothing else to do at the time. Since then, the ChiefHubby is slowly getting his strength back up and while he still needs quite a bit of rest/naps, he's back to being able to do more things to help out again. There for a while, things were very tough and we were both so tired!
 So, we're ready to plunge back into another month, and hope for the best that this COVID19 will finally take notice that no-one likes it, and take a hike! In any case, I am SO READY to be over it all, as I am sure anyone who has had it, would be especially glad to be over it (one of my older Sisters and Bro In Law were feeling flu-like illness, and just tested positive).
The one trip we did take to the rural areas of the Florida Panhandle is such a sweet memory now!

We do have our pool, complete with the palm trees and what-not, but it's just not the same as all those huge waves of salt water that knock you off your feet and drag you for 10 yards or more- if you miss the wave with your board, that is. lol! And spending time with our extended family is especially fun for us. With all that in mind; I knew what my theme for
entry was going to be- even before we left!
This has a lot of photos since it has some new elements I haven't done before.
Let's get to the details!

I found the "Coastal" paper pack and thought it would be perfect for mimicking
the Emerald Coast- where we visit on the Florida Panhandle.
Again; I'm using Eileen Hull's Pocket Notebook Sizzix XL Die,
which is fast becoming one of my favorite book dies as well as XL die.

Tools I chose to use- the Tim Holtz stamp set is on my "Want List", but for now,
I'm using 2 sets I found on a yard-saleing spree a few years ago. I fell in love with them,
and they ARE closely designed like Tim's.
I ended up with 17 new TH Thinlits, Bigz Dies, 3D Embossing Impresslits & Folders, during
a recent cleanout sale of Tim Holtz products on the Sizzix.com site- for a mere $71 total.
I also finally found some of the Collage Paper Typeset and thought it would look cool
in this, up against colorful seashell items (and it did)!

This paperie was found separately as the Hobby Lobby (the trip where the storm hit
and the power went out), and found the stack of 4/$1.00 papers I'd left in a pile (we were asked to lay everything at our feet and they would get the piles to save for us to come back later).
I had been searching for map paper since I only have one left in my TH stack of Memoranda,
and none left in my Correspondence stack. I LOVE those maps and hoard them.
Problem is: I USE THEM ALL!! They're so FUN!
But I found these, and they actually match!
The darker blue cardstocks were a to be a new element I wanted to try out.

My starting work was 2-fold;
die cuts and embossing them...

And cutting/scoring folds on papers stacks.
I wanted 3 kinds of paper for these books; school-ruled, architect's grid-lined,
and some plain copy paper...all in the same colors. It wasn't too hard since the
school-ruled and the grid paper lines are both in blue hues.
I LOVE IT when school gets ready to start and pencils go on sale for 47 cents!!
Takes me back to those saddle shoes & a dress days.
Hey now... I'm only 54!

Then I got this wild idea for a folder that was a BOX.
So I took the tougher cardstock- already in a brown shade (think "SAND")
and kept scoring and then cutting until I had a fine box with a side flap to use for the maps.

Now, at this time, the Older Grandson (Peanut) was with me and coloring
with colored pencils. He's well beyond his age with so many things!
So, he reaches over and picks up this box, looked at it, and then replaced it where it was.
He then picks up the colored pencil box (Crayola) and hands it to me.
Little smarty-pants! The 2 boxes were nearly identical.
*Me looking deflated at my 'original idea box'.*
Let's move on, shall we?

Here's where I cut the exact same parts of two maps- one old world and one new world.
I stuck them back to back with the flap of my 'original' box *humiliation* in between.
The pic shows both boxes with one new map side up, and the other old map side down.

Then I got out my go-to fave TH Oxide Ink, Vintage Photo, for some Distressing.
This pic shows the difference Distress Oxide Inking makes!

Ditto the difference in Oxide Inking on the old map sides.

I also made a tri-fold pocket for Tag holding.
But I did it differently on the inside- using the folds only on the outside edges.
For that inner piece (attaches the front of the pocket to the backside of the pocket),
I decided to try NOT folding, but only Glider Tape on the right hand side of one side of the piece,
and then only on the left hand side on the opposite.
The result was much less bulky fold!
I'm sure I'll do this again and show each step separately to explain it better.

This was during a major storm on Sunday the 19th.
We had a LOT of branches and trees down- including one at our boat slip with a
huge branch landing smack on my sailboat!
Clearing both boats off (finally on the following Saturday!), I was relieved to find no damage.
But we were out of power for over 7 hours and my poor ChiefHubby was just
home from the hospital and without the AC going, he was miserable.
Since he dozed off and on all that day, I was able to get quite a bit of these books done-
with the help of SUNLIGHT!
My HunniPi (deaf helper dog) is like her Momma and can't stand storms.
You can see her eyes as she stayed under my crafting table...keeping an eye on me.

Next; the covers and spines of the book.
I did what is now 'my norm' with the 3 cardstock layers.
These are lined up so you can see exactly how I trim and match up to get 5 holes.

Another new thing I tried this time:
Glossy Accents inside those trimmed off edges.
It seemed to me that those edges kept coming back up when the final folds are made.
So I was hoping to hold those together better right there at those seams.
It did work very well, and I'm going to keep doing this from now on.

This is getting to be a fave element of mine in mini books- TH Stitched Pocket!
This time. I did it out of wood look paper, then took it through the TH 3D Embosslit.

And just because... the title was soooo cute on the inside front covers after I cut these out
from the same wood look paper. I didn't emboss them because I feared they would fall apart.

And another new element: a different type of closure- using Tim's Crackle Ribbon.
(TIM, Dude! I am getting LOW on this stuff!!)

See?? It was too cute!

Now, the work on the outside began.
Here's where I would use the TH Collage Paper.

After adhering the Collage Paper with Glossy Accents (fast and easy because it dries faster)
by tearing out what I wanted to use from the paper, then dropping GA and quickly
swiping it with my index finger, then apply to the cover.
(The cover you see here is Farmhouse in Blue Hues texture stack- shown in the first pic up above.)
Then I put TH Ranger Texture Paste over that and sprinkled some plain white emboss powder.
After heating it up and getting the exact results I wanted, I decided to just do the entire front.


After both were heated for the embossing powder to ALMOST glossy-
I didn't want a full gloss.
The point was for it to look like WHITE SAND- the white sand of the Emerald Coast.
The beaches there are some of THE most beautiful and pristine out of all
the beaches in the USA.

Then I got busy with all the embellishments- Inking and choosing TH IdeaOlogy.

I chose these for the 'play' on the word SEE...
You'll SEE why down below. ;)

When I got to the next part below this (arranging things onto the front cover),
I thought the seahorses were too thin.
The starfish is just as thin, but is up against the seashell and sand dollar-
both built up with more than one layer. Those extra layers on the seashells
helped support the driftwood and star that were thin.
But the seahorse needed more support, so I thickened them up by adding Matboard inside 2 cuts.

The arrangement was working out beautifully!

After getting everything on with my favorite glue (GLOSSY ACCENTS)
I had this strange urge to add 'water droplets' to the entire cover and spine.
I laid out a white garbage bag for keeping it off everything else in the room- lol=
and flicked Gloss Mod Podge all over both.
The effect is one I thought was brilliant!
The results are in:

LEFT SIDE- This book is for myself to keep a copy as normally I do with everything.
RIGHT SIDE- This one's for my Bestie, Christie Dixon. She and her Minister Husband
were the reason our lives were changed by JESUS CHRIST.
That was in 1997.
And they didn't stop there; they actually LIKED us!
They must like us still, ya think (lol!) because we'll be wintering down there for Retirement-
helping to keep up the church and the camp.


A faux pearl sits inside a real shell-
these were found &picked up from the sand, just for this project from one of my seaside trips.
Did you know how HARD it is to drill through even these tiny shells?!
It's just another 'wonder' that our Creator achieved; soft enough to break from waves,
but hard enough to resist a powerful drill!

The cork beads came from a bracelet that I had made and worn during
years of trips south to the Panhandle. When the bracelet finally broke, I decided to
reuse it here instead of another piece of jewelry.
They represent the years of Friendship/Family Christie Dixon and I have shared.

The pun intended for both SEE and SEA.
This one is Christie's ....

...with another pun on the words SEE and SEA.


I took a page note (pun) from MAM's Design Team Member Jennie Atkinson
and worked some washi tape, stamps, and Clippings from the TH Clippings Sticker Book
to make a simple design onto the folders that hold each paper stack.
(see her fabulous July inspiration book HERE )
THANK YOU, JENNIE! This idea is simple, cute, and FUN!

The graphing paper was needed because Christie is a VERY GIFTED Architect!
She not only raised 4 girls, successfully getting each into college, but she went back to college
herself and attained what prior had only been a dream!

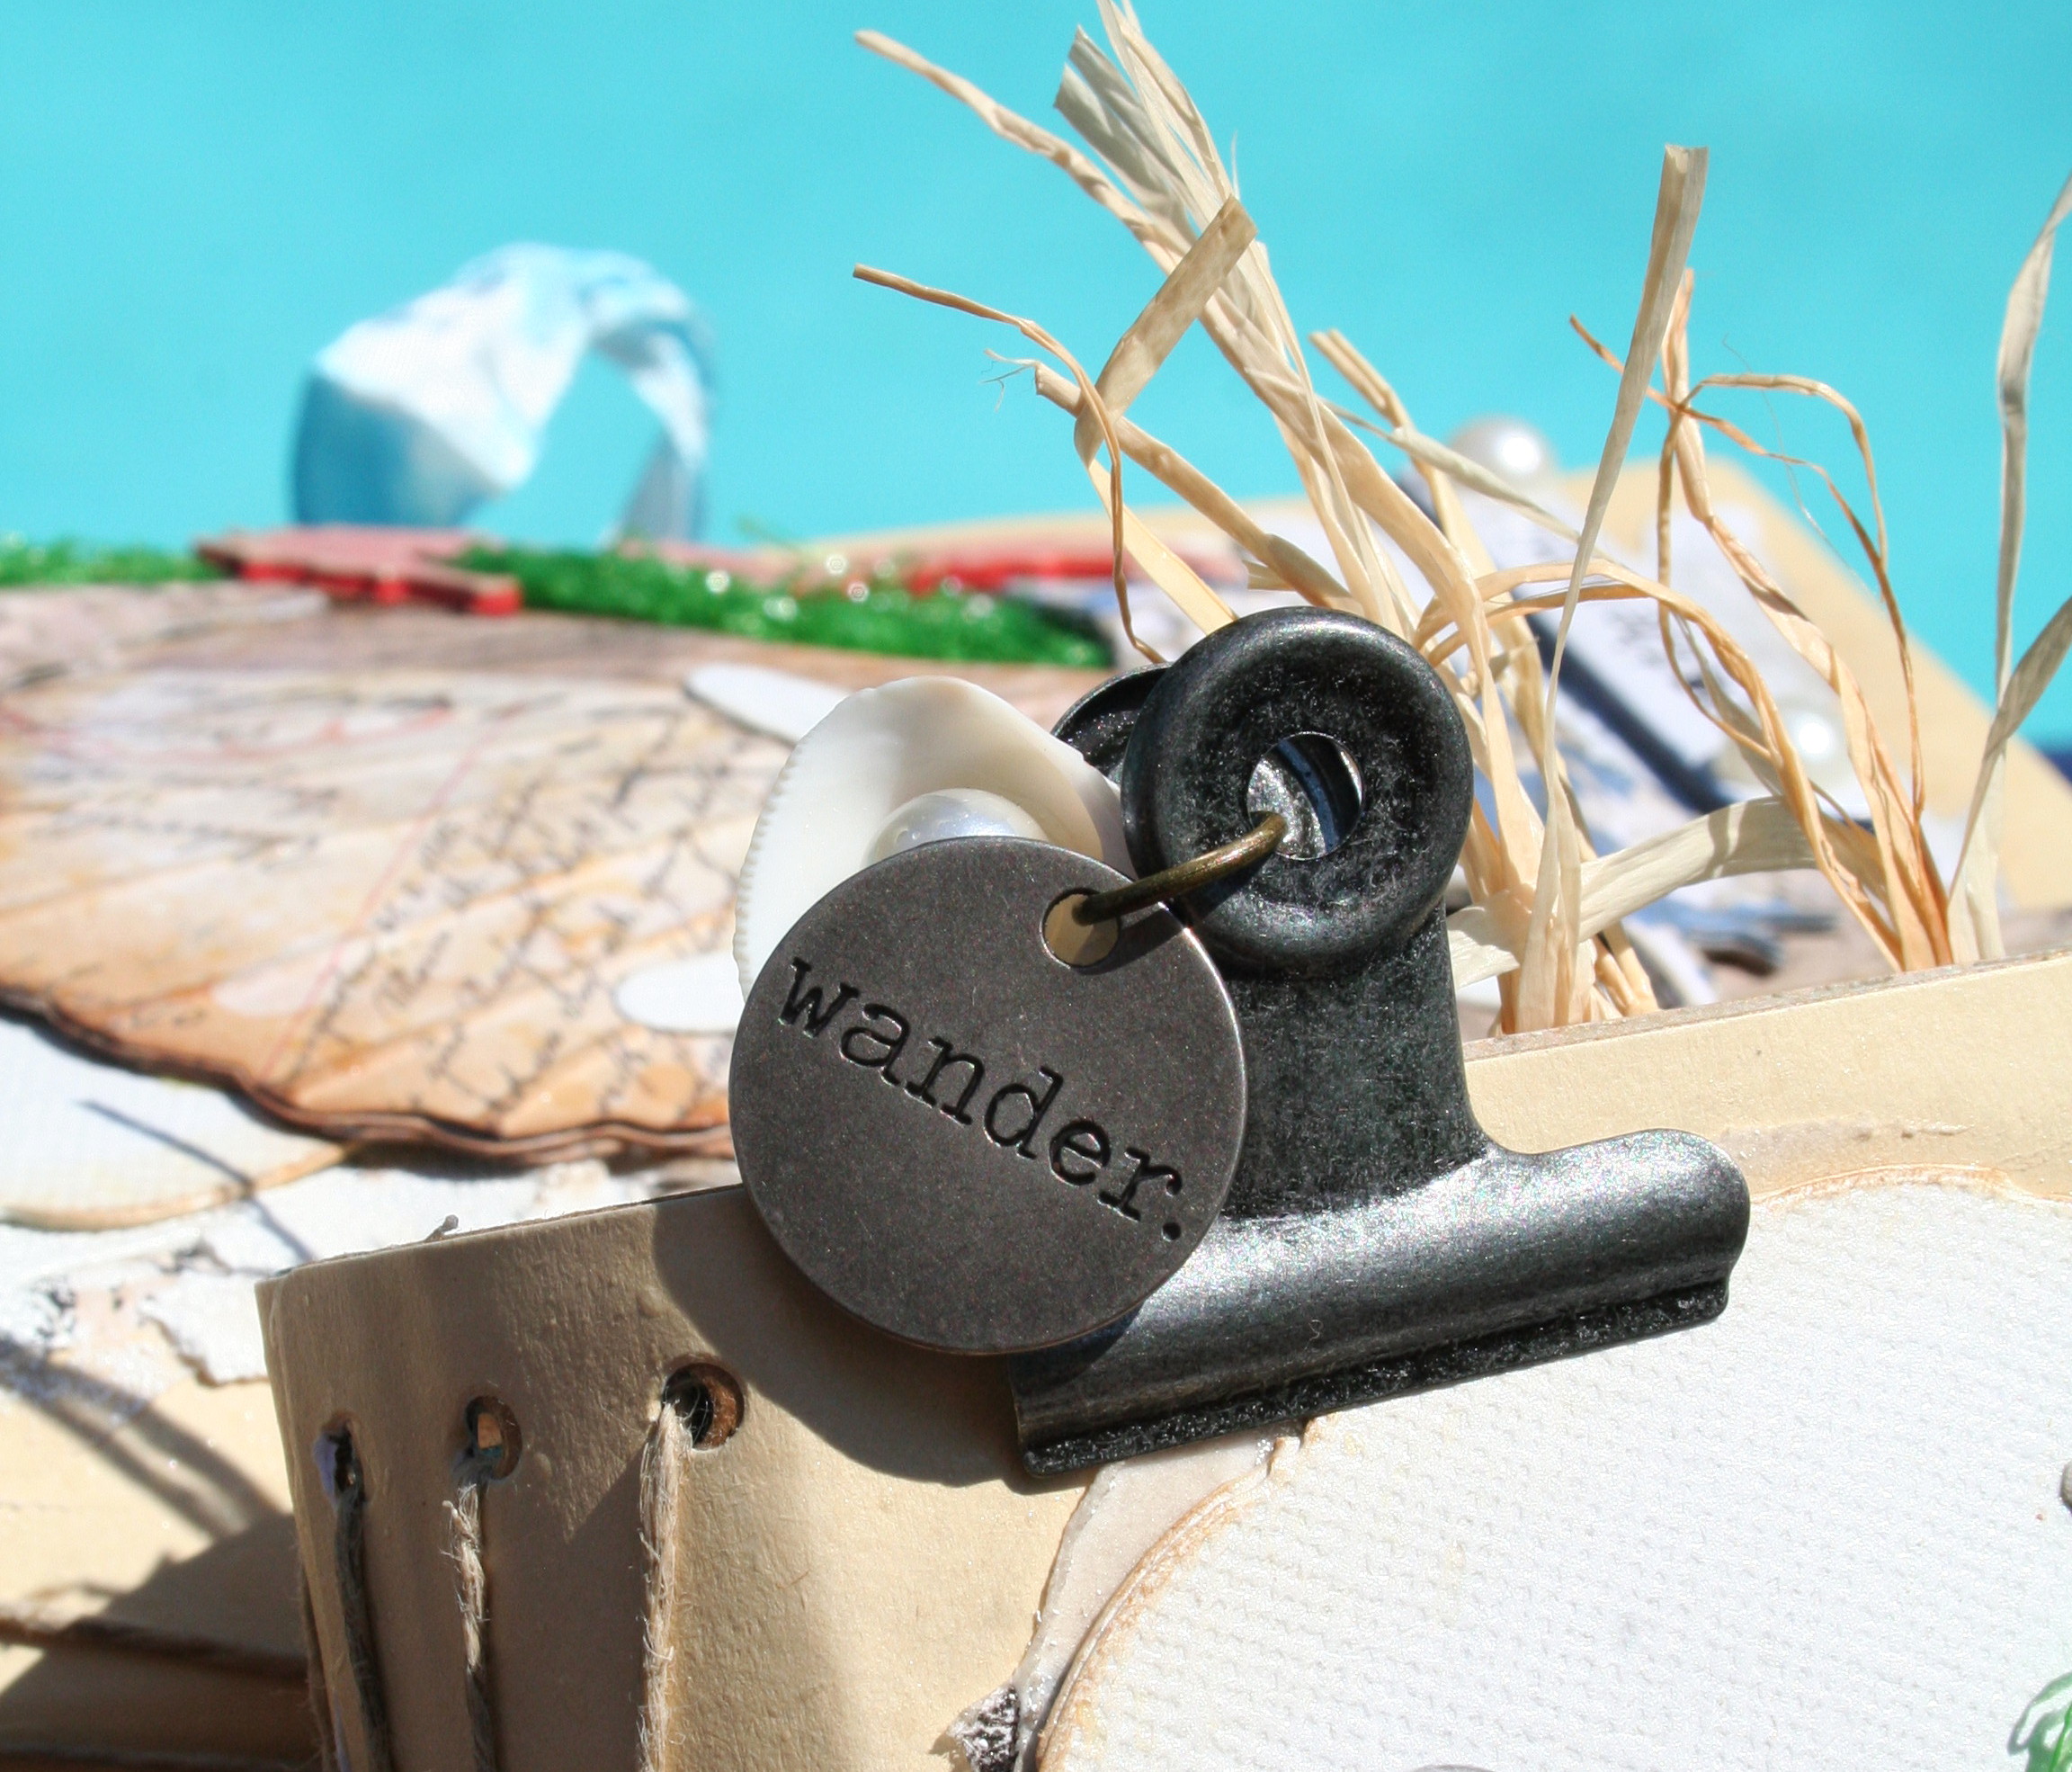
You may notice I was using BOTH our clips at this point.
The clips are the newer TH Large Hinge Clips- which I found work better for this
larger sized Eileen Hull Pocket Notebook.


A bag to hold whatever gets found.

Christie's obviously has her name inside at the same place as mine is shown.
The seashells provide a place for small photos or notes.

While July itself could have been better, it also could have been much worse. The time
is always made better when I see people ready to share and help one another, and I have
certainly been on the receiving end of both in this past month. The prayers that were sent up
for my ChiefHubby - and for my own comfort as well- kept us afloat throughout a very tough time.
I will send a HUGE SHOUTOUT of THANKS! to all those who did all that praying.
And there's always such a good feeling to know that something a person made can bring a
smile, some inspiration, or some encouragement to others...
YOUR views on my blog tell me it's working, and I say;
THANK YOU!

August is just a couple days away and a new
will be happening...
won't you come along and join in?
In the meantime:
Stay Safe, Stay Home if needed, Stay Connected, &
HAPPY BLOGGING!
No comments:
Post a Comment