

November has blown in with gusty winds spreading the falling leaves faster than I can keep up with. So far, anyway; what Leaf Battles I have fought in the past few weeks, I have won. But the Leaf War is not yet over for 2019. We've succeeded in getting everything winterized and put away, except for the camper moved out to the new overhead storage. A bit of trouble getting it installed (they finally showed up last week) and they actually set it up in the dark! Next day sunlight revealed that they really CAN do that with their eyes closed. But don't try that on your own, folks, lol! A bit of adjustments to the bottom anchor boards and then it will be ready. In the meantime; I'll be up on the roof, getting the last of the leaves blown off, and reciting "I'm king of a hill..." That children's poem always comes to my mind up there. In another few years, we plan on putting up a metal roof. I can't see walking on that in my socks the way I do this tar-shingle roofing. Unless I want to crack my back...the hard way. This house has been ours since 1987, and we have probably redone every single bit of it- at least once- to get it where it is now. I absolutely LOVE my home, and while no house is ever going to be perfect, I can honestly say that this house is perfect for us. We still have things we want to redo, like the roof, but I dare anyone to say they are satisfied with the way their house is. Because it's then you will find something that needs to be fixed. The "Dream Home" is what you make yours to be. So this one is mine!
The theme for this Challenge on The Funkie Junkie Boutique Challenge Blog put me in the mood for a mix of old and new. You see; this appears to be "The Year of Replacements" for us. You all know what that means if you own your home; things are going to wear out or break down with use, and need to be replaced. No matter how well you take care of things, it's just going to HAPPEN. And, more often than not; it comes one after the other in rapid succession. I think it started with the little spare AC in the master bedroom. Some years back, our central air puttered out and we replaced it. But after that, we built on the large Family Room, as our boys were getting bigger and we needed a bit more common living space. We didn't plan to do things in that order, but the AC had gone out before we were ready to build on, and at the time we weren't sure we were even staying in this house... or purchase a larger home? So, unbeknownst to us then; that AC was too small and eventually wore down to non-use. We had our hands full getting both boys through very expensive High School years and then, getting them into college/out on their own. Installing two window ACs made more sense at that time, and we decided to wait until putting on a metal roof,; we'd get all the ducts rechecked/worked on all at once. We learned that re-siding a house, new windows/doors installed....can be very messy. Especially when your house is "The Neighborhood House".
That all brings me back to the REPLACEMENTS.... after that 'small AC problem; easily fixed; boom; good to go', then it was the weed whacker. With mowing and trimming this much land, a light-duty weed whacker is a no-go here. So it was get a new heavy-duty tool. Thanks, Amazon! I'd already had a replacement mower the year before. I LOVE that little "Gumpmobile" that does look just like Forrest Gump's red mower. It mulches anything and everything in its path. And it can actually take off on you. (Happened to a few of us-including my Older Kids' other Mom- from whom it came!)
But after this second belt broke, in the middle of summer (it was no easy feat to replace the first one- 2 different belts on it) , no less...*sigh*….it was time to go ahead and get a new one. AGAIN. Yes, we have had several brand new mowers in the 32 years here. And yes, we DO mow THAT MUCH! So the ChiefHubby went shopping and got little old me a zero-turn Cub Cadet in a "very purty yellow". Mowing now takes half the time it ever did before (normal is 4 hours), and my RA thanks him so very much! Not to go to waste; the Gumpmobile, and its new belt, is already promised to a guy who needs it. We are so BLESSED to be able to afford all we have, so we always GIVE to others without cost. Okaaaaay. After that, it was several little things around the house. Small, but replacements nonetheless.
With a lot of thoughts going this path all through this year so far...shall we knock on wood, here?.....I decided to make something that I've wanted to try for ages. It involves - just like a real home- a mixture of old and new. I also took note of a few other Designers' inspirational makes to help me blend my idea together. So here we go!
Is this BOOK real?


Not really! And it was fun to make!


Yes, I doubled the paper, and coated the inside with ModPodge
to keep the layers stuck together.

Painting the box first, then adding my makes all on top of that paint.
The paint serves as a base.

Crumple. Smooth out. Ink up. Heat. Repeat... till satisfied.

Here's where I thought I was stuck;
I wanted to put my usual coat of Distress Collage in Vintage Photo...
until I opened up the bottle to find what was left at the bottom- all dried up and useless.
Then, I had a thought: Distress Rock Candy Crackle will just ADD more tiny wrinkles!
After it dried, I gave it another coat of Vintage Photo Distress Ink, then
finally (after the binding was added) coated the entire thing with Multi-Medium Matte.
I've made faux leather before, and a book, as well, but pure & simple INSPIRATION
got me going on this choice...
THANK YOU for the inspiration, TFJBCB Design Team Member, Jenny Marples!


Is this KEY real?

The Bookmark string is coated hemp (purchased like that).
I grunged it up by simply running it roughly through my hands- at the very last-
when I had all that grungy, messy ink all over!
Hey, that was the EASIEST distress job I've ever done!

Nope! Just some stacked TH Grungeboard with TH Distress Inks and a heat tool.
The matching "LOCK" on the front of the BOOK was made the same way.
How about the BLACK CAST IRON?
Or the WOODEN SIGN?
Or the VOLTAGE...
Is any of that REAL?


NOPE! But, creating it to LOOK real, was REAL(ly) FUN!

I also used the TH Alterations Movers & Shapers Dies: Base Tray and Mini Labels.


The TH Alterations Voltage Die is brand new and this was my first chance to use it.
I had a little help- you can see in the background- from ZOE HILLMAN's take on it.
THANK YOU, ZOE!!!

The Voltage base at the bottom was a mix of all these products!
Talk about messy FUN!!

Most of my die cuts were all thick mat boards. Then stacked up in 3 layers.
If you look closely at the finished project; you can see how '3D' it looks from this thick layering!
The WOODEN SIGN was made the same way, but with thinner cardstock,
then run through the Big Shot with TH 3D Impresslits Folder Lumber


The best way to make the 'cast iron' is to really cover the item with Black Soot Distress Paint,
then 'sift' it through PLAIN EMBOSSING POWDER.
(Tim's Distress Powders won't give a smooth look, and I like using his for rust and grungy looks.)


I added Ranger Texture Paste all around with a bit of water on my fingers,
shaped it rounded to match the stacked walls on the outside- to smooth the sides-
then sanded it down and added the rest of the paint as a second coat.
The Professor would need water piped in to cool those gears...
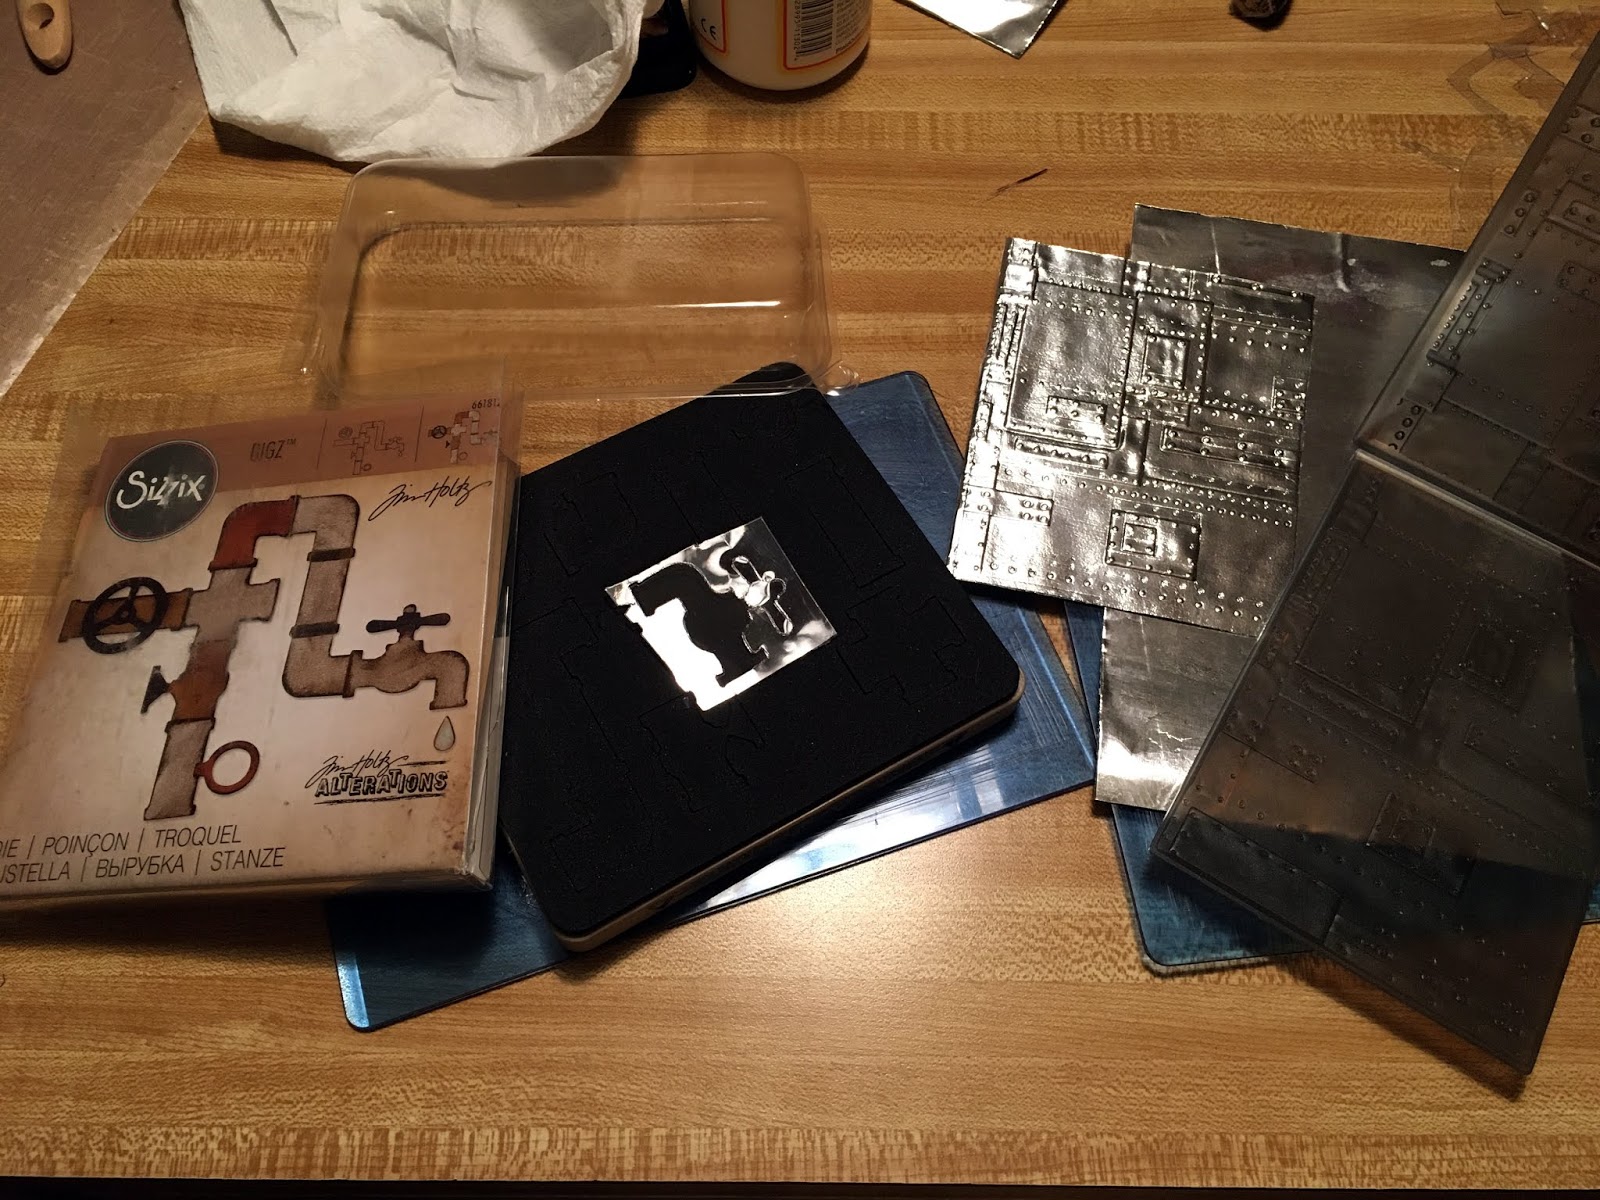
I just LOVE that TH 3d Impresslits Folder: FOUNDRY!!
This was my first chance to reeeeeally make a larger thing with it.

Trash plastic becomes treasure plastic!!

Water in the Lab needs a tank:
one for holding and constantly filtering/cooling the water, and a holding tank as well.
Painting a mixture of Alcohol Ink with Glossy Accents gives a fast-drying medium
as well as coloring!

This was the first attempt at piping and trying to make it look rounded.
I cut 3 of each piece to layer them, but only one had the "WATER"
colored onto it. They were all three held together with Glossy Accents without the Alcohol Ink.
PVC piping does come in clear for laboratories!

I tried shaping the FIRST BATCH with heat to round it out.

Nixed the above set, and made this new set the same way, but leaving it flat this time.

Making the light fixture/fan was just simple stamping with the Stamp Platform and
The Professor (CMS373) Stamp Set.
While this book was a large project, I've wanted to do this for a long time.
Not just a works on a Tag, but the whole 3D shebang!
I think it turned out pretty good, too.
THANKS!! for all the sweet comments, and for the app. 1,600 folks who peeked
in on my blog last month! WOW; I was blown away!
Thank you, The Funkie Junkie Boutique ,
for always having what someone needs, and at nice prices!
TFJB is the Sponsor for these amazingly fun Challenges,
so try one out and see what you can do, too!
Until next time, folks...
Be Safe &
HAPPY BLOGGING!


